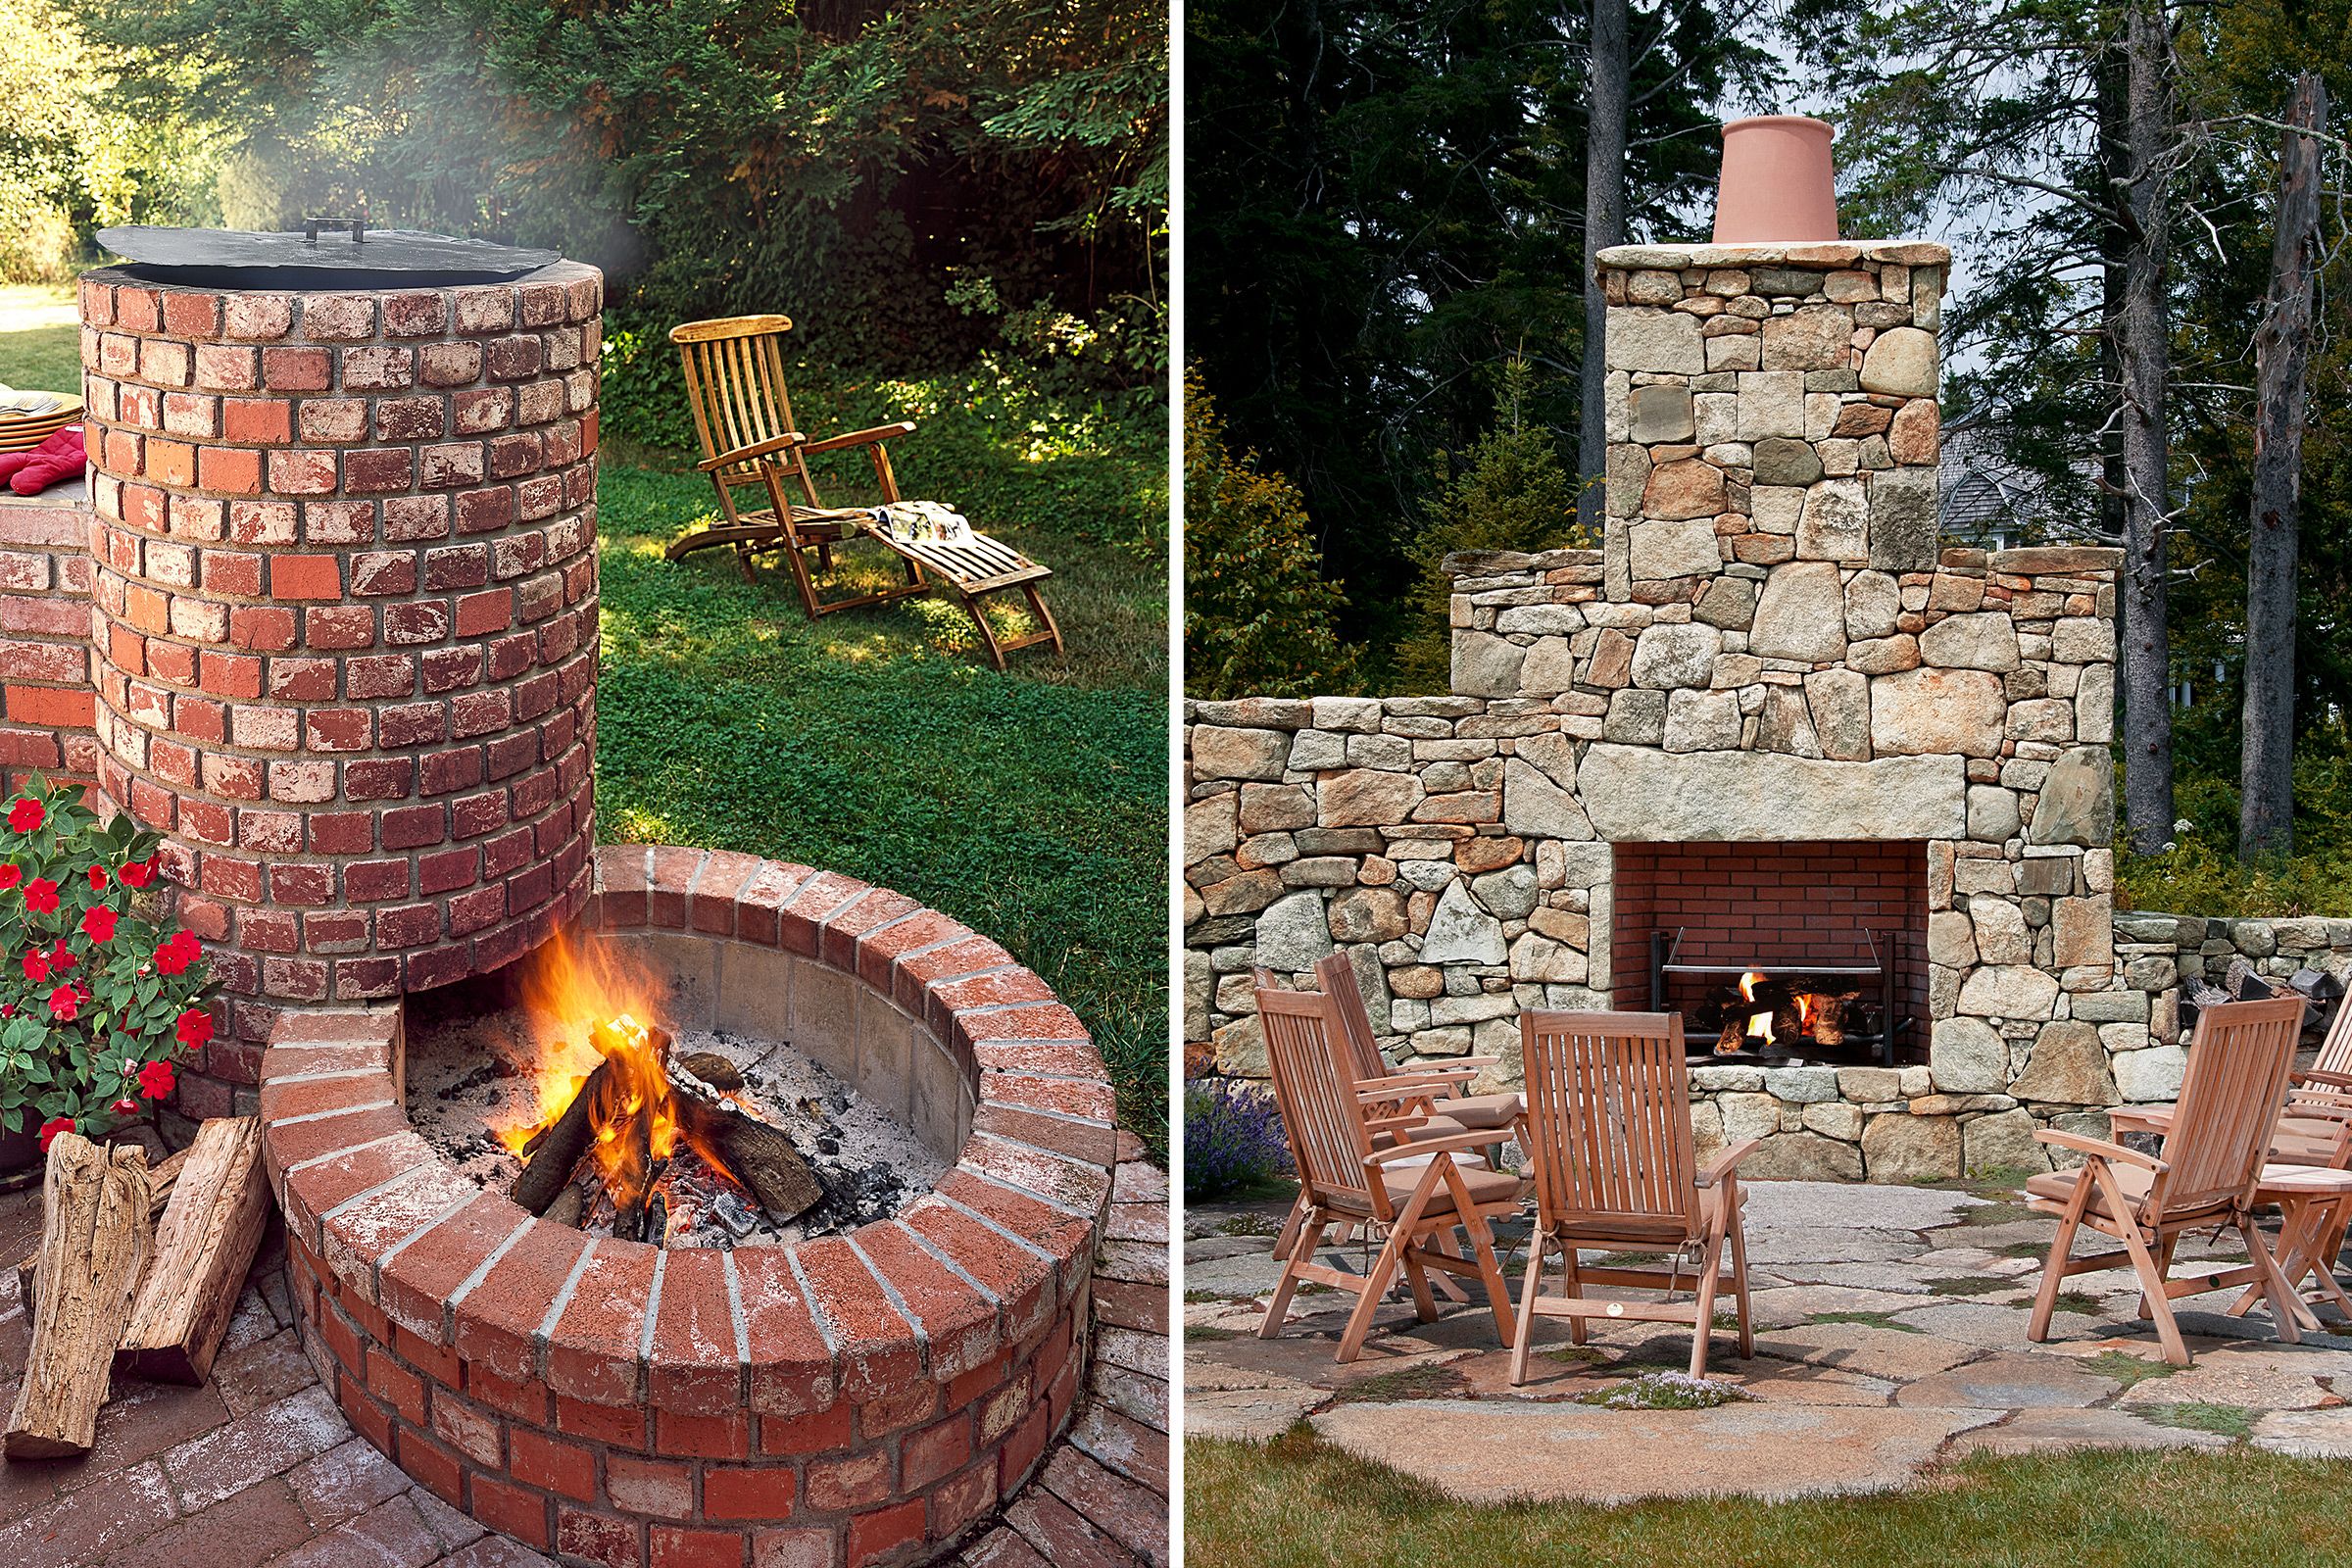
Well, if ya ever thought about buildin’ yourself a good ol’ brick smoker, let me tell ya, it ain’t as hard as folks make it sound. Just gotta have some patience and know how to stack a few bricks. You don’t need to be a fancy builder or anything, but a bit of know-how can sure make things go smoother.
Now, first thing you gotta remember is, you ain’t gonna be usin’ just any ol’ bricks. Nope, you need fire bricks! Regular bricks, they’ll crack and crumble under the heat before ya can even get a good smoke goin’. Fire bricks, on the other hand, are made for heat. They’ll hold up just fine and help keep that smoke in there just where ya want it. And don’t forget, if you’re tryin’ to make a steel smoker, well, it won’t be quite the same, but brick smokers have their own charm, believe me.


Step One: Gatherin’ Your Materials
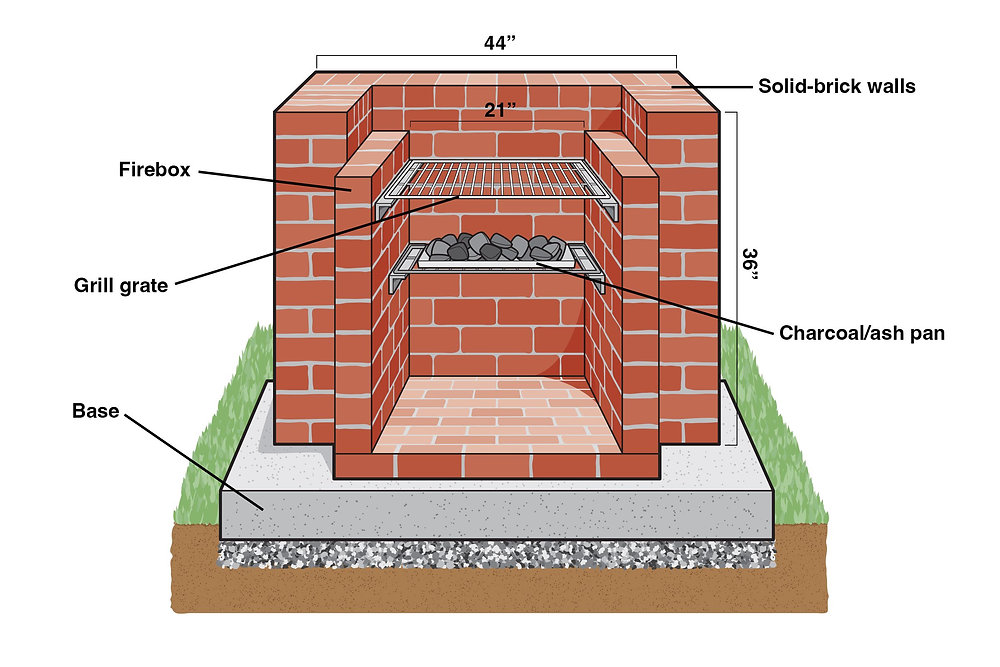
First thing’s first, you gotta figure out how big you want your smoker to be. Now, if you’ve got a grill set that’s, let’s say, around 700mm long and 400mm wide, you’re gonna need roughly 100 to 120 standard bricks to build yourself a good solid barbecue. That’s about 215mm x 102.5mm x 65mm for each brick, so you’ll need enough to stack ‘em up nice and high – at least 10 courses or so, dependin’ on how tall you want it.
Don’t forget, you’re gonna need some cement too, ‘cause you gotta make that foundation nice and solid before you start stacking them bricks. Lay that first course of bricks real steady, and make sure it’s level before you go addin’ more. A crooked start is never a good thing!
Step Two: Buildin’ the Smoker
Once you’ve got your materials and your foundation is set, it’s time to start stackin’ ‘em up. A brick smoker ain’t too tricky to build, ya just have to take your time. Start with a good solid base, make sure your first layer of bricks is all nice and level, and then just keep buildin’ it up layer by layer.
You’ll want to leave some spaces between the bricks for airflow – that’s how ya get that good smoke circlin’ around inside. Make sure you leave a spot for the door too, so you can get in there to check on your meat. Ain’t no use buildin’ a smoker if you can’t get in to tend to it, right?


Step Three: Keepin’ the Heat
Now, once you’ve got the bricks in place and the whole thing is lookin’ like a proper smoker, you’ll need to think about keepin’ the heat inside. Bricks heat up slow, but once they’re hot, they stay warm for a good long while. That’s the beauty of it – you don’t have to keep shovelin’ in wood or charcoal every hour. Just keep an eye on your fire and let the bricks do their job.
If you’ve got yourself a good solid smoker, you’ll barely need any fuel to keep it at the right temperature. All that heat gets trapped inside the brick walls, and before ya know it, your meat will be smokin’ slow and steady, just the way it should be.
Step Four: The Concrete Block Smoker
Now, if you’re lookin’ for an easier way to get yourself a smoker, you could always go with a concrete block smoker. You just stack up them cinder blocks, and you’re in business. Ain’t no need for fancy tools or welding – just stack and go. This kinda smoker won’t have the same feel as a brick one, but it’ll do the job just fine if you’re in a hurry.
Final Thoughts


Whether you’re buildin’ a brick smoker or just stackin’ up concrete blocks, it’s all about havin’ a good time and makin’ sure you get yourself a smoker that’ll last. And I tell ya, nothin’ beats the taste of food cooked slow in a smoker made with your own two hands. So, don’t be afraid to give it a try, even if ya ain’t got much experience with buildin’. All you need is a bit of time, some patience, and a love for good food.
Tags:[brick smokers, how to build a brick smoker, fire bricks, DIY smoker, barbecue smoker, concrete block smoker, outdoor smoker, smoker construction, build a barbecue, simple smoker building]


