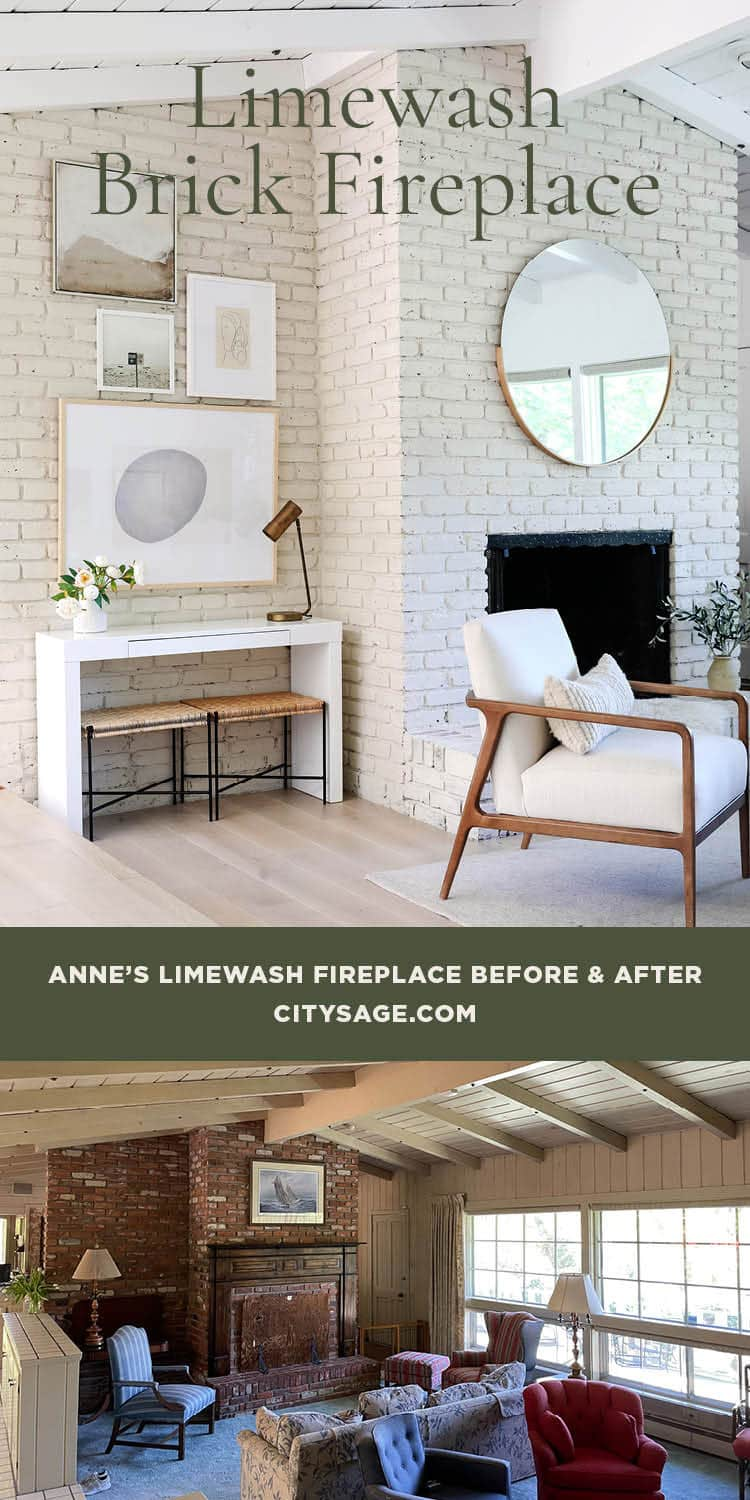
Okay, so I’ve always wanted to update that old, outdated brick fireplace in my living room. It was such an eyesore! I finally decided to take the plunge and plaster over it. Let me tell you, it was a bit of a process, but totally worth it in the end.
Getting Started
First things first, I had to gather all my supplies. This included:


- Plaster mix (I went with a pre-mixed kind to make things easier)
- A big bucket for mixing
- A trowel
- A hawk (that flat thing to hold the plaster)
- Gloves (plaster is messy!)
- Drop cloths (to protect my floor)
- Painter’s tape
- A sponge
- A spray bottle filled with water
Then came the prep work. I taped off the area around the fireplace with painter’s tape and laid down drop cloths to protect my floors. I also made sure to clean the brick surface really well. I just used some soapy water and a scrub brush. You want to make sure there’s no dust or dirt that could mess with the plaster adhering.
The Plastering Process
Next up, mixing the plaster. I followed the instructions on the bag, adding water slowly until I got a consistency like thick peanut butter. It’s better to start with less water than more, you can always add more later.
Then, the fun (and messy) part! I scooped some plaster onto my hawk and then used the trowel to apply it to the brick. I started at the bottom and worked my way up, spreading the plaster in a thin, even layer. It definitely took some practice to get the hang of it, and my first few attempts were a little…rough. But I just kept smoothing it out with the trowel and adding more plaster as needed.
One trick I learned was to keep my trowel and hawk wet. I used the spray bottle to mist them every so often, which helped prevent the plaster from sticking and made it easier to spread. I also used the sponge to wipe away any excess plaster and smooth out any imperfections.
I applied a couple of coats, letting each one dry completely before adding the next. This part took some patience, as it can take several hours (or even overnight) for the plaster to fully dry, depends on the climate. I used a box fan that i have to help with it.
The Final Result
Once the final coat was dry, I gently sanded any rough spots with some fine-grit sandpaper. Then, I wiped everything down with a damp cloth to remove any dust.


And…that’s it! My fireplace was completely transformed. It looks so much more modern and clean now. I’m so glad I finally did it! It was a bit of work, but seeing the finished product makes it all worthwhile. It has a really cozy feel to it. Now I want to keep it like this for years!


