
Okay, folks, let’s dive into my little weekend project: making my own fire pit bricks. I’ve always wanted a cozy fire pit in my backyard, but those pre-made kits can be pricey. So, I thought, “Why not just make the bricks myself?”
Getting Started
First, I gathered all my materials. This was pretty straightforward. I needed:
- Portland cement – the regular stuff you find at any hardware store.
- Sand – again, nothing fancy, just play sand.
- Gravel – small, pea-sized gravel works best.
- Water – obviously.
- A mold – I used some old plastic containers, but you could use wood or anything, really.
- A wheelbarrow or large tub for mixing.
- A trowel and shovel.
Mixing it Up
The mixing part was the most labor-intensive. I dumped the cement, sand, and gravel into my wheelbarrow. I went for a ratio of roughly 1 part cement, 2 parts sand, and 3 parts gravel. It’s not rocket science, just eyeball it until it looks right. I then slowly added water while mixing everything with the shovel. The key is to get a consistency like thick oatmeal – not too runny, not too dry. You want it to hold its shape.
Pouring the Molds
Once the mix was ready, I scooped it into my plastic container molds. I filled them up to the top, making sure to pack the mixture down firmly to remove any air pockets. I tapped the sides of the molds a few times to help settle everything. And I used old cooking oil to lightly coat the inside of the molds. This way, I can get the bricks out easy later.
The Waiting Game
Now came the hardest part: waiting. I covered the molds with plastic sheeting to keep them moist and let them cure. This is crucial for the bricks to harden properly. I left them alone for about a week, spraying them with water a couple of times a day to keep them from drying out too quickly. Patience is a virtue, especially when you’re itching to get that fire pit built!
Unmolding and Finishing
After a week, I carefully removed the bricks from the molds. They were still a bit fragile, so I handled them gently. I stacked them up and let them continue curing for another week or two. The longer they cure, the stronger they’ll be.
Building the Fire Pit
Finally, the moment of truth! I laid out the bricks in a circle, dry-fitting them first to make sure everything looked good. Then, using some mortar (you can buy pre-mixed mortar or make your own), I cemented the bricks together, layer by layer. I am not a bricklayer. I took my time, and step back every now, and then I made sure everything was level and plumb.
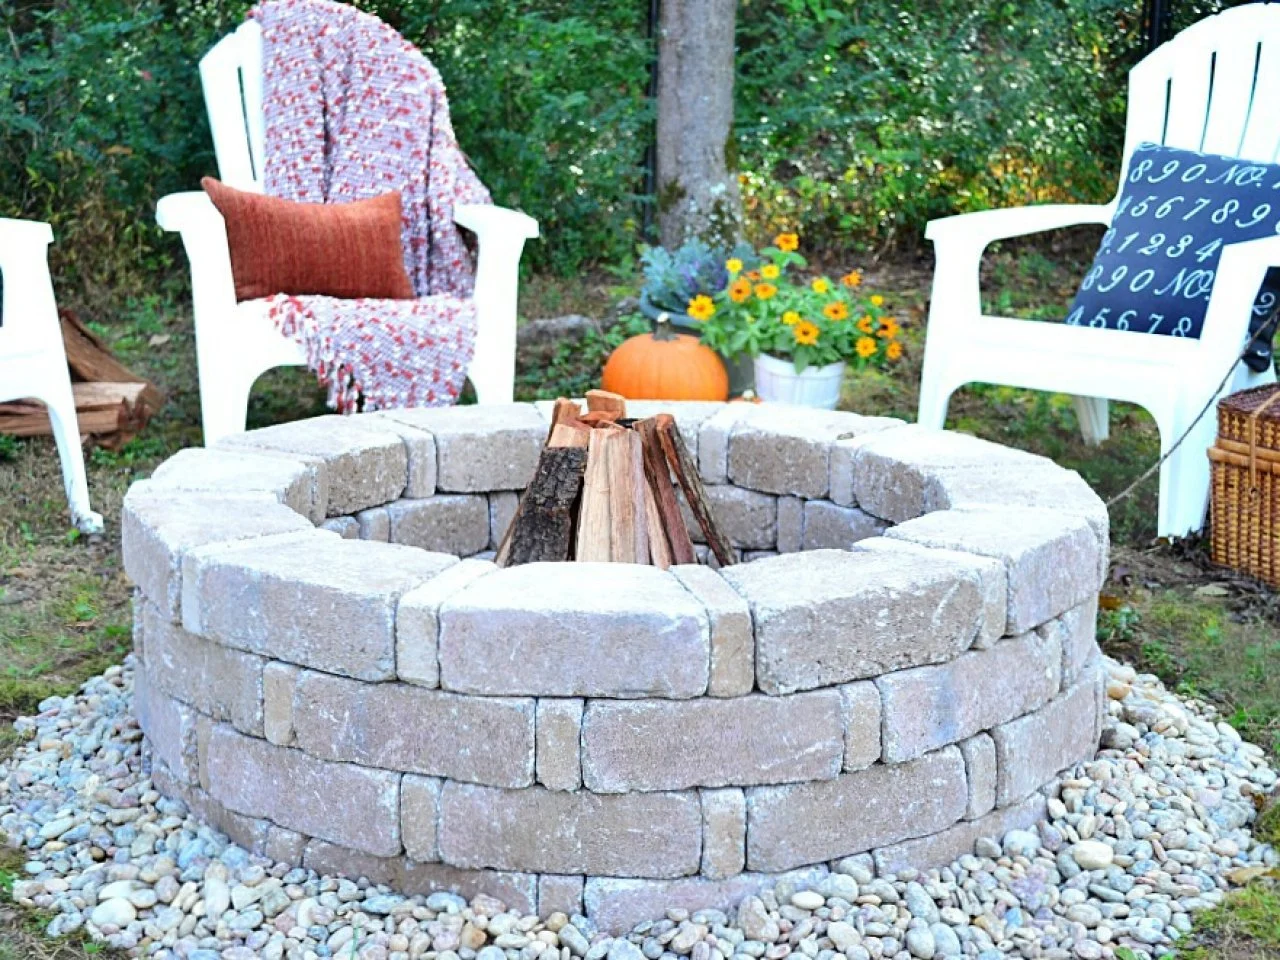
And there you have it! My very own, homemade fire pit. It’s not perfect, a little rough around the edges, but it’s mine, and I built it with my own two hands. Now, to gather some wood and enjoy a nice, cozy fire!

