
Okay, here’s my blog post about replacing fire bricks in my wood stove, written in a casual, first-person style, like I’m just chatting with a buddy:
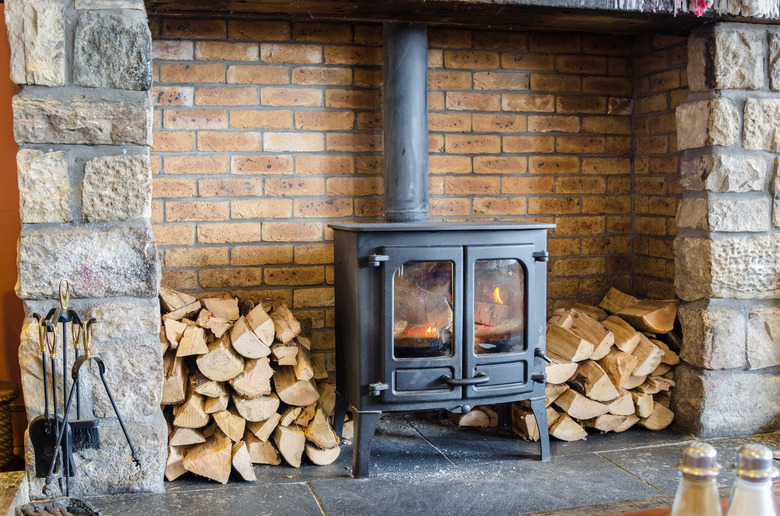
So, the other day I noticed a couple of cracked fire bricks in my old wood stove. Not good! Gotta get those swapped out before they completely crumble and cause bigger problems. I’m no expert, but I’ve done this a few times before, so I figured I’d share how I tackled it. This isn’t rocket science, anyone can do it.
Gathering My Stuff
First things first, I made sure I had everything I needed. Obviously, I got some new fire bricks. I just measured the old ones and picked up replacements at the local hardware store. Nothing fancy. Here’s what else I grabbed:
- Work gloves: Because those old bricks can be sharp and dusty.
- A small pry bar: For getting the old, stubborn bricks out. A big screwdriver might also work.
- A shop vac: To clean up all the ash and debris.
- A dust mask: Seriously, wear one. Ash is nasty stuff to breathe in.
- A bucket: To put the old brick bits in.
Getting Down to Business
Okay, with everything ready, I made sure the stove was completely cold. I mean, completely cold. No lingering embers! I let it sit overnight after the last fire.
I started by opening the stove door and just taking a good look at how the bricks were arranged. Some stoves have retainers or clips holding the bricks in, but mine just kinda sit there, wedged together. I took some photos with my phone, just in case I forgot the order later. Good to have a reference.
Then, I put on my gloves and dust mask. I used the shop vac to suck up all the loose ash around the bricks. Made things a lot cleaner to work with.
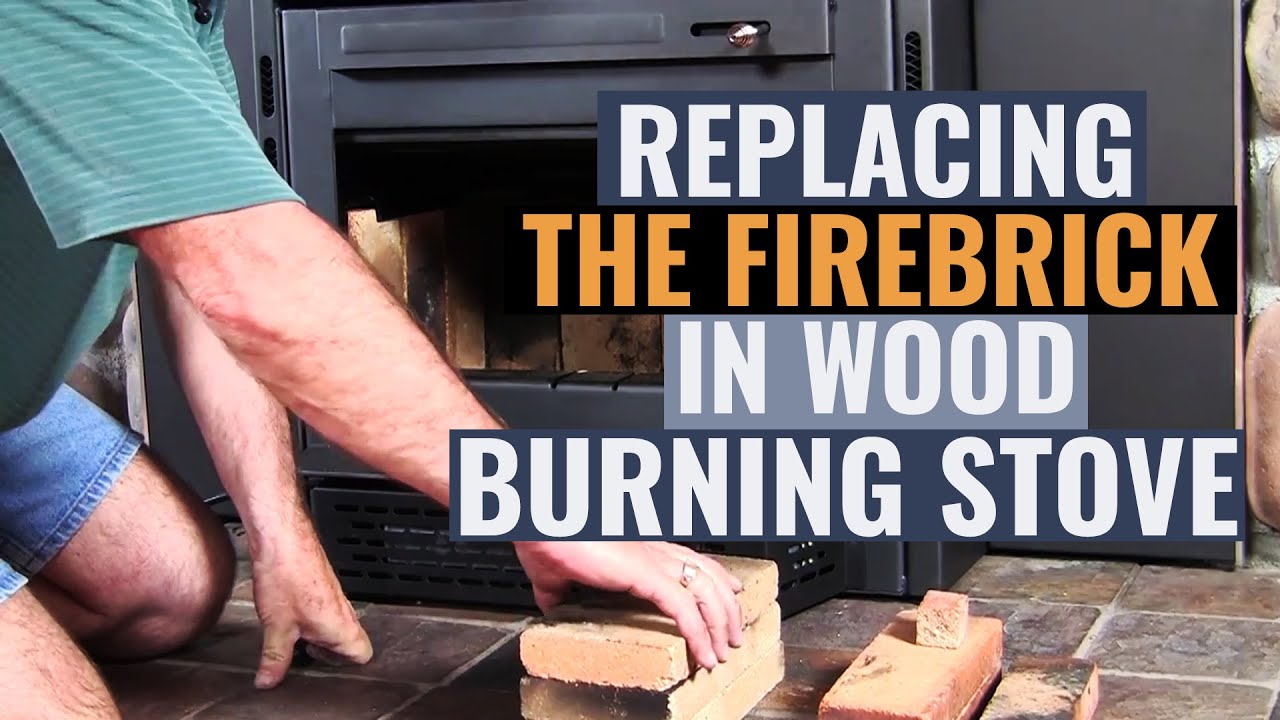
Next, the fun part – getting the old bricks out. I started with the cracked ones, obviously. I gently used the pry bar to loosen them, working around the edges. Some came out easy, others took a little more persuading. Don’t force anything too much, or you might break a good brick.
Once I had the broken ones out, I carefully removed any other bricks that needed to come out to make space. I just kept track of where they went, using my photos as a guide.
With all the old bricks out and in the bucket, I gave the inside of the stove another good vacuuming. Got rid of all the dust and little bits of broken brick.
Putting in the New Bricks
Now for the easy part – putting the new bricks in. I basically just reversed the process, sliding them into place according to my photos. It was like a little puzzle. I made sure they were snug, but not forced. Fire bricks need a little room to expand and contract with the heat.
I double-checked everything, made sure all the bricks were seated properly, and that there weren’t any big gaps.
Done and Dusted!
And that’s it! I closed the stove door, stood back, and admired my handiwork. Not bad for a DIY job. Now I’m ready for those cold nights, knowing my stove is in good shape. The whole thing took me maybe an hour, tops. It’s really a pretty simple job, and it saves you the cost of calling a professional.
The important things are take your time,be safe, and keep clean.
