
Okay, here’s my blog post about replacing the bricks in my fireplace:
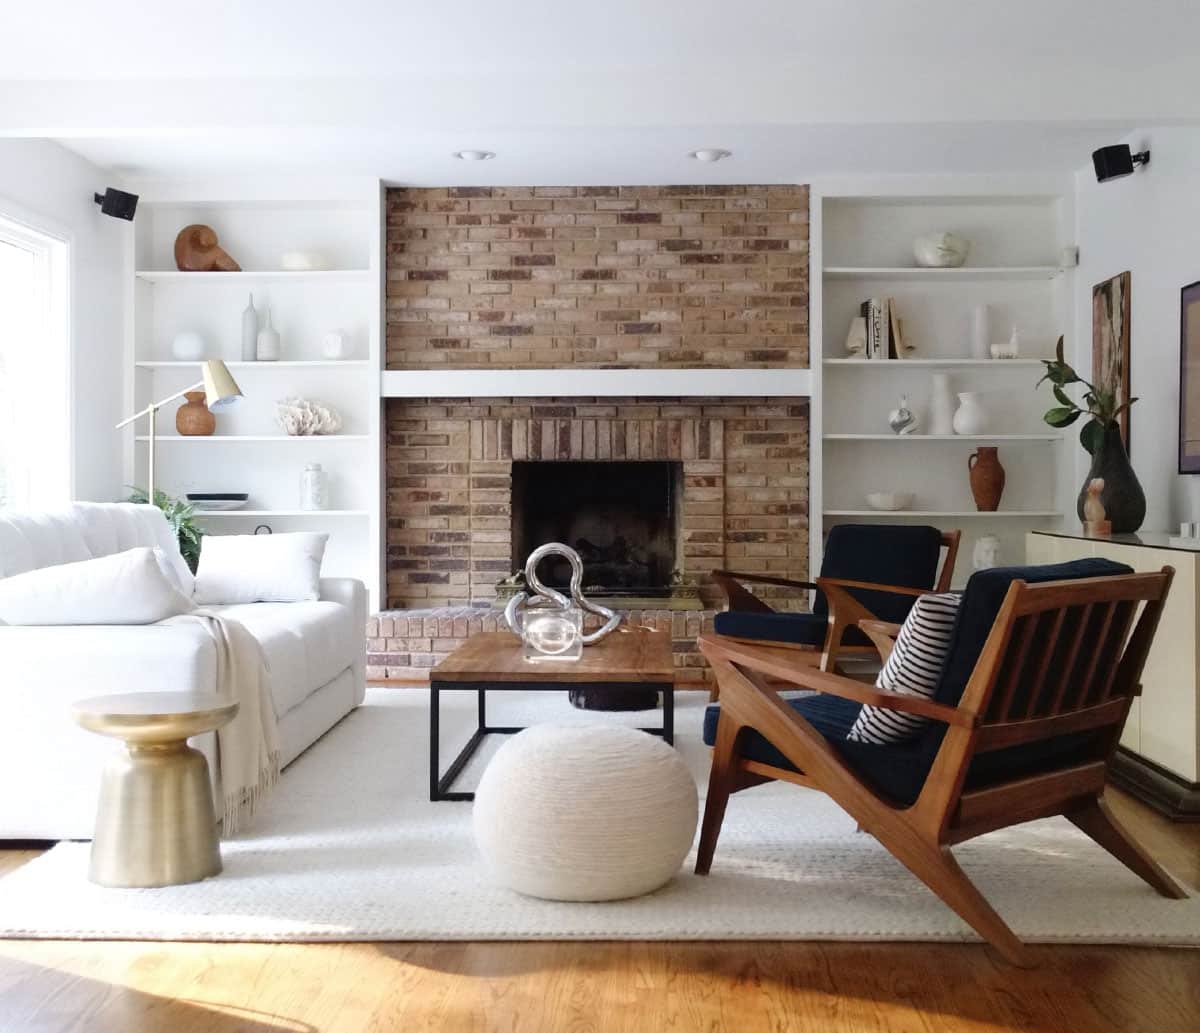
So, the old bricks in my fireplace were looking pretty rough. Cracked, crumbling, just generally nasty. I figured it was time for an upgrade, something to make the whole living room look a bit nicer. I’m no expert, but I’m pretty handy, so I thought, “Why not give it a shot myself?”
Getting Started
First things first, I cleared everything out. Moved the furniture, laid down some drop cloths – you know, the usual prep work to avoid making a bigger mess. Then, I got to work on the old bricks.
I used a good ol’ hammer and chisel to start breaking up the old mortar. It was tougher than I expected! Some of those bricks were really stuck in there. I just took my time, chipping away bit by bit. Safety glasses are a MUST here, folks. Flying bits of brick are no joke.
Removing the Old Bricks
Once the mortar was loosened up, I could start pulling out the old bricks. Some came out easy, others needed a bit more convincing with the hammer and chisel. It was a dusty, messy job, but pretty satisfying to see those ugly old bricks coming out.
- Wear gloves: Seriously, save your hands.
- Take breaks: It’s tiring work.
- Have a shop vac handy: For all the dust and debris.
- Go slowly: Do not hurry.
Prepping for the New Bricks
With the old bricks gone, I had a nice, empty space to work with. I cleaned up all the loose mortar and dust, making sure the surface was as clean as possible. I used a wire brush to scrub away any stubborn bits.
Then get the new bricks and did a “dry fit.” Basically, I laid them out without any mortar to see how they’d fit and if I needed to cut any. Turns out, I did need to cut a few to fit around the edges. I rented a wet saw from the home improvement store – made the job way easier and cleaner than trying to do it by hand.
Mortar Time!
Mixing the mortar was, I thought so easy. I followed the instructions on the bag, adding water until it was the consistency of, like, thick peanut butter. Then, I started spreading it onto the back of the fireplace and on the bottom where the bricks would go.

I carefully placed each brick, pressing it firmly into the mortar. I used some spacers (little plastic things) to keep the gaps between the bricks even. This part was actually kind of fun, like building with giant, heavy LEGOs.
Finishing Up
After all the bricks were in, I let the mortar dry for a full 24 hours. Then, I went back and filled in any gaps with more mortar, using a pointing tool to make it look nice and smooth.
Finally, I cleaned up any excess mortar with a damp sponge. And that was it! My fireplace had a whole new look. It took a couple of weekends, but it was totally worth it. Saved myself a bunch of money doing it myself, and honestly, it looks pretty darn good, if I do say so myself!
