Okay, here’s my blog post about building a brick fire pit, written in a casual, first-person style, and using simple HTML tags for formatting:
So, I decided my backyard needed a little something extra, and what’s better than a fire pit? I’m no expert, but I figured, how hard could it be to stack some bricks in a circle? Turns out, it’s a bit more involved than that, but totally doable. Here’s how my fire pit adventure went down.
Planning and Prep
First, I picked a spot. I made sure it was away from the house, trees, anything that could catch fire. Safety first, folks! I also checked with the local authorities regarding burn permits – nobody wants a visit from the fire department for the wrong reasons.
Then, I sketched out a rough design. Just a simple circle, nothing fancy. I measured the diameter I wanted (about 4 feet seemed good) and marked it out on the ground with some spray paint.
Gathering Supplies
Next up, a trip to the hardware store! Here’s what I grabbed:
- Bricks: I got regular old red bricks. Enough to make a circle a few layers high.
- Gravel: For the base, to help with drainage.
- Sand: To level things out.
- Shovel: Obviously.
- Gloves: Because bricks are rough.
- Level: To make sure things weren’t totally crooked.
- Tamper: I rent it.
Getting Dirty
I dug out the circle I marked, about 6 inches deep. This was the hardest part, honestly. My back was not happy.
I poured in a layer of gravel, a couple of inches thick, and tamped it down really well. This is important for drainage, so your fire pit doesn’t become a muddy mess.
Then, I added a layer of sand, about an inch, and leveled it out as best as I could. This is your foundation, so take your time.

Stacking Bricks
Now for the fun part! I started laying the bricks in a circle, using the edge of the dug-out area as a guide. I didn’t use any mortar, just stacked them dry. Seemed easier, and I figured I could always redo it if it didn’t work out.
I kept adding layers, checking the level every now and then. It wasn’t perfect, but it was good enough for me. I ended up with about four layers of bricks, which felt like a good height.
The Finished Product (Almost)
Once the bricks were stacked, I filled the bottom with a bit more gravel, just to make a nice base for the fire.
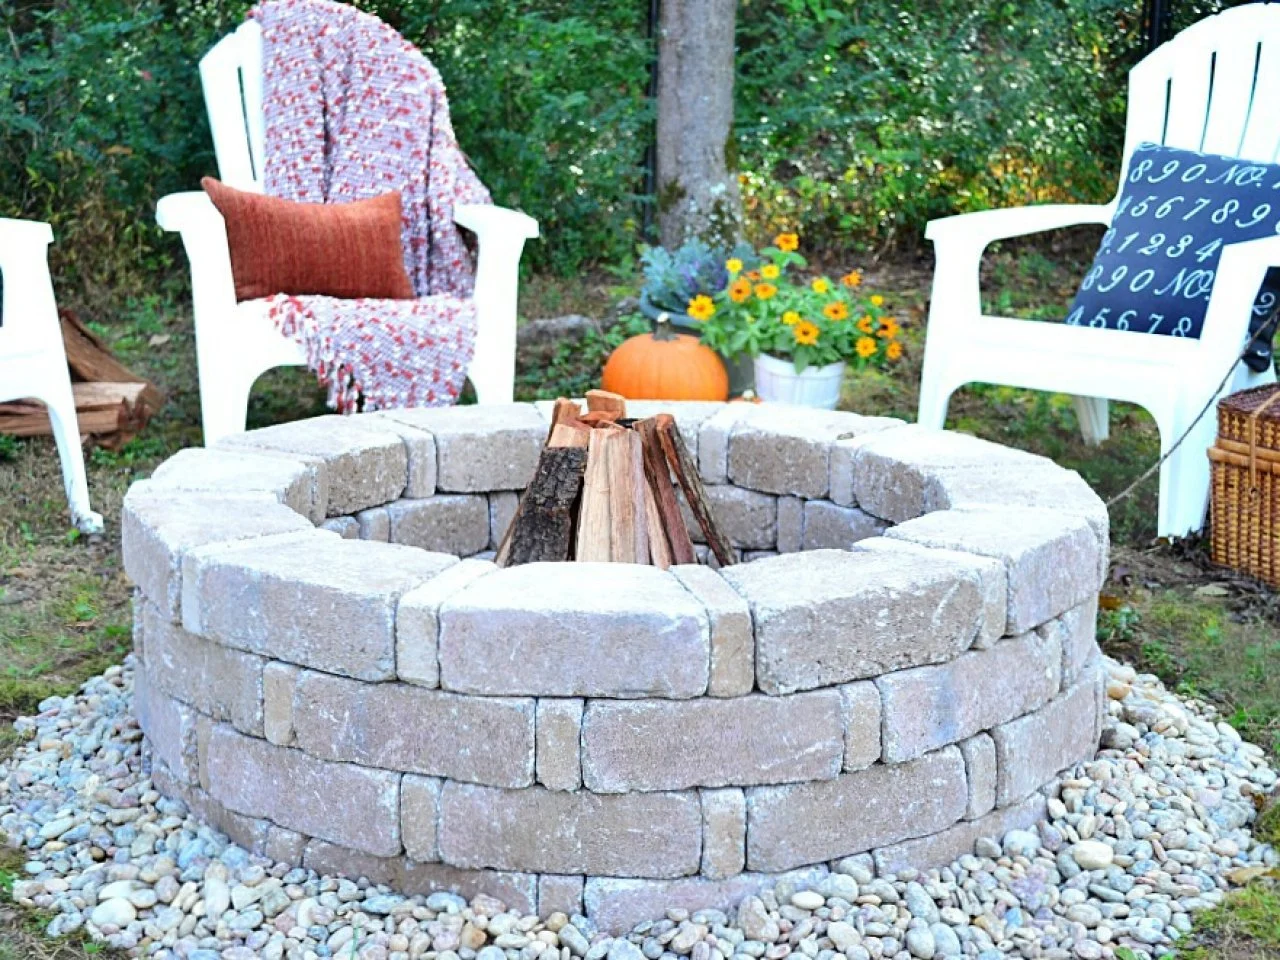
And that’s it! My very own, slightly wonky, but totally functional brick fire pit. I’m pretty proud of it, even if it’s not perfect. It’s a great place to hang out on a cool evening, roast some marshmallows, and tell some stories.
My fire pit turned out to be simple and a totally great place to sit!
