
Okay, here’s my blog post about building a brick grill, written from my personal experience and in a casual, conversational tone:
So, I’ve always wanted a nice grill in my backyard, you know, something more permanent than those flimsy metal ones. I decided to go all-in and build a homemade brick grill. Let me tell you, it was a project, but totally worth it!
Getting Started
First, I picked a spot in my backyard. I made sure it was away from anything that could catch fire, like trees or the house. I wanted to consider safety, so I made sure it wasn’t near anything that could catch fire easily.
Then, I drew up some rough plans. Nothing fancy, just a basic rectangular shape. I figured out how big I wanted the grilling surface to be and how high off the ground. I kinda just eyeballed it, to be honest.
Laying the Foundation
Next up, I dug a shallow pit where the grill was going to be. I made it a bit bigger than the grill itself, I am going to fill the extra space. Then I dumped in some gravel for drainage and tamped it down real good. This was my base.
Building the Walls
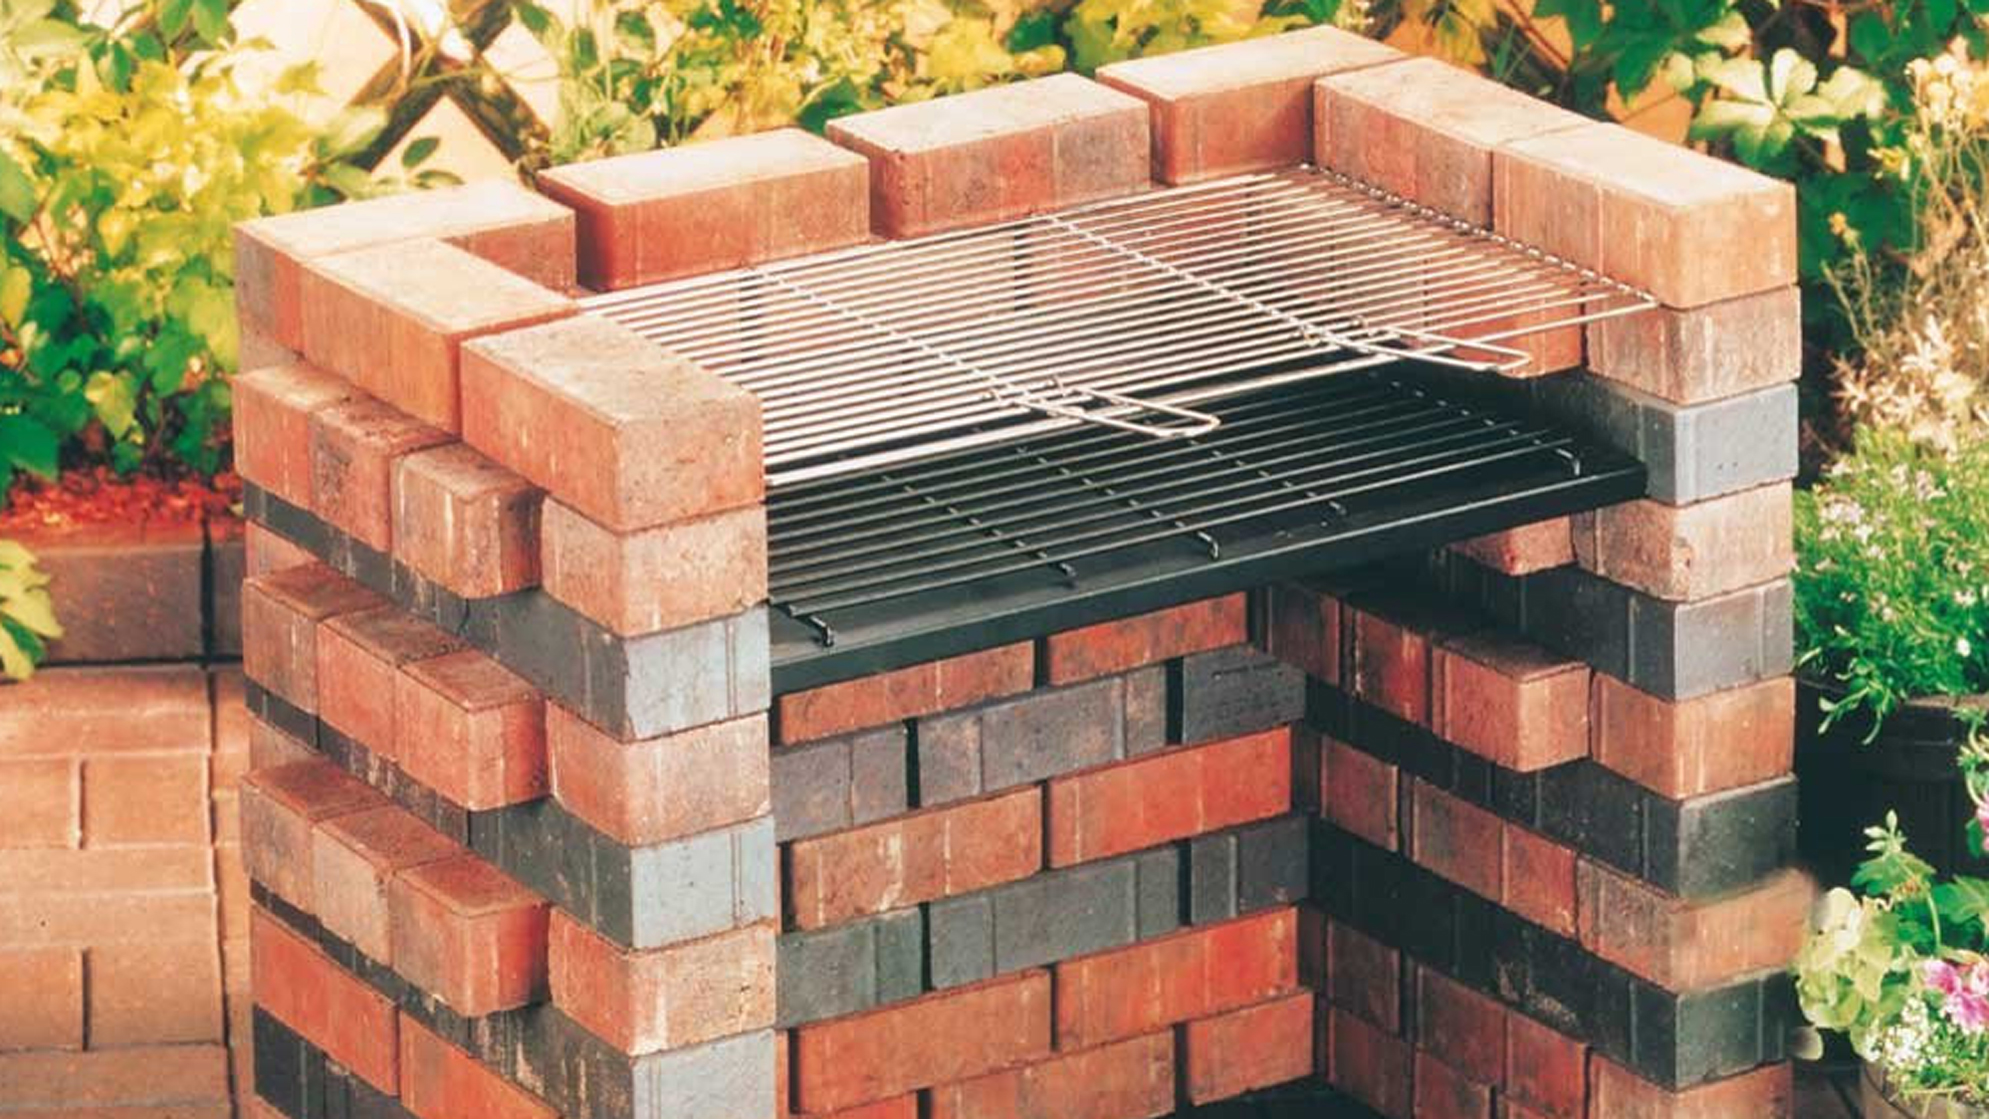
This is where the real work began. I started laying bricks, using mortar to hold them together. I’d never done this before, so it was a bit messy at first. I used a level to make sure the walls were straight, and I’d step back every few rows to see how it looked. I just kept building up the walls, layer by layer, until they were the height I wanted.
- Tip: Soak the bricks in water before laying them, and use a trowel to apply the mortar. Don’t be scared to use water, it is also helpful.
- Another Tip: I used a level every rows to make sure everything was looking pretty straight.
Creating the Grill Surface
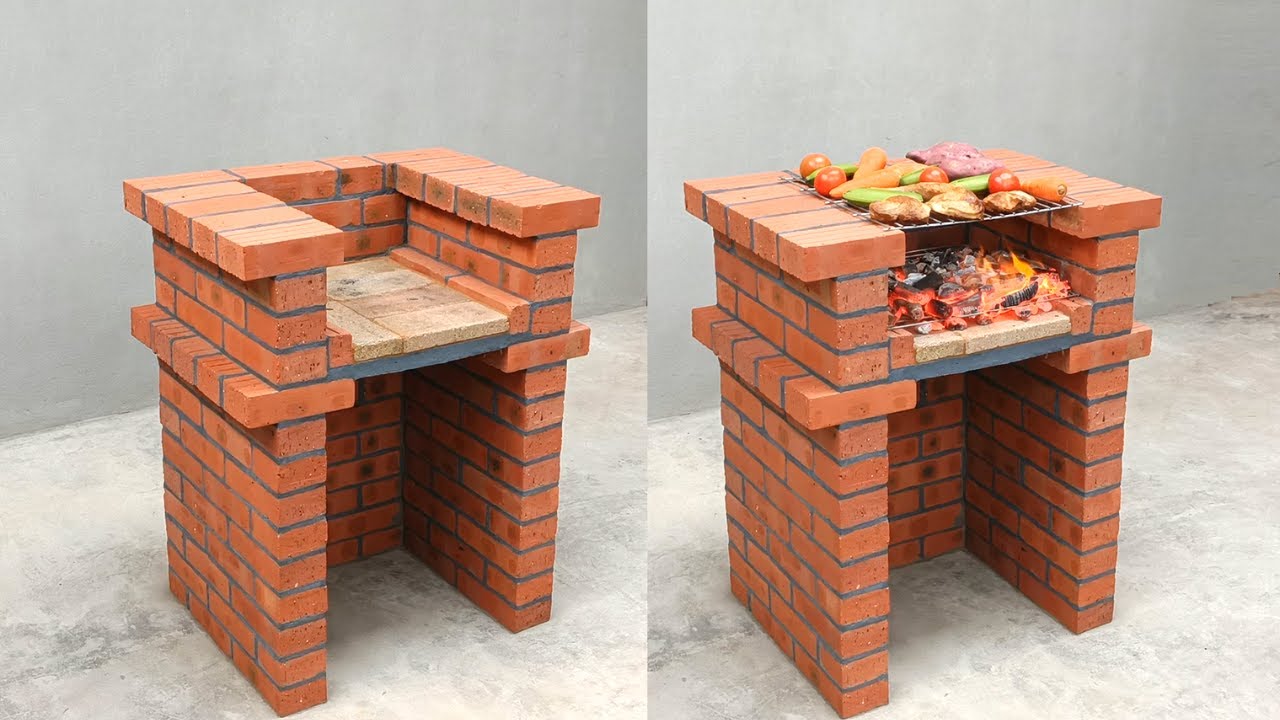
Once the walls were done, I left some gaps in the top layer of bricks to hold the grill grates. and I bought the metal grates from a store. I placed the grates into those gaps. I thought about making some, but that seemed like a whole other project.
Finishing Touches
I let the mortar dry for a few days. And I cleaned up any extra mortar that had squeezed out. After I was done, I wanted to see how the grill performed. And I was super stoked with how it turned out!
It’s not perfect, some of the bricks are a little crooked, but it’s mine, and I built it. There’s something really satisfying about cooking on something you made yourself. If you’re thinking about doing this, I say go for it! Just be prepared for some hard work, and don’t be afraid to get your hands dirty!
