
Okay, folks, let’s talk about my little adventure with brick grills. I’ve always loved the idea of having a proper, built-in grill in my backyard. Something sturdy, something that screams “I take my grilling seriously!” So, I decided to take the plunge and build one myself using bricks.
Planning and Design
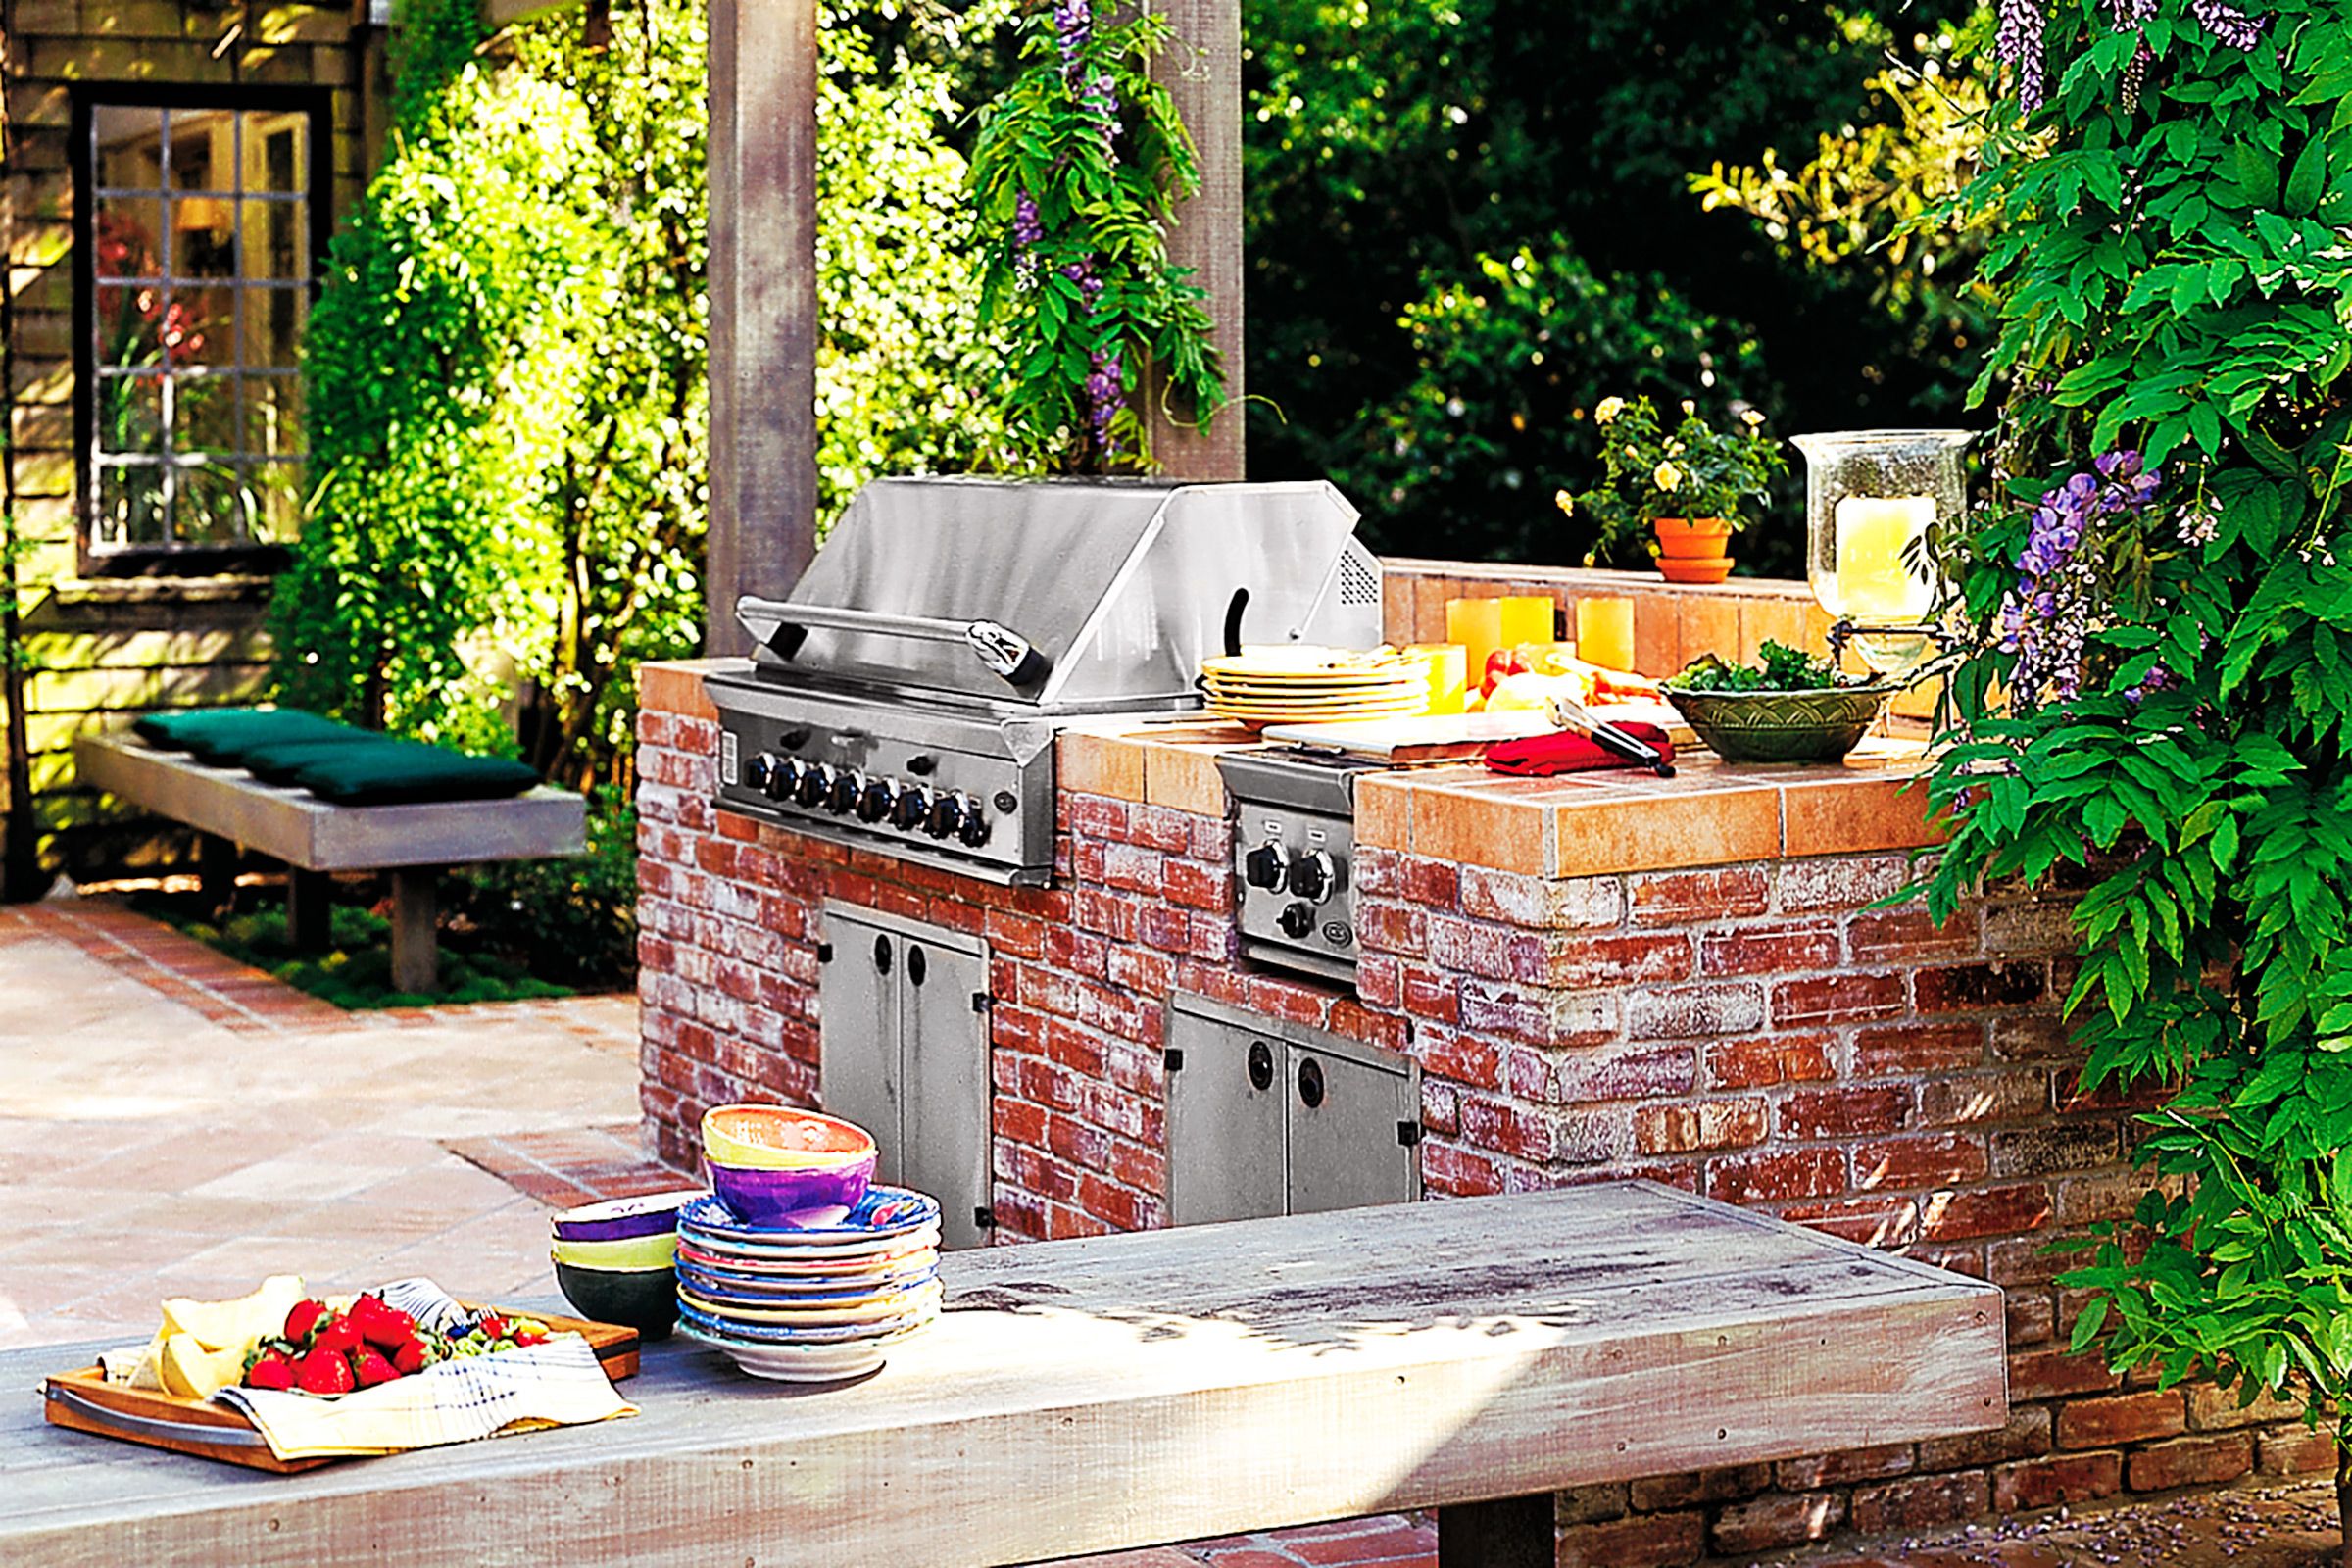
First things first, I needed a plan. I spent a good chunk of time just sketching out ideas on paper. I wanted something simple, but not too simple. I went with a rectangular design, basically a big brick box with an open top. It measured around 3 feet in width, 2 feet in depth, and roughly 3 feet in height.
I also had to figure out how to arrange the bricks. I opted for a running bond pattern – you know, the classic brick wall look where each row is offset by half a brick. Seemed like the easiest and strongest option for a newbie like me.
Gathering the Supplies
Next up, the shopping trip. I hit up my local hardware store and loaded up on:
- Bricks: Lots of ’em. I went with standard red clay bricks.
- Mortar mix: This is the “glue” that holds the bricks together.
- Sand: Used for the foundation, to make sure everything is level.
- Gravel: Also for the foundation, for drainage.
- Metal grill grates: Obviously, you need something to cook on!
- Angle iron: To support the grill grates inside the brick structure.
I also grabbed some basic tools: a trowel, a level, a rubber mallet, a shovel, and a wheelbarrow. Oh, and don’t forget gloves! Mortar can be rough on the hands.
Building the Foundation
Before laying any bricks, I had to prepare the ground. I dug out a shallow area where the grill would sit, a little bigger than the grill’s footprint. Then, I poured in a layer of gravel, followed by a layer of sand. I used the level to make sure everything was nice and flat. This is super important – a wonky foundation means a wonky grill!
Laying the Bricks
Now for the fun part (and the back-breaking part!). I mixed up the mortar according to the instructions on the bag. It should be like a thick peanut butter consistency. Then, I started laying the bricks, one row at a time.
I’d spread a layer of mortar on the foundation, place a brick, tap it down with the rubber mallet, and check the level. Then, repeat, repeat, repeat. For the running bond pattern, I had to cut some bricks in half with a hammer. The spaces between the bricks (the mortar joints) should be about 1/2 inch thick.
As I built up the walls, I incorporated the angle iron. These pieces were placed horizontally across the inside of the grill, creating ledges to support the grill grates later on. I simply mortared them in place between the brick courses.
Finishing Touches
Once the walls were up to the height I wanted, I let the mortar cure for a few days. This is crucial for the structural integrity of the grill. Don’t rush it!
After the curing, I placed the metal grill grates on top of the angle iron supports. And that’s it! My very own, homemade brick grill.
I’ve fired it up a few times now, and let me tell you, there’s something extra satisfying about grilling on something you built with your own two hands. Burgers, steaks, veggies – it all tastes better. If you want to use it for the first time, remember to do a small test fire first.
It wasn’t a super quick project, and my back definitely felt it, but it was totally worth it. If you’re thinking about building your own brick grill, I say go for it! Just be prepared to get your hands dirty and put in some sweat equity.
