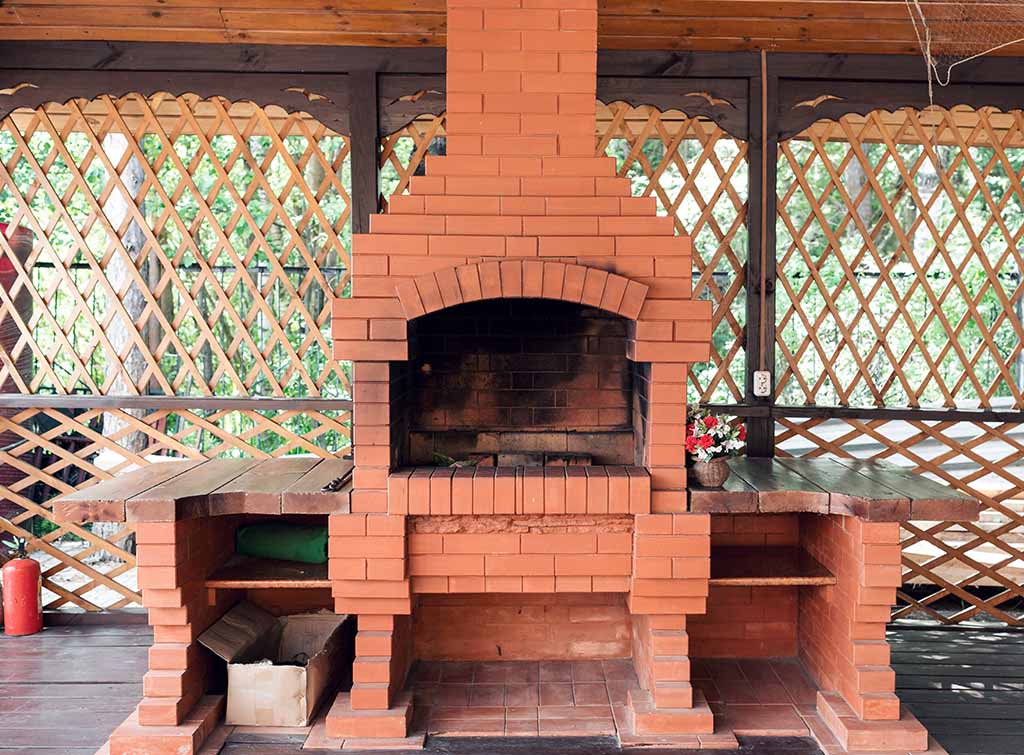
Okay, so I’ve always wanted a cool outdoor grill area, and bricks just seemed like the way to go. It looked sturdy, classic, you know? So, I finally decided to tackle it. Let me tell you, it was a bigger project than I thought, but totally worth it!
Planning and Prep
First, I spent a good chunk of time just figuring out where I wanted it. I walked around the yard, imagining the grill in different spots. Finally, I picked a place that was close enough to the patio but not too close to the house (fire safety, people!).


Then came the design. I’m no artist, but I sketched out a basic rectangular shape on some paper. I looked at some pictures online for inspiration, but mostly kept it simple. I just wanted something functional, not fancy.
Next up, materials. Oh boy. I went to the local hardware store and loaded up my truck with a ton of bricks – way more than I thought I’d need, but better safe than sorry. I also grabbed bags of sand, gravel, and mortar mix. Don’t forget a good level, a trowel, and some string. And gloves! Definitely gloves.
Building the Base
I started by marking out the area with string and stakes. Then, the digging began. I dug down about 6 inches, making sure the ground was pretty level. This was the hardest part, honestly. My back was killing me!
After the digging, I poured in a layer of gravel, then a layer of sand. I used a tamper (basically a heavy, flat thing on a stick) to pack it all down tight. This was my foundation, so I wanted to make sure it was solid.
Laying the Bricks
This is where the fun (and frustration) began. I mixed up the mortar according to the instructions on the bag. It’s kind of like making really thick, sticky cement.
I started laying the bricks along the edges of my foundation, spreading mortar on the bottom and sides of each brick. I used the level constantly to make sure everything was straight and even. This took a lot of patience, and I definitely messed up a few times. But that’s okay, mortar is forgiving (until it dries!).


I kept building up the walls, row by row, making sure to stagger the bricks like you see on a regular brick wall. This makes it stronger. I also left some gaps in the bottom row for air circulation (gotta have that for the fire!).
The Finishing Touches
Once the walls were up to the height I wanted (about waist-high), I let the mortar dry for a couple of days. Then, I went back and filled in any gaps with extra mortar, making it look nice and neat.
I decided to add a simple metal grate on top to hold the charcoal. Found one at the hardware store that fit perfectly. And that was it! My very own brick grill.
It’s not perfect, it’s a little rough around the edges, but I built it myself. And that first burger I grilled on it? Best tasting burger ever. Now, to plan some outdoor dinners!


