
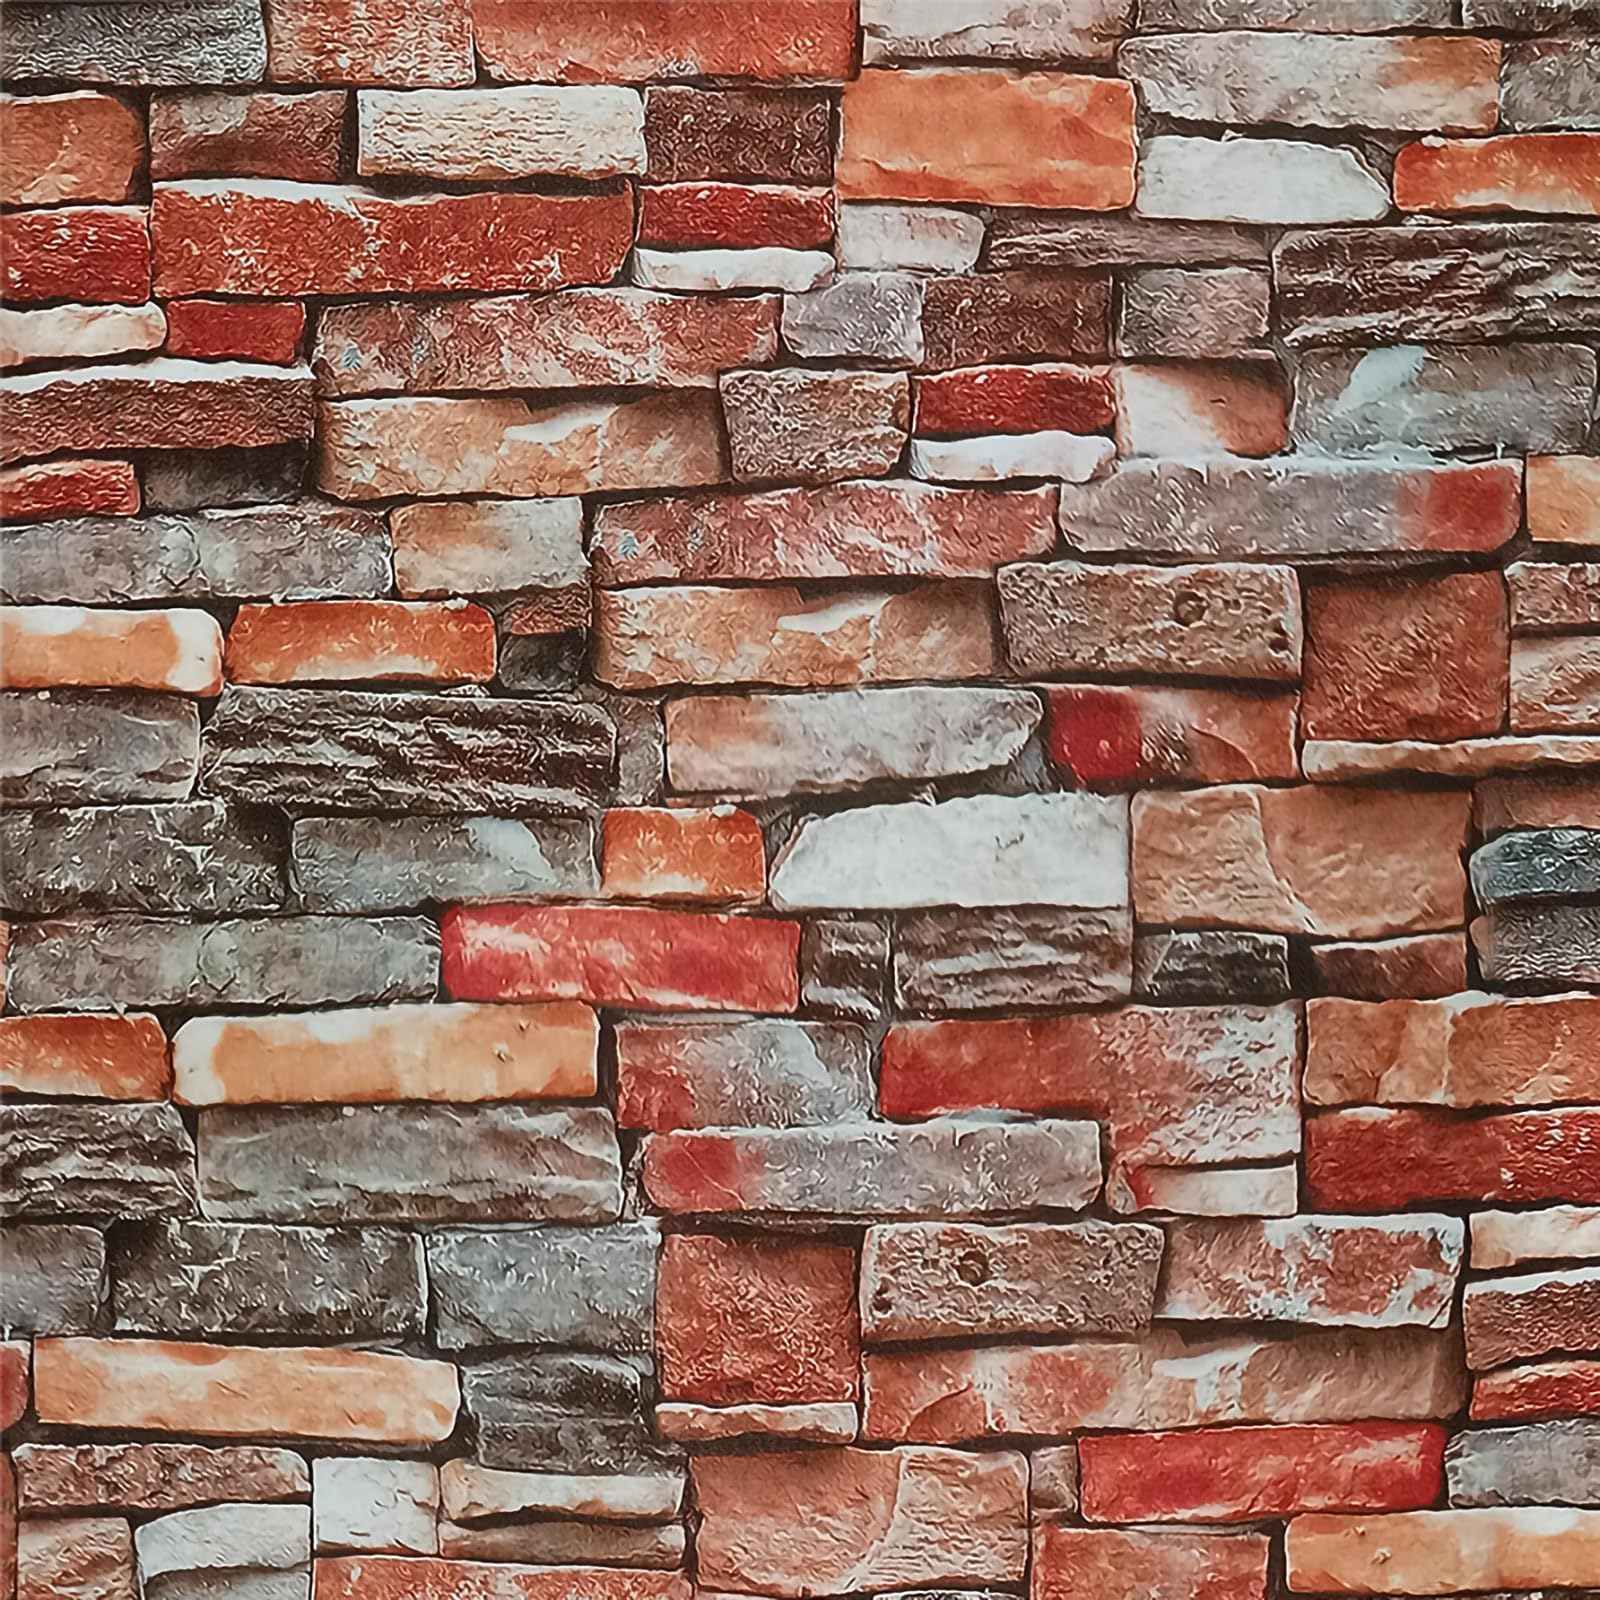
Okay, so I saw this idea online for making your fireplace look, well, more like a real fireplace using just wrapping paper. I was like, “No way, that’s gotta be too good to be true.” But, I had this roll of brick-patterned wrapping paper leftover from Christmas, and my fireplace was looking pretty sad, so I figured, why not?
First, I cleaned the heck out of the fireplace surround. I mean, I got in there with soap and water and a scrub brush. You want that paper to stick, so it’s gotta be spotless. No dust, no soot, nothing.
Getting Started
Then, I measured the area I wanted to cover. I wanted it on the inside part of the fire place, not the full surrounding wall, just the area where you see the bricks, that needed some help. I added a few extra inches to each measurement, just in case. Better to have too much than not enough, right?
Next, I unrolled the wrapping paper on my kitchen floor (it was the biggest space I had!). I used those measurements and a ruler to mark out the pieces I needed. I even labeled them – “top,” “left side,” “right side” – so I wouldn’t get confused later.
Cutting and Pasting Time!
Then came the cutting. I grabbed my good scissors (the ones I hide from the kids) and carefully cut along the lines. It was that thick, kinda textured wrapping paper, so it wasn’t too bad to cut.
- Cleaning: Used soap, water and scrub brush to get the area clean.
- Measuring: Measured the area of where I wanted the paper, added extra.
- Cutting: Used scissors to cut along lines.
Now for the fun part – sticking it on! I decided to use double-sided tape, the heavy-duty kind. I figured it would be easier to remove than glue if I ever changed my mind. I put strips of tape all along the edges of the wrapping paper pieces, and a few extra strips in the middle for good measure.
Starting with the top piece, I carefully lined it up with the top of the fireplace opening and pressed it down. I used a smooth, flat edge (a credit card would work, but I used a small ruler) to smooth out any bubbles or wrinkles. Then I did the same with the side pieces, making sure they lined up with the top one. It will look good if you try to make the pattern look continue.
The Result!
And…wow! It actually looked pretty good! From a distance, you’d almost think it was real brick. Up close, yeah, you can tell it’s paper, but it’s a HUGE improvement over what it looked like before. And it only took me, like, an hour, tops. Seriously, if you’re looking for a super cheap and easy way to spruce up your fireplace, give this a try. You might be surprised!

