
Okay, folks, let’s talk about my little weekend project: building a BBQ pit using one of those brick BBQ kits and some extra bricks. I’m no expert, but I love a good DIY challenge, and my backyard was seriously lacking a proper grilling setup.
Getting Started
First, I picked up a standard brick BBQ kit. These things are pretty basic, usually just a metal grate, an ash tray, and some instructions. I also grabbed a bunch of extra bricks from the home improvement store – the regular, red clay kind. I figured I’d need them to build up the sides and make the whole thing a bit sturdier.
Laying the Foundation
I started by clearing a level spot in the yard. No fancy concrete slab for me, just good old dirt. I laid down a layer of bricks to form a base, making sure it was roughly the size of the BBQ kit’s footprint. I didn’t use any mortar or anything; I just wanted a solid, flat surface to build on.
Building the Walls
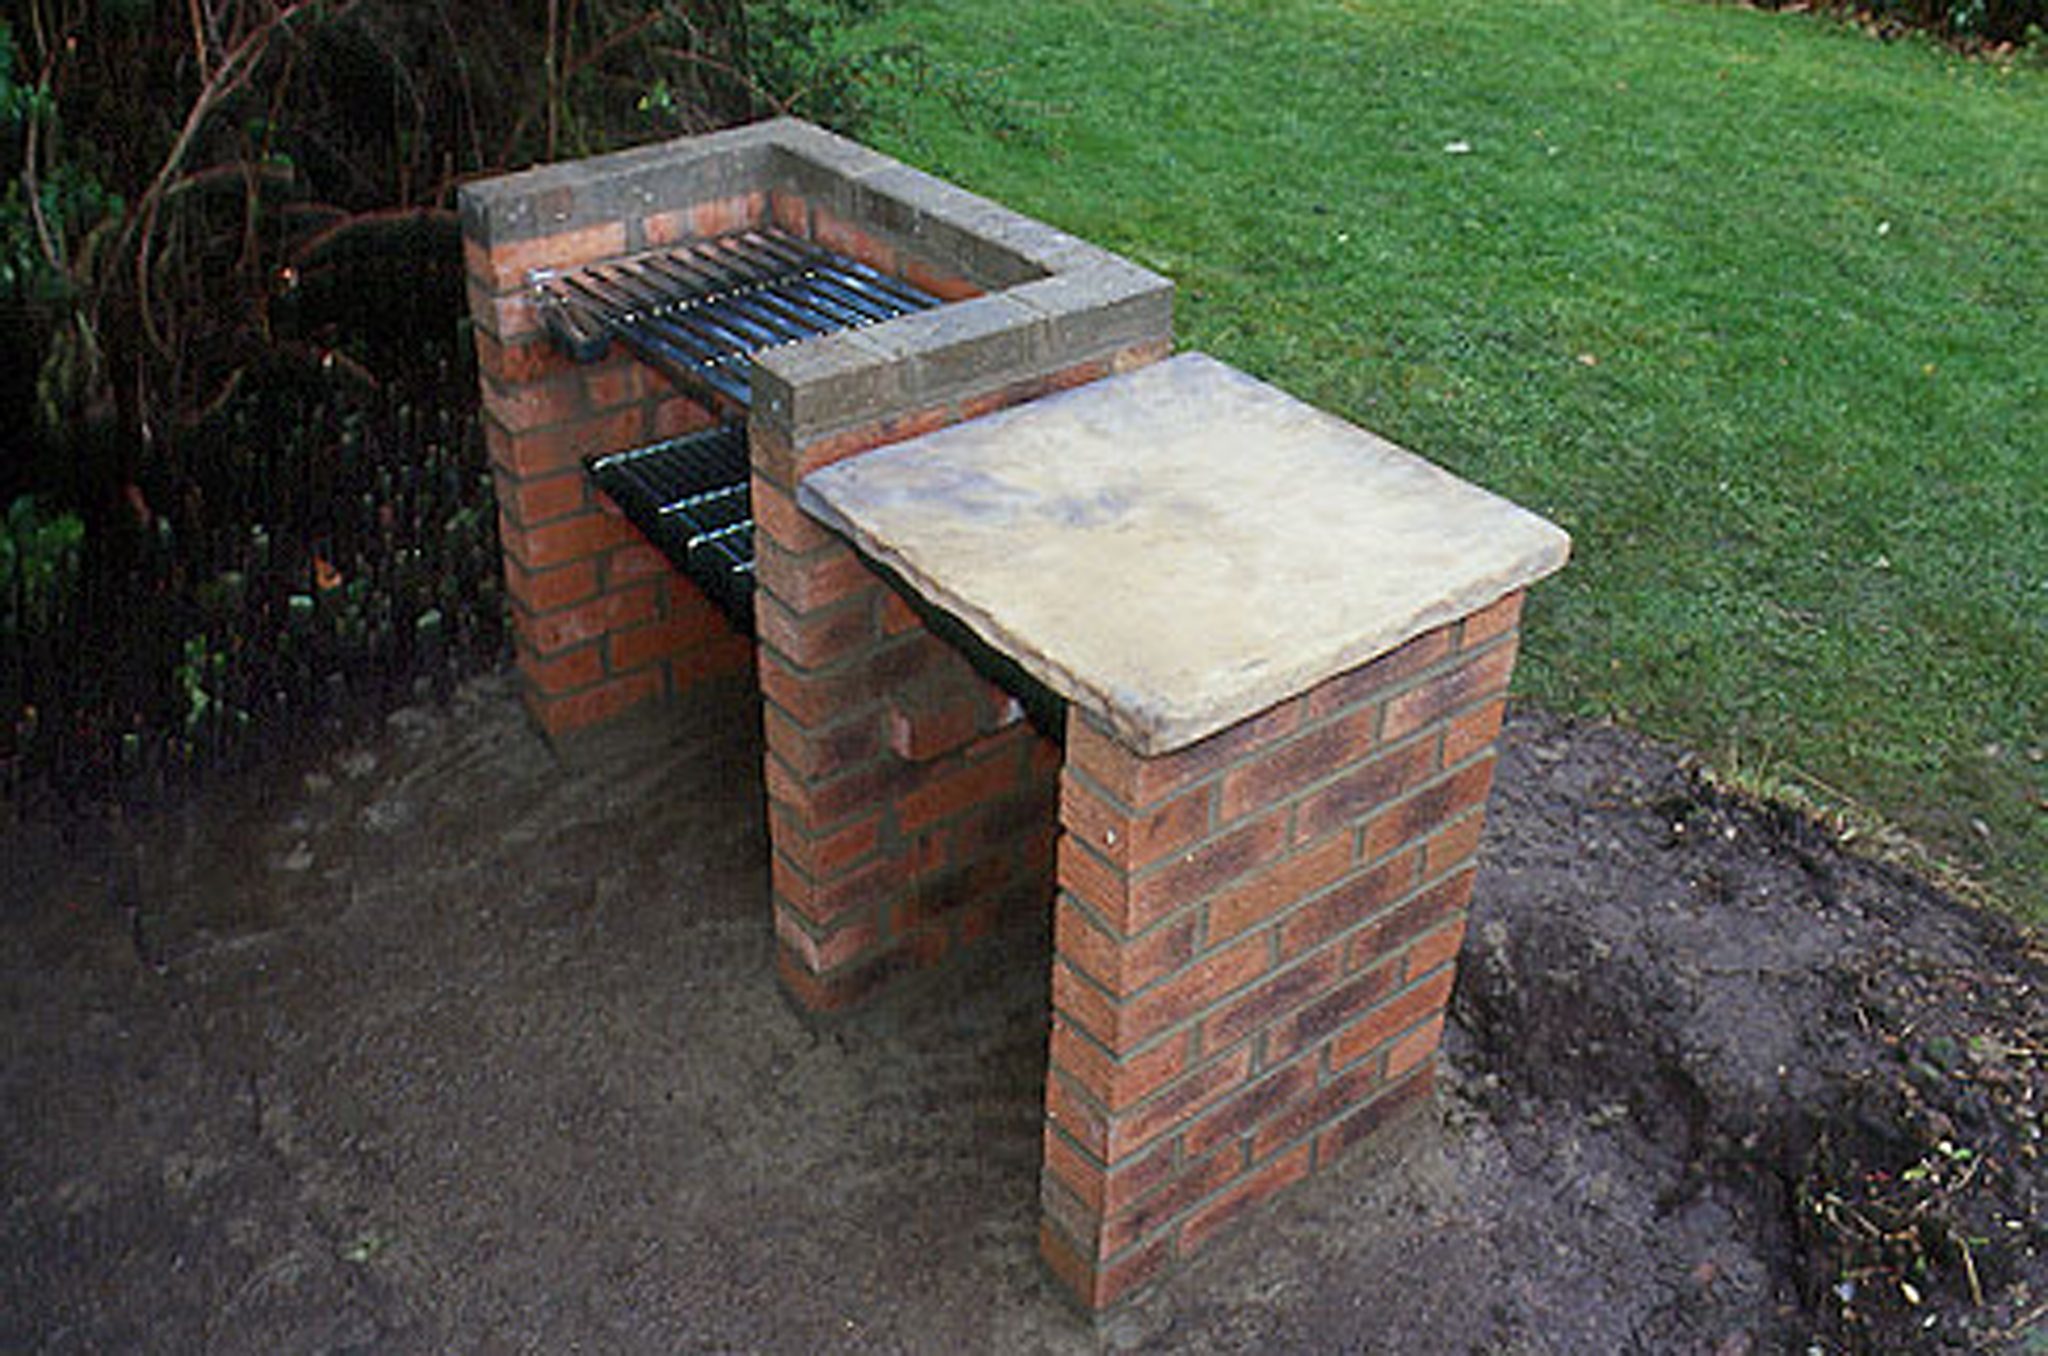
Next, I started stacking the bricks around the edges of the base, creating the walls of the pit. I followed the basic instructions that came with the kit, but I also added my own touches. I made the walls a bit higher than suggested, mostly because I wanted to keep the heat in better and have more room for charcoal.
- I staggered the bricks like you’re supposed to, you know, for strength.
- I didn’t use any mortar here either, just dry-stacked them.
- I made the walls a bit higher than suggested.
Putting the Kit in Place
Once the walls were high enough, I carefully placed the metal grate and ash tray from the kit into the pit. They rested nicely on the bricks, and I made sure everything was level and stable. I double-checked to the walls, and I made sure everything was level and stable by using a spirit level.
The First Cookout!
And that was pretty much it! I let everything settle for a day or two, just to be safe. Then, I fired it up with some charcoal and grilled some burgers and hot dogs. It worked like a charm! The extra height of the walls seemed to help keep the heat in, and the whole thing felt really solid.
It’s not the prettiest BBQ pit in the world, but it’s mine, and it works great. Plus, I built it myself, which is always a good feeling. If you’re thinking about building your own, I say go for it! Just take your time, follow the basic instructions, and don’t be afraid to get creative.
