
Okay, so I’ve always wanted a proper BBQ pit, not just one of those flimsy store-bought grills. I wanted something solid, something that would last, and something I could really be proud of. So, I decided to build my own brick BBQ pit. Let me tell you, it was a project, but totally worth it!
Getting Started
First things first, I needed a plan. I spent a good few days just looking at pictures online, getting ideas, and sketching out what I wanted. I finally settled on a simple, rectangular design. Nothing fancy, just functional.
Next up, materials. I hit up the local hardware store and loaded up on bricks – regular old red bricks, nothing special. I also grabbed some mortar mix, a trowel, a level, and a few other basic tools. I already had a shovel and a wheelbarrow, thankfully.
The Build
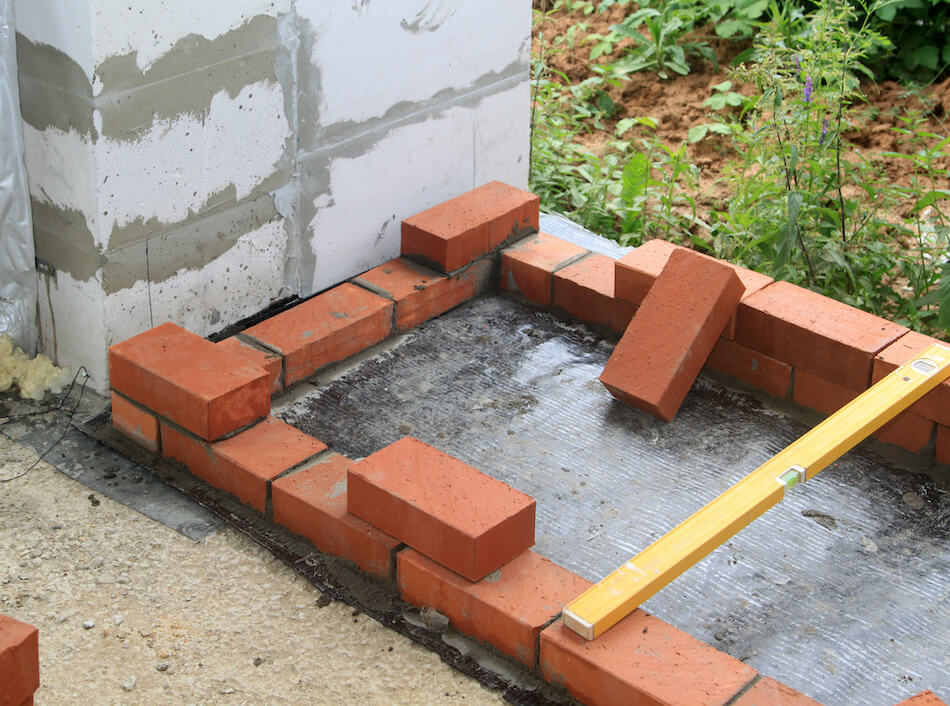
I started by digging out the area where the pit was going to go. It wasn’t too deep, just enough to get a solid base. Then I poured in a layer of gravel for drainage. I made sure it was nice and level – this was super important for the whole structure.
Then came the fun part (and the back-breaking part): laying the bricks. I mixed up the mortar according to the instructions on the bag – it’s basically like making cement, but stickier. I started with the bottom layer, carefully placing each brick and spreading mortar between them. I used the level constantly to make sure everything was straight and even.
- First layer: This was the most crucial. Get this right, and the rest is (relatively) easy.
- Subsequent layers: I staggered the bricks, like you see on a regular brick wall. This makes the whole thing stronger.
- Mortar: Too much is better than too little, but try to keep it neat. I learned that the hard way!
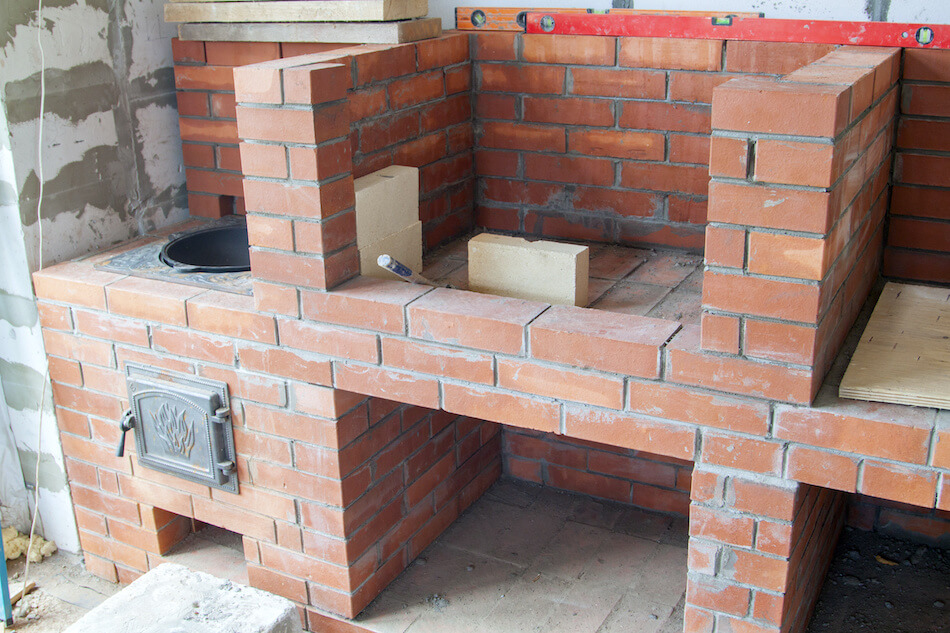
I built up the walls layer by layer, taking my time and checking the level constantly. I also left a few gaps in the bottom layer for airflow – you need that for the fire to burn properly. I did this one * the next day,I continued doing the same things.
Finishing Touches
Once the walls were up to the height I wanted, I let the mortar cure for a few days. This is important, so don’t rush it! After that, I built a simple grate out of some metal rods I found. I just laid them across the top of the pit – nothing fancy, but it does the job.
And that was it! My very own brick BBQ pit. It’s not perfect, there are a few wonky bricks here and there, but I built it myself, and that’s what matters. I’ve already used it a bunch of times, and it works great. The food tastes amazing, and it’s just so satisfying to cook on something you made with your own two hands.
It is a wonderful thing to do,I enjoy the process a lot.
