
Okay, so I’ve always wanted a fire pit in my backyard. You know, the kind you see in movies where everyone’s chilling, roasting marshmallows, and telling stories. I finally decided to stop dreaming and just build one myself. I chose to go with bricks because they’re sturdy, look pretty classic, and you can get them at most hardware stores. No super skills required, just a bit of sweat and some planning.
Laying the Groundwork
First things first, I picked a spot. It needed to be away from the house, trees, and anything that could catch fire. Safety first, always. I cleared out the grass and any debris in a circle, making it a bit bigger than the fire pit I had in mind. I wanted a good safety zone around it.
Then, I dug a shallow pit. Maybe about 6 inches deep. This was going to be the base for my fire pit. I made sure the bottom was pretty level, using a leveler tool. It doesn’t have to be perfect, but the more level it is, the easier the rest of the project will be.
Building it Up
Next, I laid down a layer of gravel in the pit. This helps with drainage, so water doesn’t pool up and make a muddy mess. I tamped it down to make a solid base.
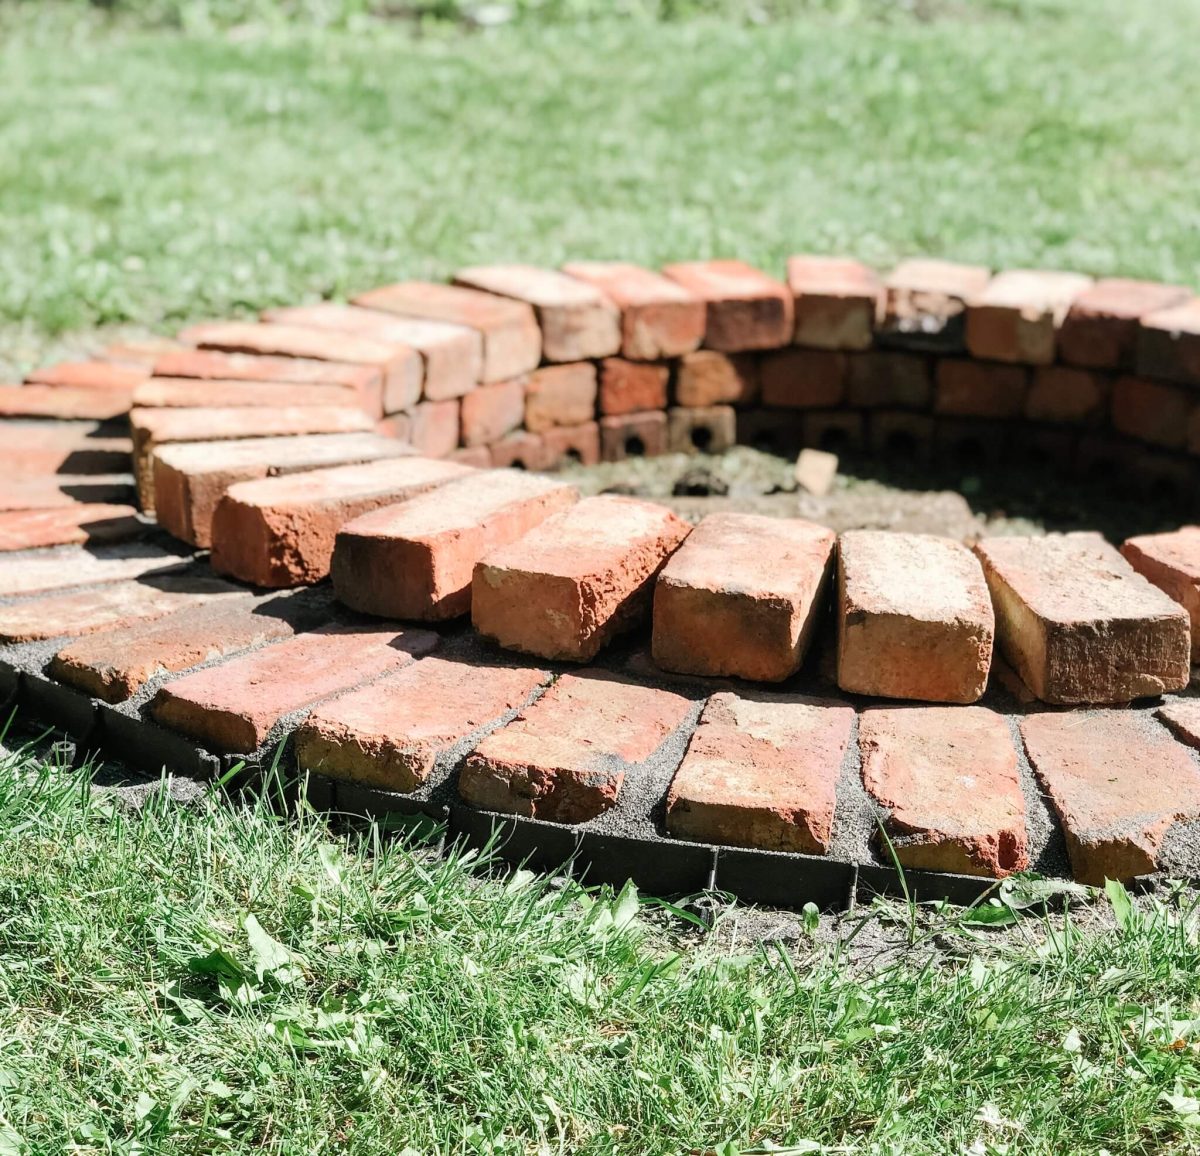
Now for the bricks! I started laying the first layer of bricks in a circle on top of the gravel, making sure they were snug against each other. I didn’t use any mortar or anything at this point, just dry-fitting them to see how it looked. I wanted to make sure I had enough bricks and that the circle was, well, a circle.
Once I was happy with the first layer, I started on the second. I staggered the bricks, like you see in a brick wall. This makes the whole thing stronger. I kept going, layer by layer, until the fire pit was the height I wanted. About four layers felt right – high enough to contain the fire, but not too tall.
Finishing Touches
The top layer, I made sure the bricks were nice and even. This is where you’ll see the most, so I took my time. I have added some extra bricks to the inside to support the fire, make it easy to clean later.
And that’s pretty much it! I stepped back and admired my handiwork. It wasn’t perfect, a little rustic maybe, but it was mine. I built that!
The first fire was awesome. Sitting around it with friends, the flames crackling, was exactly what I’d imagined.
It’s a simple project, really. Anyone can do it. And the best part? It’s a great excuse to have friends over and enjoy the outdoors.
