Okay, so the other day I got this crazy idea to build a grill out of bricks. I’ve always wanted a nice outdoor cooking setup, and store-bought grills can be pretty pricey. Plus, I figured, how hard could it be, right? Famous last words.
Getting Started
First, I spent some time looking at pictures online. There are tons of different ways to do this, it seems. I opted for a simple rectangular design, something I thought I could handle.
Then, I headed to the home improvement store. I grabbed a bunch of bricks – the regular red kind, nothing fancy. I also picked up some mortar mix, a trowel, and a level. I already had a shovel and a wheelbarrow at home, so I figured I was good to go.
The Build
Back in my backyard, I cleared a spot and leveled the ground as best as I could. Then, I started laying out the first layer of bricks, just dry-fitting them to get a sense of the size and shape. So far, so good.
Next, I mixed up the mortar according to the instructions on the bag. It’s kind of like making really thick, gritty pancake batter. Then came the messy part – actually laying the bricks with the mortar. I slapped some mortar on the bottom and sides of each brick, and squished it into place. I used the level constantly to try and keep things straight. Let me tell you, it’s harder than it looks!
- Laying the first course: This was the trickiest. Getting everything level and square was crucial.
- Building up the walls: Once the first course was set, it was a bit easier. Just repeat, repeat, repeat.
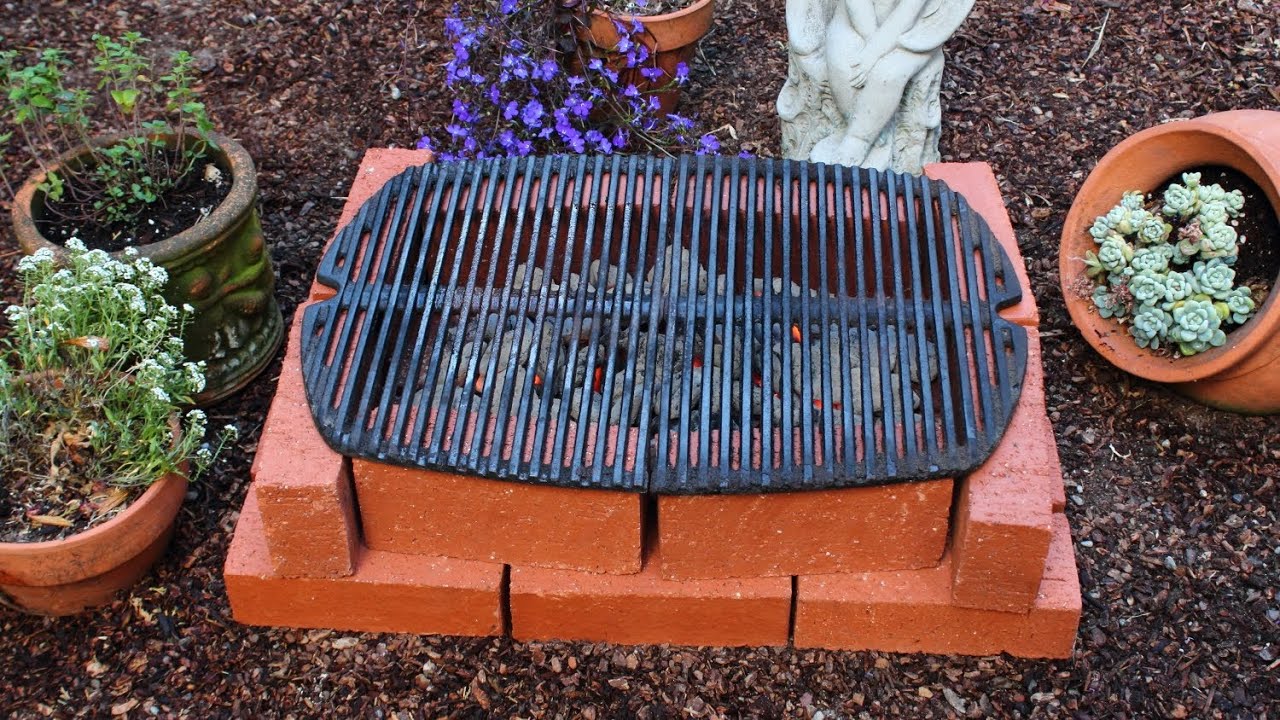
- Adding a grill surface:For this used some old metal grates.
I worked on it for a few hours each day, after work and on the weekends. It definitely took longer than I expected. My back was killing me, and my hands were covered in dried mortar. But slowly but surely, the grill started to take shape.
Finishing Up
After a few days, when it was finally all assembled. It’s not perfect, by any means. Some of the bricks are a little crooked, and the mortar lines aren’t exactly professional-looking. I left spaces,between bricks in low level for air.
But you know what? It works! I fired it up the other night and cooked some burgers and hot dogs. They tasted amazing, probably because I was so proud of my handiwork.

So, there you have it – my brick grill adventure. It was a lot of work, but totally worth it. Now I have a unique, custom-built grill that will hopefully last for years to come. Plus, I can say I built it myself!
