Okay, here’s my blog post about replacing fire bricks in my wood stove, written in a casual, first-person style:
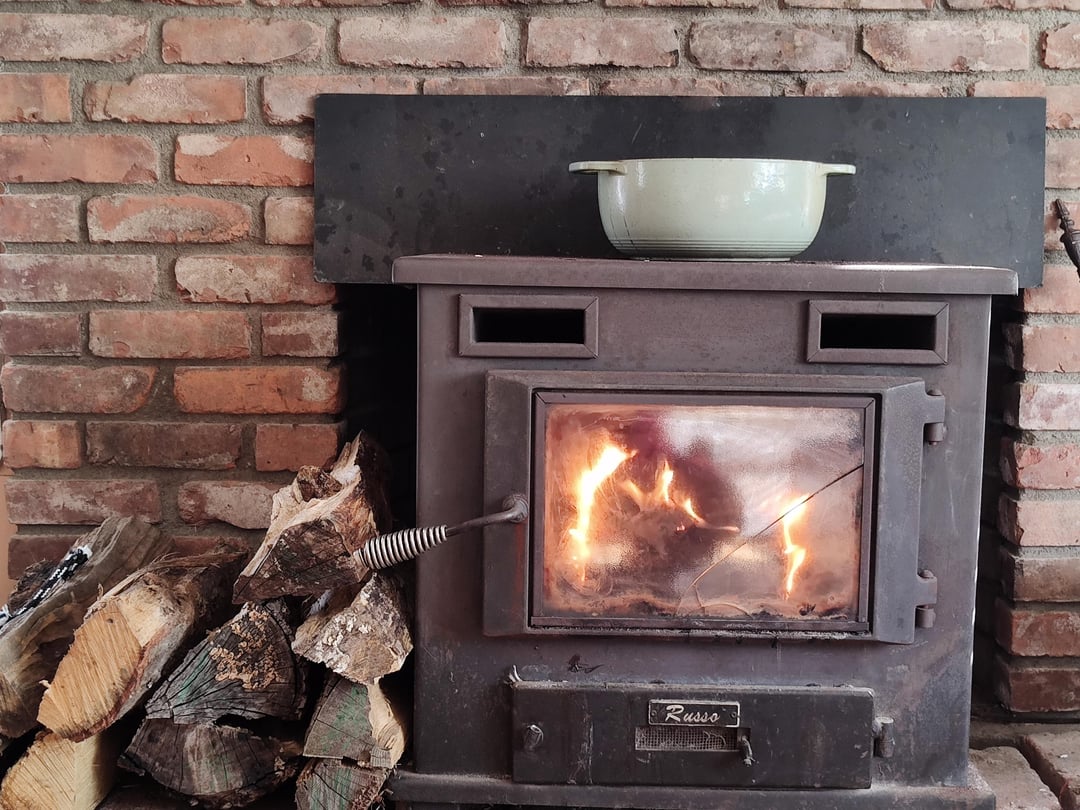
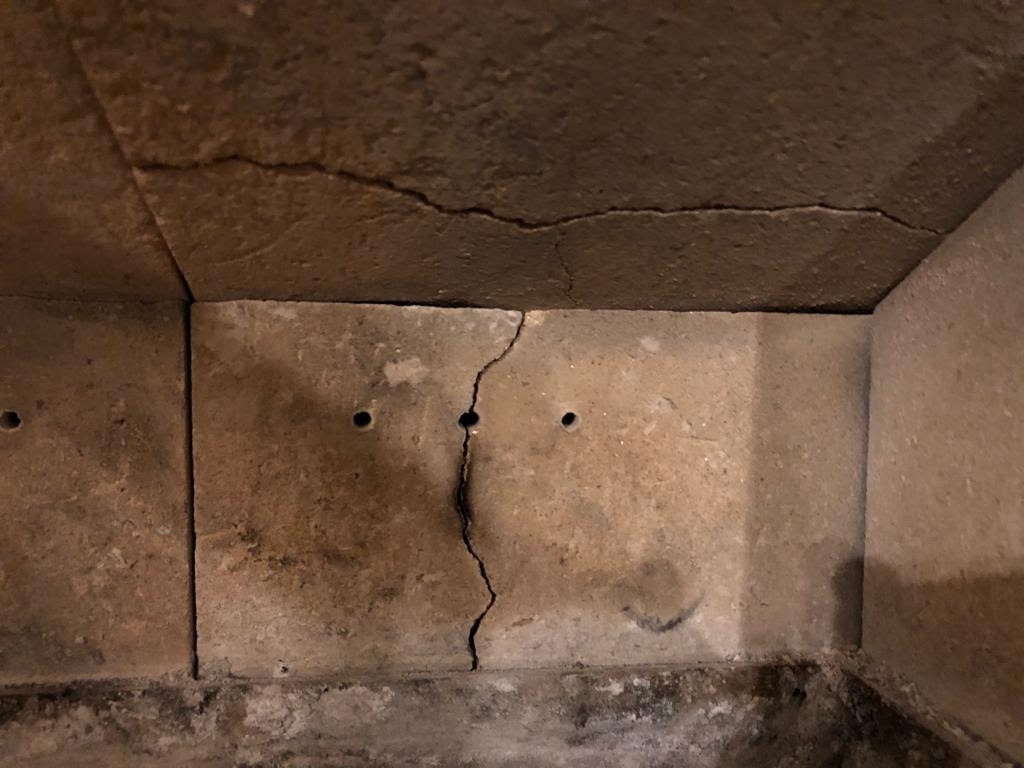
So, my wood stove was looking pretty rough. I noticed a couple of the fire bricks were cracked, and one was even crumbling apart. Time for a little DIY project! I figured, how hard could it be to swap out a few bricks? Turns out, it’s not rocket science, but there are a few things I learned along the way.
Getting Started
First things first, I made sure the stove was completely cool. Like, cold cold. Don’t even think about touching it if it’s been used recently. Safety first, people! Then, I cleared out all the ash and any leftover wood bits. I used a small shop vac to really get in there and suck up all the dust and debris. It made a huge difference in visibility.
Taking Inventory
Next, I took a good look at the bricks. I needed to figure out how many needed replacing and what size they were. Mine were pretty standard-looking, rectangular bricks. I carefully pulled out the broken ones. Some were just cracked, and others practically disintegrated in my hands! It was like playing a very dusty game of Jenga, trying not to disturb the good bricks too much.
Finding Replacements
Off to the hardware store I went! I brought one of the old bricks with me, just to make sure I got the right size. I found the fire bricks pretty easily. They weren’t that many options, so I bought a few extra, just in case I messed up or needed them in the future. I’ve learned it’s always better to have a couple on hand.
The Installation
Back home, I started putting the new bricks in. It was mostly just a matter of fitting them back into place like puzzle pieces. No mortar or anything like that is needed – they just sit there snugly. Some of the new bricks were, and I had to kind of wiggle them in and make them fit properly, I even used a rubber mallet to tap them gently and make sure they had settled into place. I didn’t want any gaps or anything that could cause problems later.
- Checked all the bricks placements.
- Made some tiny position adjustments.
- Used a rubber mallet to finish the installation.
The Finished Product
And that was it! Seriously, it was way easier than I expected. The whole thing took me maybe an hour, including the trip to the store. My stove looks so much better now, and I feel good knowing it’s safer and more efficient. Plus, I saved myself a bunch of money by doing it myself instead of calling a professional. Win-win!
If your wood stove bricks are looking a little worse for wear, don’t be intimidated! Give it a try yourself. Just remember to be patient, take your time, and double-check your measurements. You might surprise yourself with how handy you are!