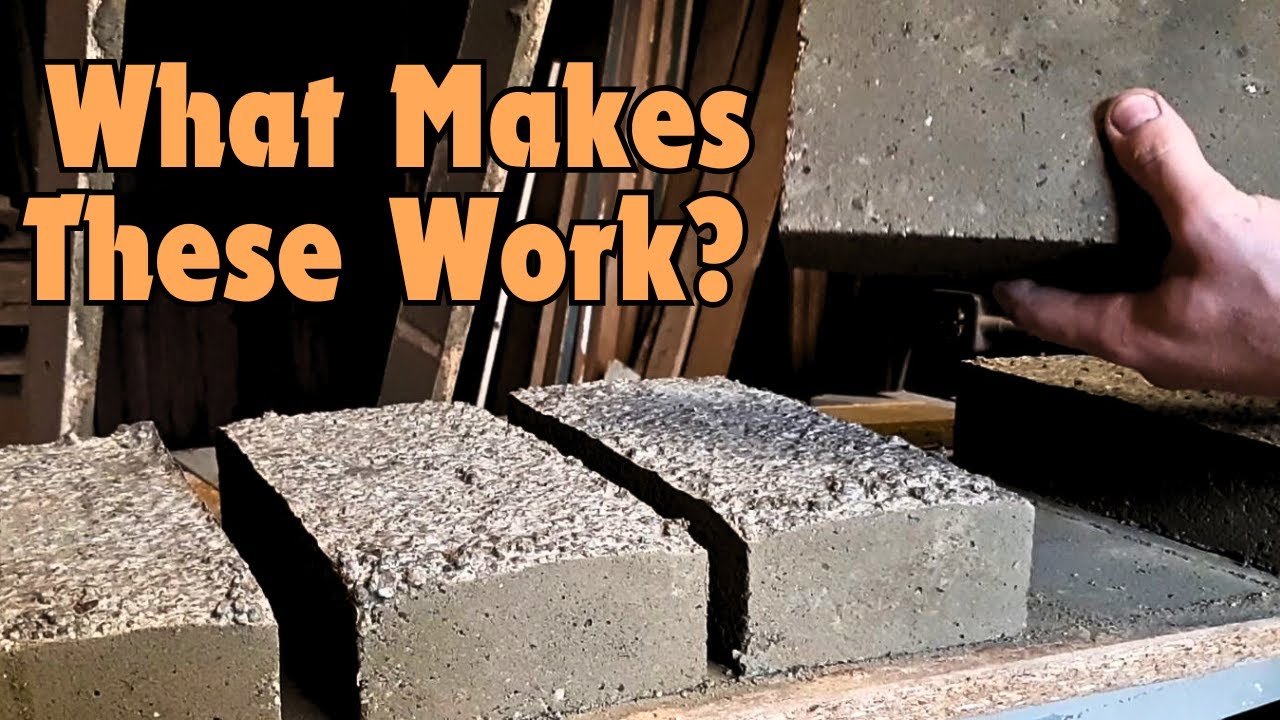
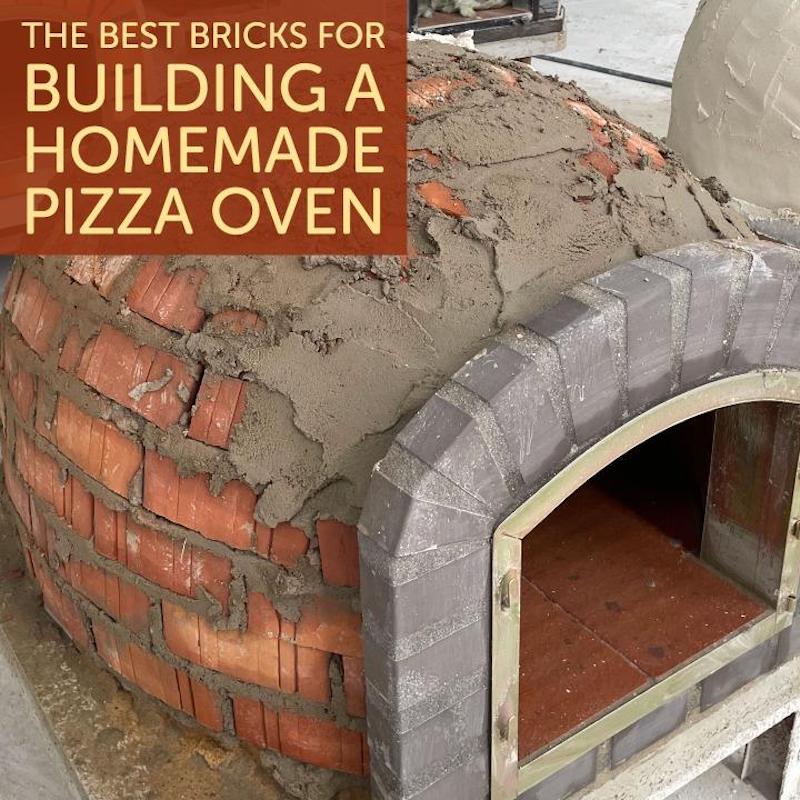
Now, makin’ yer own DIY refractory bricks ain’t too hard, but lemme tell ya, it ain’t no quick job either. You see, these bricks, they gotta be strong enough to handle real high heat, like in a kiln or furnace. So, if yer lookin’ to fix up yer stove, build a fireplace, or even try yer hand at metal work, these bricks are just the thing. I’ll walk ya through the whole process, nice and easy-like, so ya don’t get lost.
What You Need


- Fireclay
- Silica sand or regular sand
- Portland cement
- Perlite (keeps the heat in)
- Water
First things first, ya gotta get yer materials. Fireclay’s one of the main things here, it’s what keeps these bricks from crumblin’ when the heat gets real high. Then ya need some silica sand or regular sand, either one will do, but silica sand works better if yer lookin’ to make somethin’ real sturdy. Portland cement, well, that’s to hold everything together, and the perlite, that’s so the bricks don’t get too heavy but still keep the heat nice and trapped.
Mix It All Up
Alright, now that ya got yer stuff, let’s get to mixin’. Take about two parts of the fireclay, one part Portland cement, one part sand, and one part perlite. Mix ’em up nice and good in a bucket or even on the ground, don’t need fancy tools for this. Make sure it’s all even, don’t want no clumps or uneven bits. Then slowly add water, not too much though, ya want the mix to be a little thick, kinda like dough. If it’s too runny, it won’t hold up in the heat, but if it’s too dry, it’ll crack. So take yer time with this part.
Molding the Bricks
Now here comes the fun part—shapin’ the bricks! You don’t need no special mold if you ain’t got one, ya can just use an old box or even make yer own outta wood. Line the inside of yer mold with some plastic or oil, so the brick don’t stick when it’s time to pull it out. Then fill the mold with yer mix, pack it down nice and tight. Make sure there ain’t no air pockets, cause that’ll make yer bricks weak, and we don’t want that, now do we?
Once they’re all shaped up, let ’em sit for at least 24 hours. After that, pop ’em out of the mold and leave ‘em to dry for a few more days. If yer in a real humid place, this might take longer. Just make sure they’re dry to the touch before ya go to the next step.


Baking the Bricks
Now, this part’s important, ya gotta cure these bricks. You can’t just throw ’em in the fire right away, they’ll crack. What ya do is put ’em in a regular ol’ oven at a low temperature, like 250°F (about 120°C). Let ‘em bake for a few hours, then slowly turn up the heat every couple hours until ya reach about 500°F (260°C). This gets rid of any leftover moisture and helps harden the bricks. If ya skip this, yer bricks won’t last.
Why Use Homemade Bricks?
Well, these DIY refractory bricks are perfect if yer workin’ on a budget. Store-bought ones can get mighty expensive, and makin’ ‘em at home lets ya tweak the recipe a bit dependin’ on what yer usin’ ‘em for. If yer usin’ ‘em for a furnace, ya might wanna add a bit more fireclay. If it’s for a pizza oven, maybe a bit more sand to make ’em lighter. They’re great for fixin’ up old fireplaces too. And once ya get the hang of it, ya can make as many as ya need without breakin’ the bank.
Tips for Success
- Don’t rush the drying process—if they ain’t dry, they’ll crack when they get hot.
- Make sure the mix is even—too much of one thing can throw the whole batch off.
- Keep ’em outta the rain while they’re dryin’, water will ruin the whole batch.
There ya go, now ya know how to make yer own refractory bricks! Just takes a bit of patience and some good ol’ fashioned elbow grease, and soon enough, you’ll have bricks that can handle whatever heat ya throw at ’em.


Tags:[DIY refractory bricks, homemade firebricks, refractory cement, heat resistant bricks, brick making tips]


