
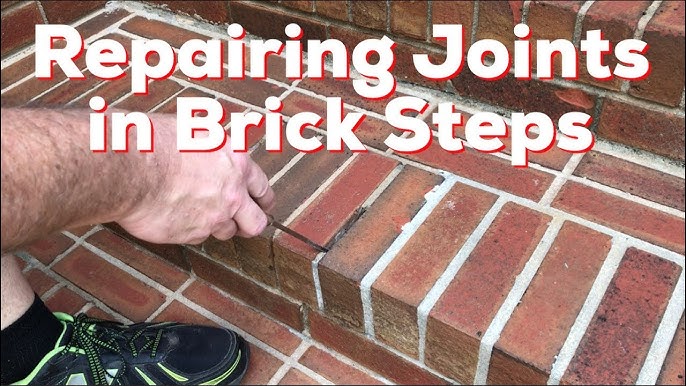
Alright, so the mortar between some of the bricks on my patio was looking pretty rough – cracked, crumbling, the whole nine yards. I figured it was time to tackle it myself before things got worse. I’m no pro, but I’m pretty handy, so here’s how I fixed the mortar between my bricks.
Gathering My Stuff
First things first, I needed to get my tools and materials together. Here’s what I rounded up:
- Chisel: I used a cold chisel, the kind you whack with a hammer.
- Hammer: A small sledgehammer worked best for me.
- Mortar mix: I just grabbed a pre-mixed bag from the hardware store. Make sure it matches the existing mortar color as closely as possible!
- Trowel: A pointing trowel, the small pointy kind, is perfect for this.
- Brush: A stiff-bristled brush for cleaning out the joints.
- Bucket: For mixing the mortar.
- Water: Obviously.
- Gloves: Protect your hands! Mortar is nasty stuff.
- Safety glasses: Gotta protect those peepers.
- Optional: A spray bottle with water can be really useful.
Chipping Away the Old Mortar
This was the messy part. I put on my gloves and safety glasses, then started carefully chiseling out the old, damaged mortar. The key here is to take your time and not go crazy. You want to remove the loose stuff, but you don’t want to damage the bricks themselves.
I held the chisel at a slight angle and gave it firm taps with the hammer. Some parts came out easily, others took a bit more persuading. I aimed to get about 1/2 inch to 1 inch deep, enough to give the new mortar a good hold.
Cleaning Out the Joints
Once I had all the loose mortar out, I used the stiff brush to really scrub out the joints. I wanted to get rid of any dust or debris, because that would mess with the new mortar’s bond. I also used the spray bottle filled with water to rinse the joints, getting rid of even more dust and, as a extra, damping the bricks. I do this because if they’re too dry, they’ll suck the moisture out of the new mortar too quickly and it won’t cure properly.
Mixing the Mortar
Now for the fun part! I followed the instructions on the mortar mix bag – usually, it’s just a matter of adding water and mixing until you get a consistency like peanut butter, not too runny, not too stiff. You want it to hold its shape but still be workable.
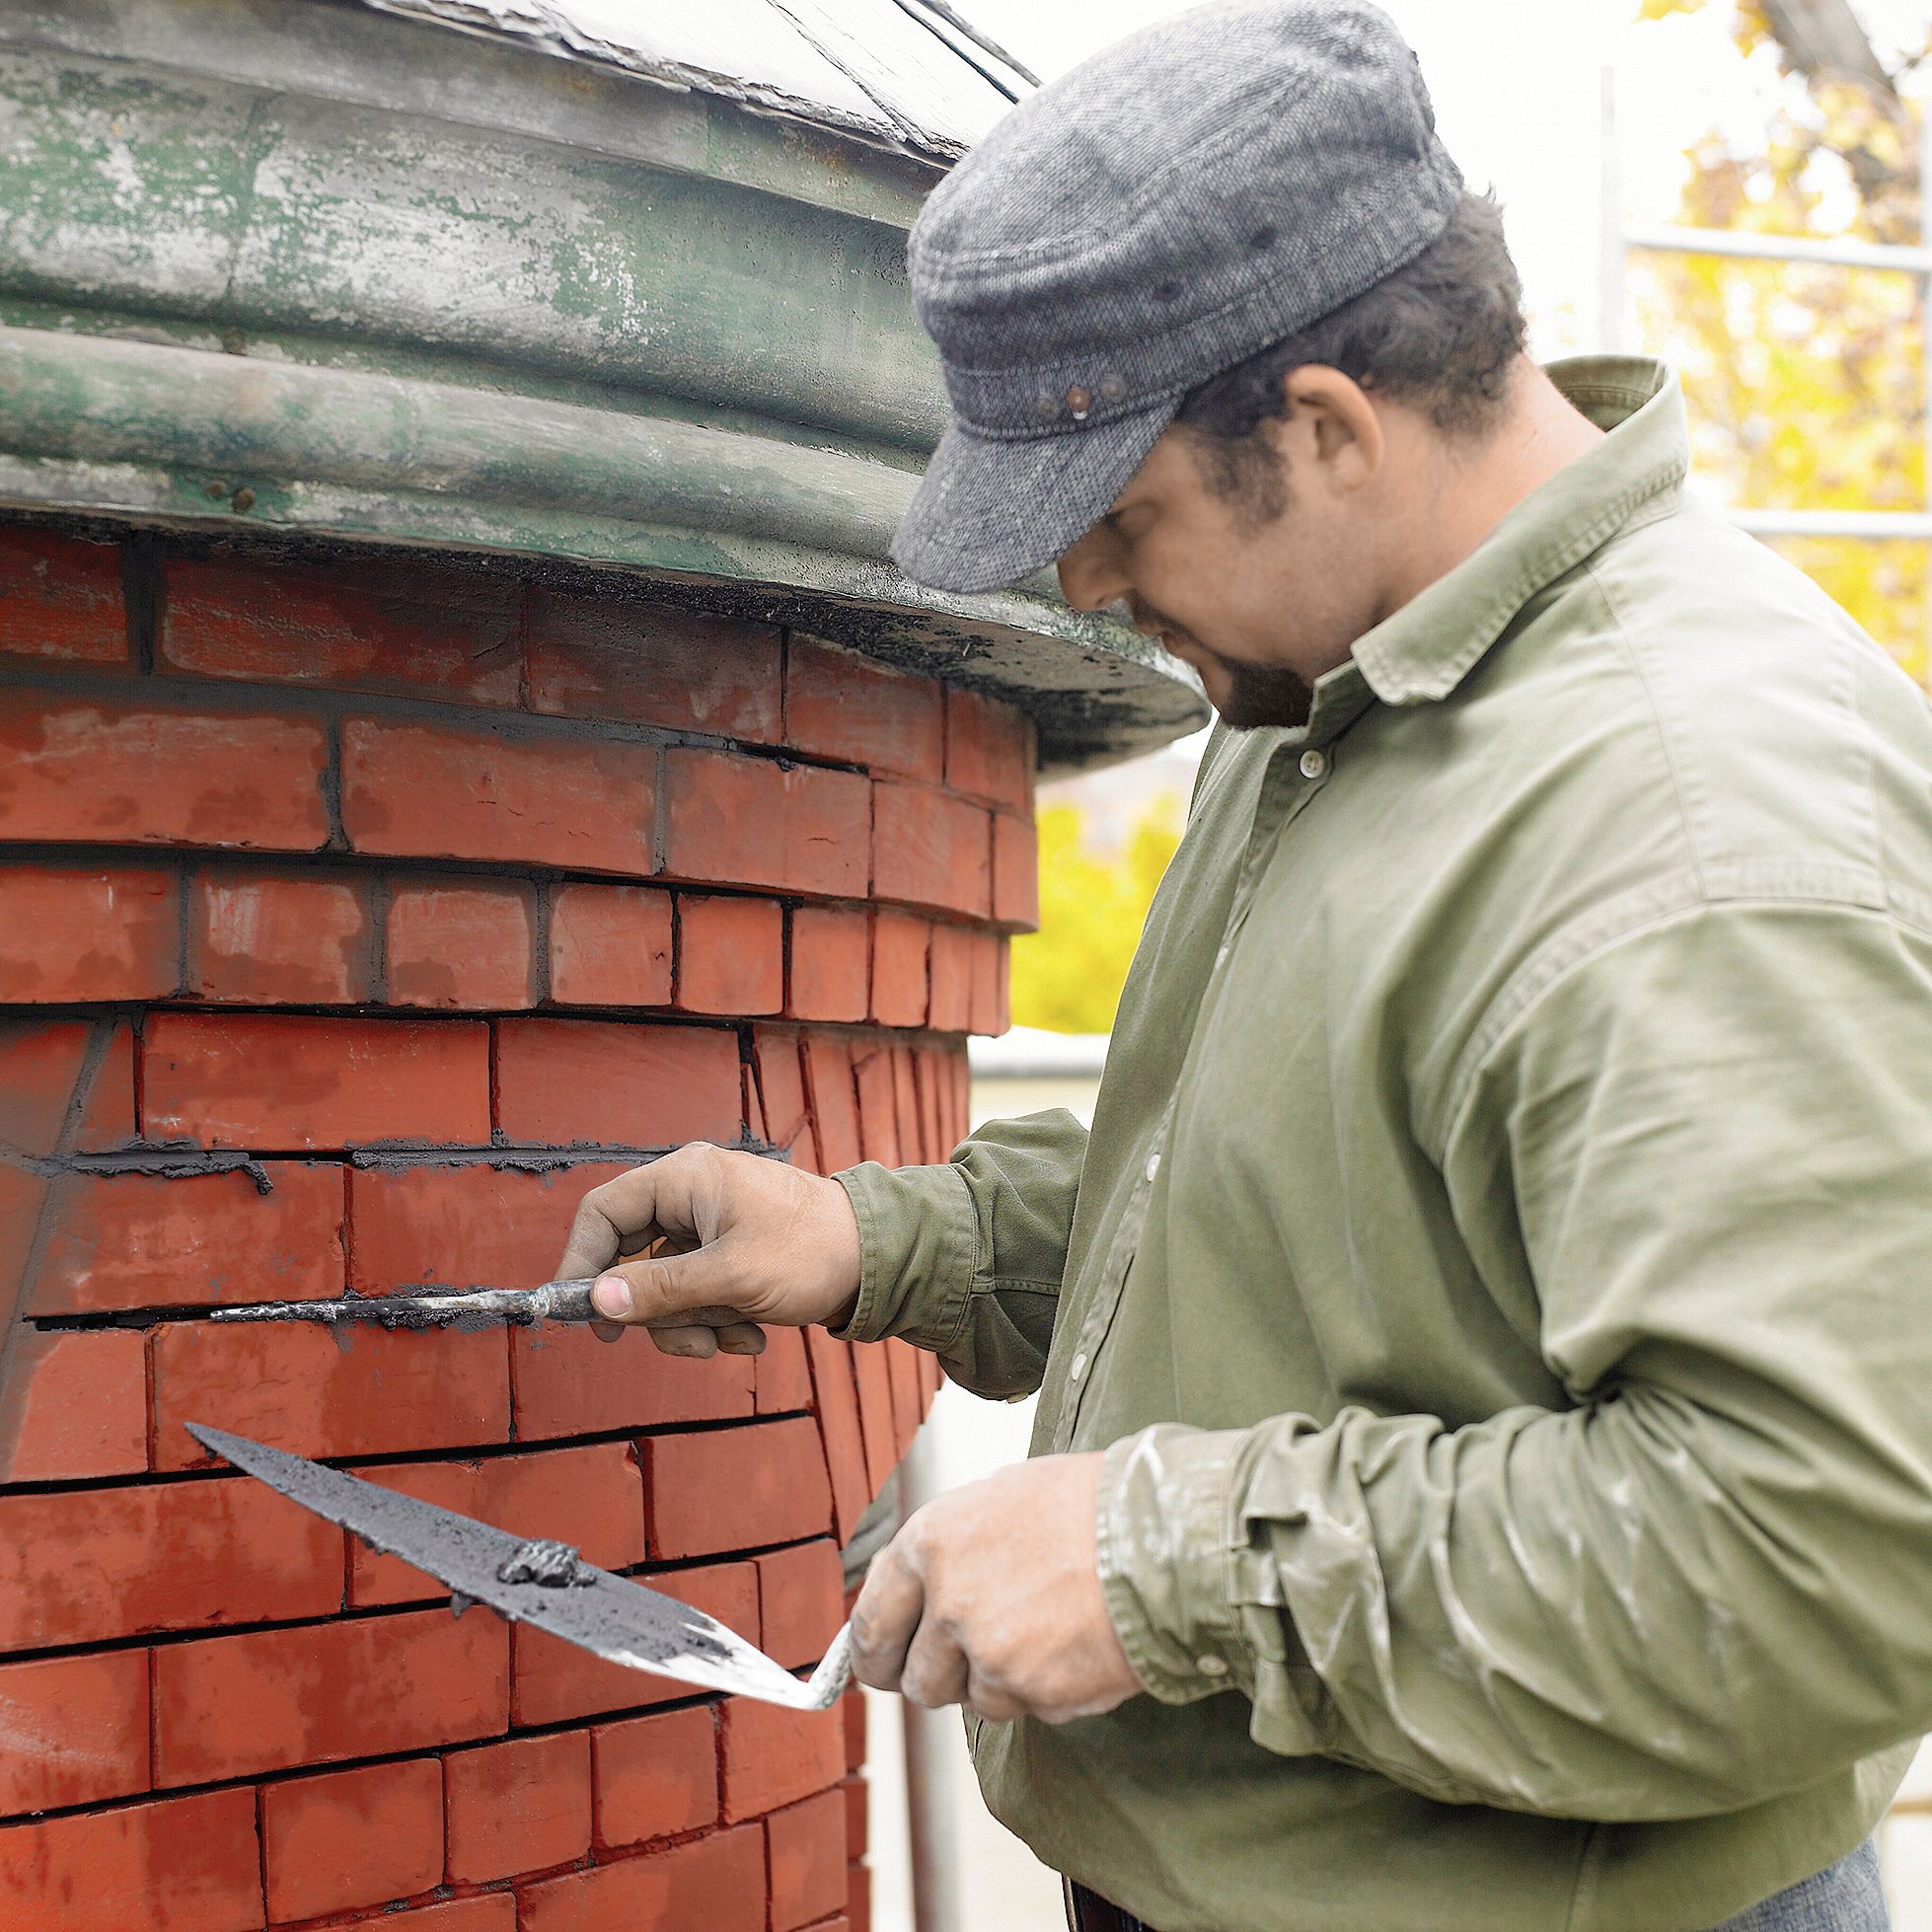
Applying the New Mortar
I scooped up some mortar with the pointing trowel and carefully packed it into the joints. The trick is to overfill the joints slightly, then use the edge of the trowel to scrape off the excess and create a smooth, even surface. You can also use the trowel to shape the joint, matching the style of the existing mortar (concave, flush, etc.).
Cleaning Up
Mortar can be a pain to clean up once it’s dried, so I made sure to wipe away any excess from the brick faces with a damp sponge or cloth right away. Don’t let it sit!
Letting It Cure
Finally, I let the new mortar cure according to the instructions on the bag. This usually takes at least 24-48 hours. During this time, it’s a good idea to keep the area protected from rain or extreme temperatures. I lightly misted the mortar with water a couple of times a day during the curing process to keep it hydrated, it will get a better cure and get stronger if you do this.
And that’s it! My patio bricks look way better now, and I’m confident the repair will last for years. It was a bit of work, but definitely doable for a DIYer. Just take your time, be patient, and don’t be afraid to get your hands dirty!
