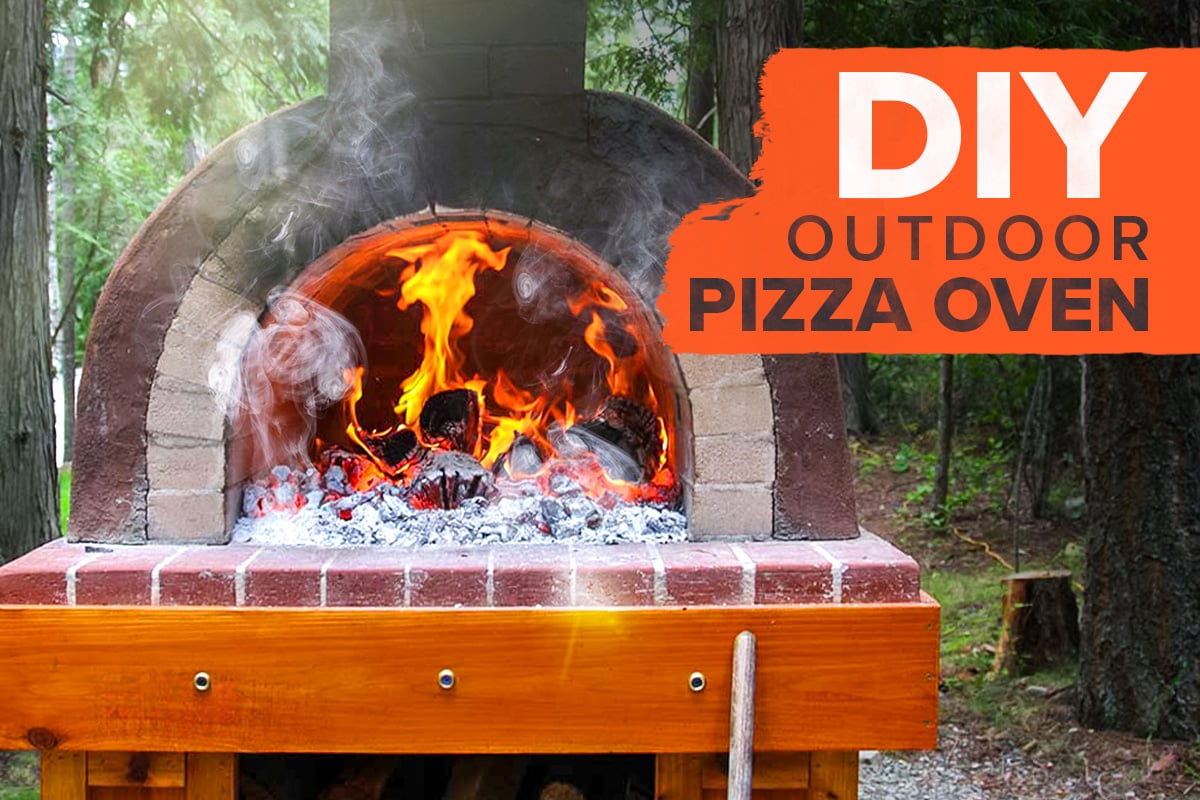
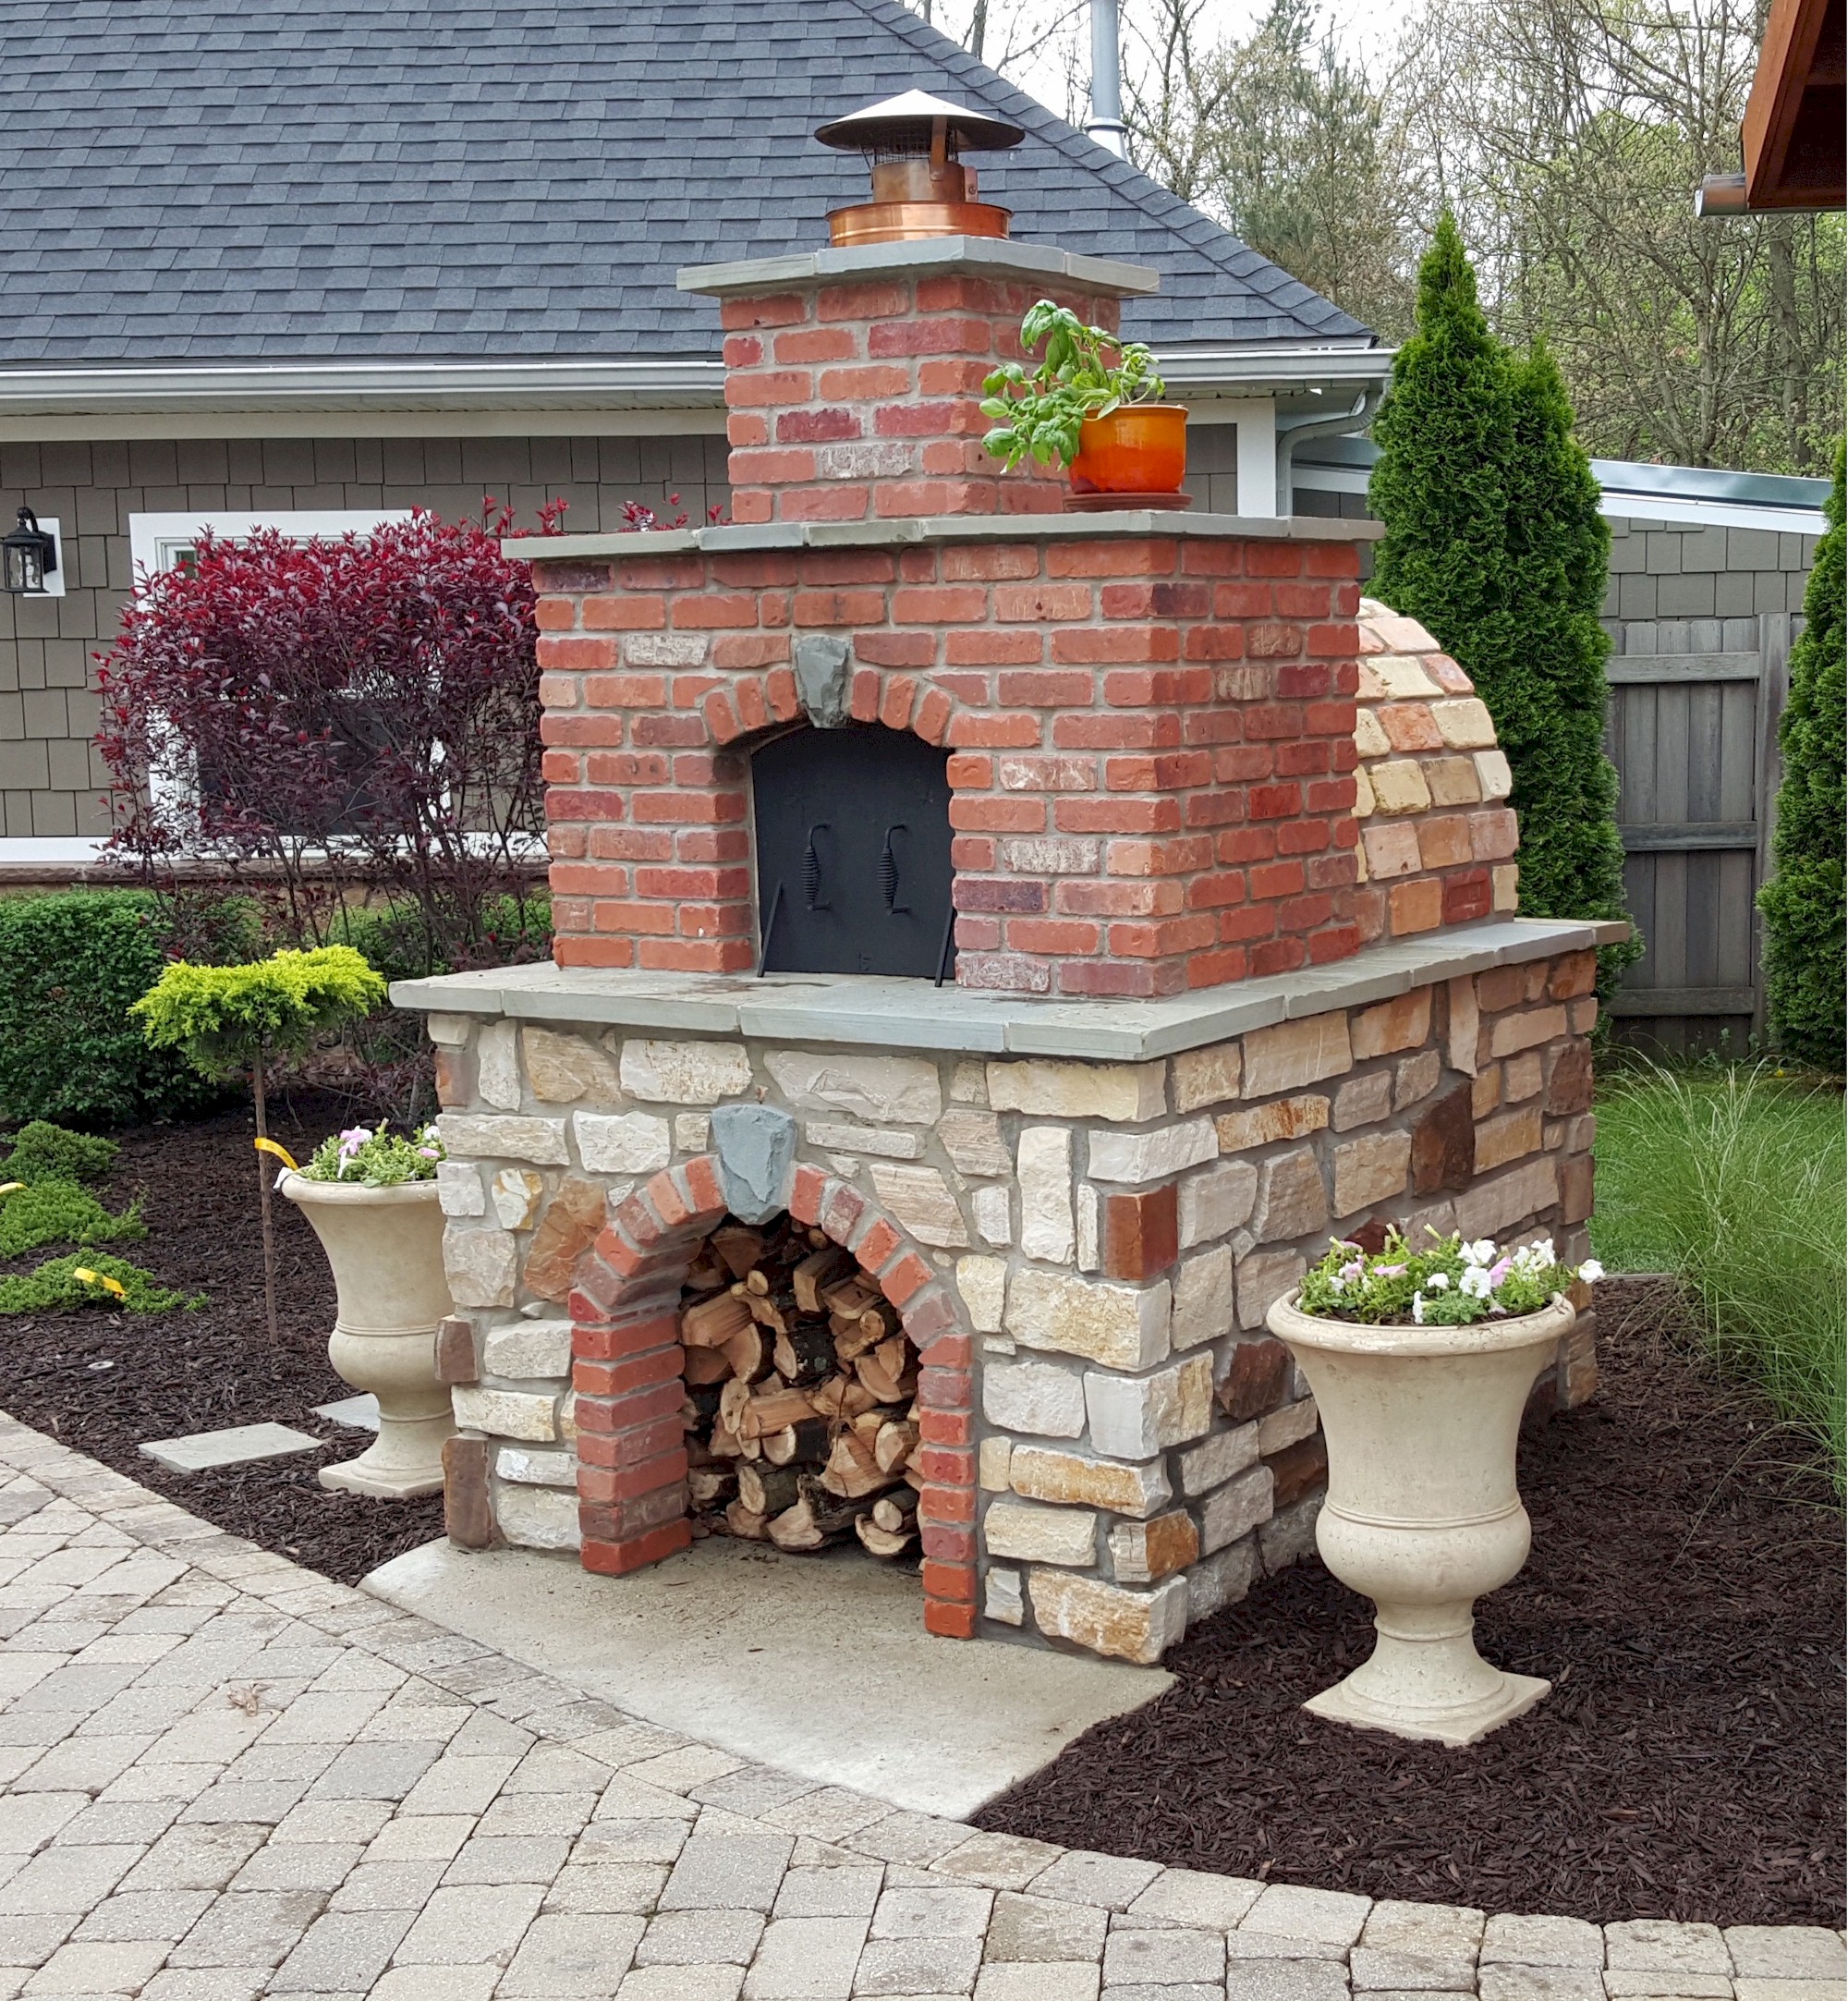
Alright, folks, gather ’round, because today we’re talking about something that’s near and dear to my heart—building a brick oven outside. Now, I ain’t no professional, just a regular guy who loves a good project and even better food. So, here’s how I tackled this beast of a DIY, mistakes and all.
First off, I spent a good chunk of time just staring at my backyard, trying to figure out where this thing would go. You gotta think about space, how close it is to the house, and, of course, where the best spot for those outdoor pizza parties will be. Once I had my spot, it was time to get down to business.


Foundation Follies
They say a good foundation is key to, well, just about anything, and they ain’t lying. I started by digging out the area and laying down a layer of gravel. Sounded simple enough, right? Wrong. Getting that gravel level was a pain in the butt. But, after a lot of sweat and maybe a few choice words, I had a flat-ish surface.
Next up, I decided to go for a concrete foundation. Mixed a bunch of concrete—let me tell you, that stuff is heavy—and poured it over the gravel. I used some old two-by-fours to make a frame and keep the concrete in place. Then came the waiting game. Concrete takes its sweet time to cure, so I had to find other things to keep me busy.
Brick by Brick
Once the foundation was solid, I moved on to the bricks. Now, I had to buy about 200 clay bricks and some concrete blocks. These bad boys are the heart of the oven. Building the base was like putting together a giant, heavy puzzle. I used mortar to stick the bricks together, trying my best to keep everything level. I just eyeballed it and hoped for the best.
Then we started on the dome. If building the base was a puzzle, the dome was a 3D jigsaw from another dimension. Each brick had to be placed just right, with the right amount of mortar, to create that perfect curve. I won’t lie, there were times I wanted to throw the whole thing in the trash. But, I kept at it, one brick at a time.
The Waiting Game, Part 2
After the dome was up, I had to let the mortar dry. This took several days, and during that time, I started thinking about the chimney and the door. For the chimney, I used some leftover bricks and basically built a mini tower. The door was a whole other story—I ended up using some scrap wood and metal I had lying around. It ain’t pretty, but it works.
The Final Stretch
With the structure done, it was time to insulate the oven. This is important, folks, unless you want to use a whole forest’s worth of wood every time you fire it up. I used a mixture of perlite and clay, slapping it on the outside of the dome like I was making a giant mud pie. Then, another layer of bricks went over the insulation to keep everything in place.


Finally, after weeks of work, it was time to light the first fire. This is a crucial step—you gotta do it slowly to let the oven cure properly. I started with a small fire and gradually increased it over a few days. The first time I cooked a pizza in there, I felt like a king. It tasted amazing, maybe a bit smoky, but that’s just part of the charm.
So, there you have it—my brick oven adventure. It was tough, it was messy, but man, was it worth it. There’s something special about cooking in an oven you built with your own two hands. Now, if you’ll excuse me, I’ve got some pizzas to make. Stay tuned for more of my DIY disasters and successes!


