
Okay, so the other day I decided my backyard was seriously lacking. It needed a focal point, something to gather ’round, you know? So, I thought, “Why not a fire pit?” And not just any fire pit, a brick one! I’m no expert, but I figured, how hard could it be?
Planning and Prep
First things first, I checked my local ordinances. Turns out, I needed to keep the fire pit a certain distance from, like, everything – my house, the fence, trees… the whole nine yards. Safety first, people!
Next, I grabbed some graph paper and sketched out a rough circle. I wanted it to be big enough for a decent fire, but not so huge it’d take over the whole yard. I settled on about a four-foot diameter.
Then came the shopping. I hit up the local hardware store and loaded up on bricks. Just regular old red bricks, nothing fancy. I also picked up some paver base and sand for the foundation. Oh, and a shovel, of course. Can’t forget the shovel.
Building the Base
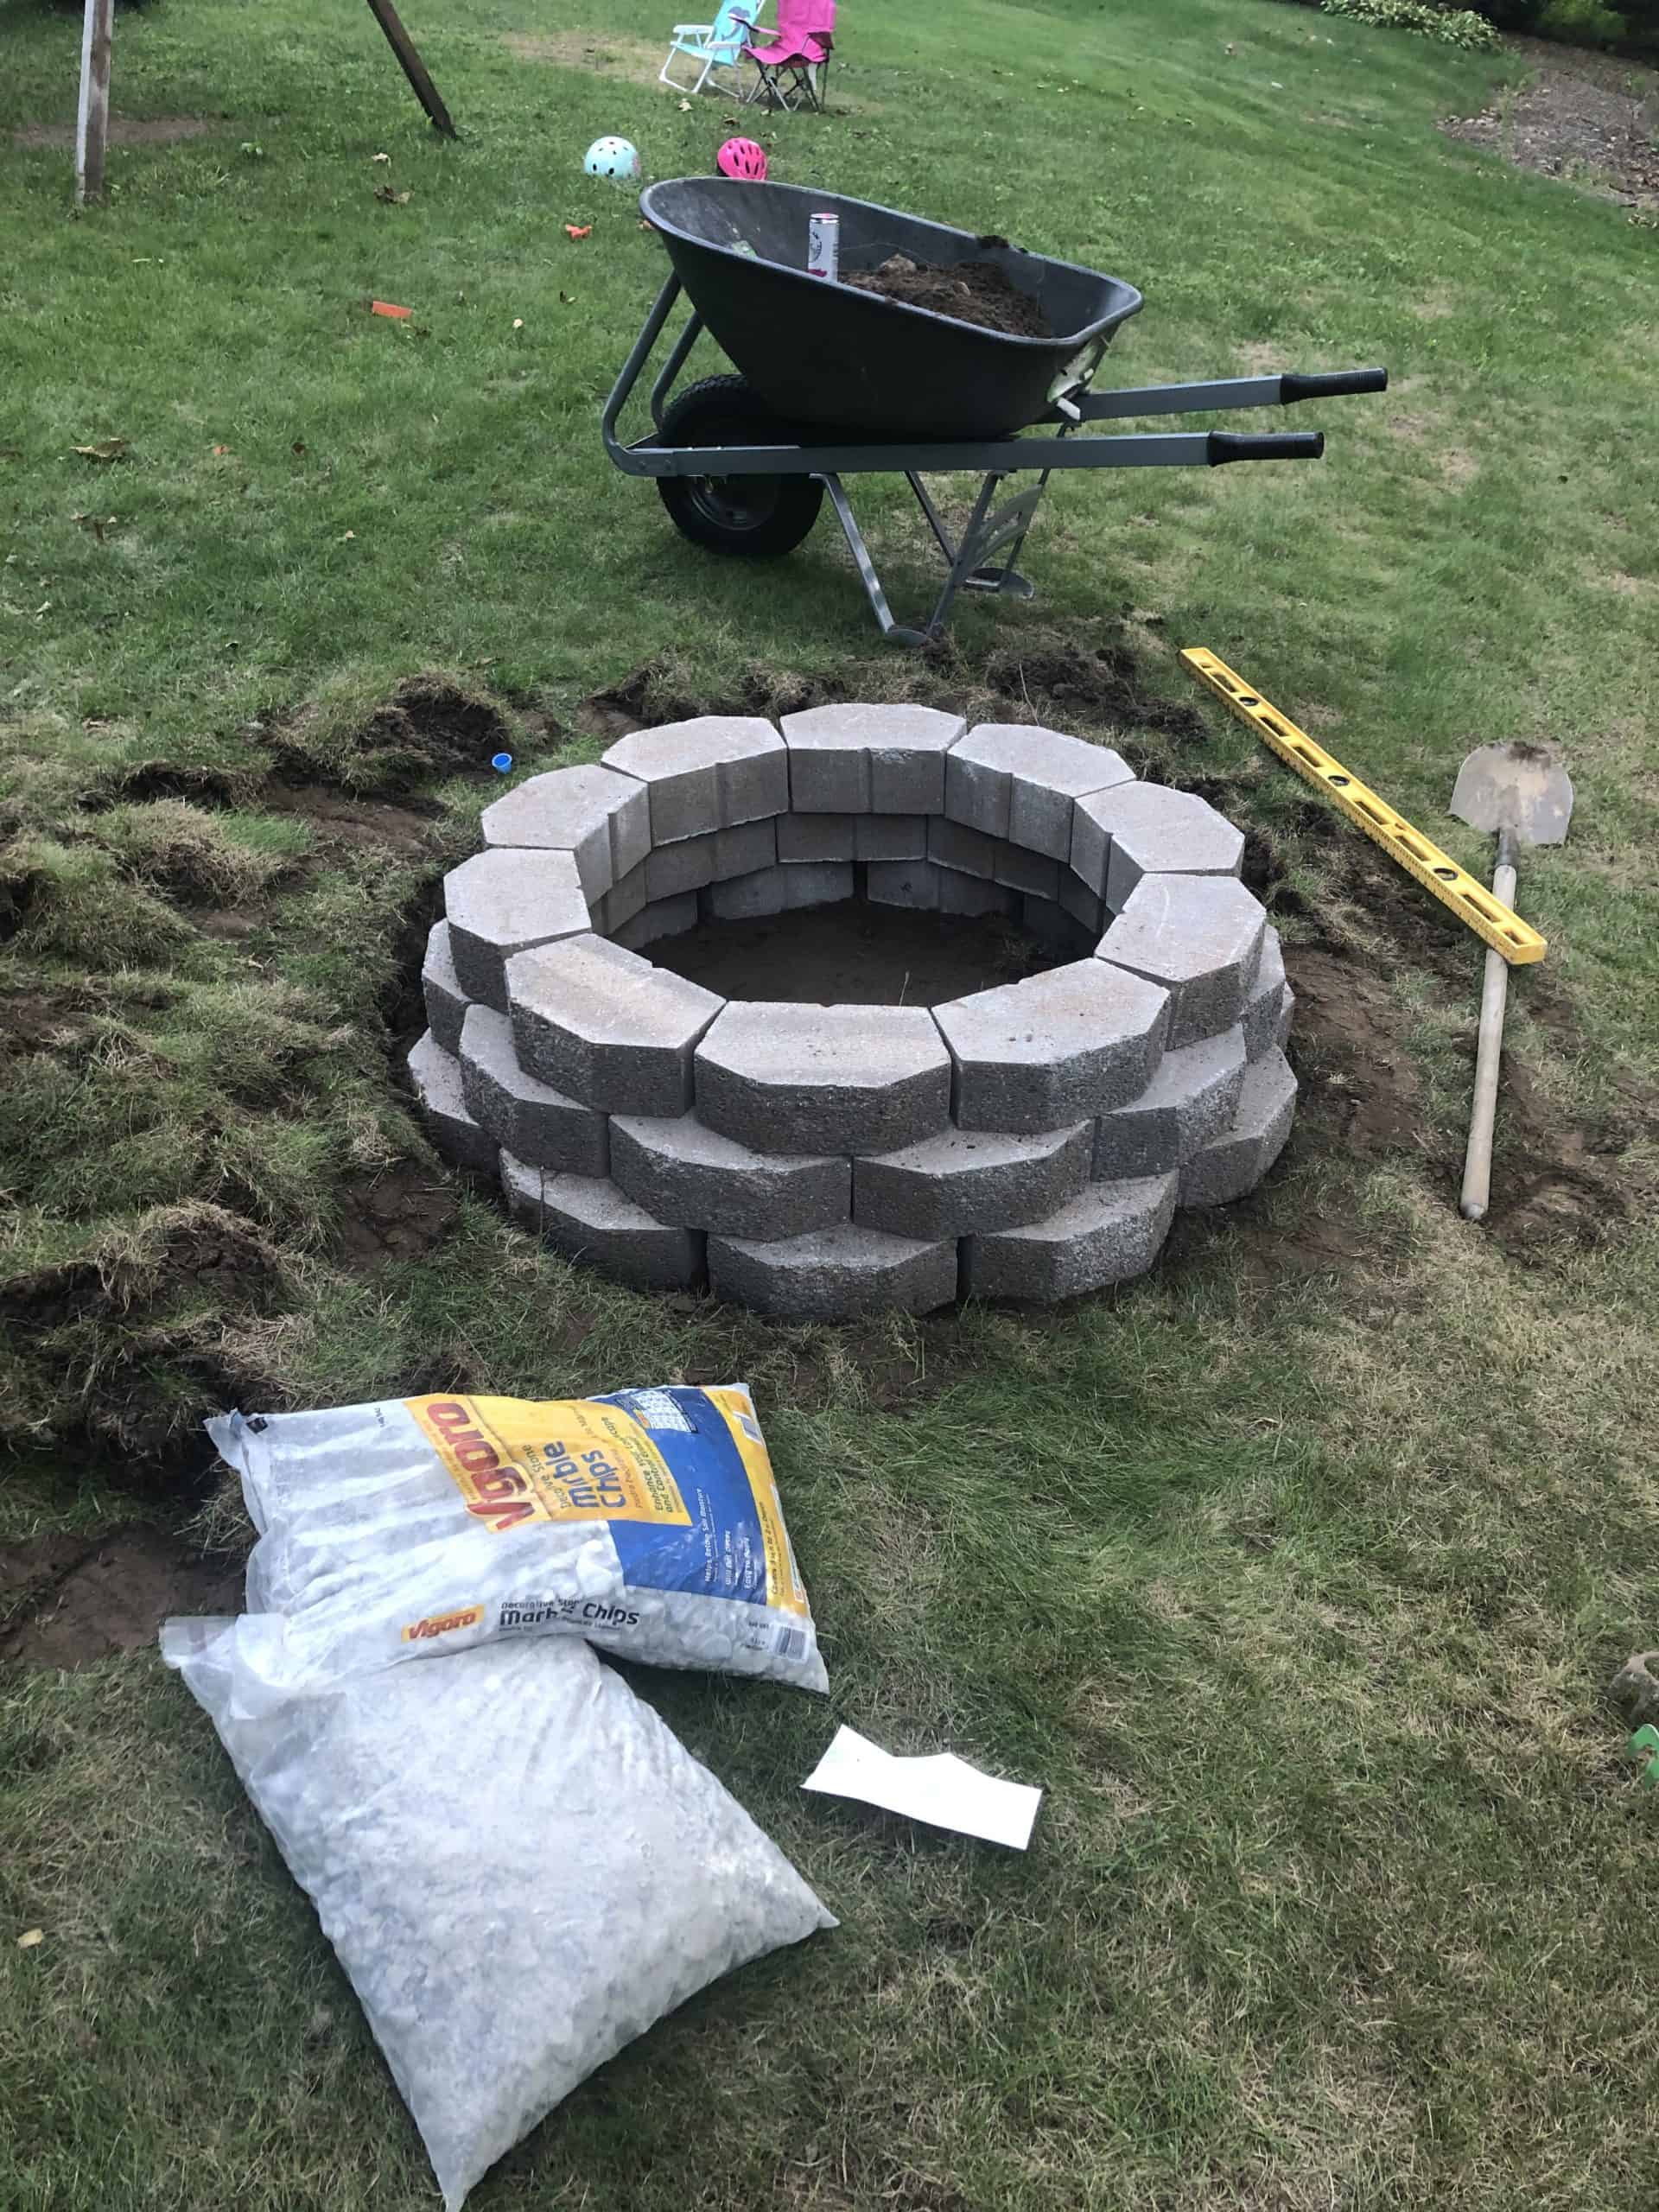
I marked out my circle in the yard using some string and a stake in the center. Then, I started digging. It was a bit of work, I’m not gonna lie. I dug down about six inches, making sure the bottom was nice and level. (A level is your best friend here, trust me.)
Once the hole was dug, I dumped in the paver base and spread it out evenly. Then I tamped it down real good. I mean, really good. You want a solid base, or your fire pit will be all wobbly. After that, I added a layer of sand and smoothed it out.
Laying the Bricks
This is where it started to get fun. I started laying the bricks around the edge of the circle, dry-fitting them first to make sure they’d all fit. I had to tap a few with a rubber mallet to get them snug, but it wasn’t too bad.
Once I had the first layer down, I started on the second. I staggered the joints, like you do with regular bricklaying, to make it stronger. I kept going, layer by layer, until I had a wall about three bricks high. I didn’t use any mortar because it would stop draining.

Finishing Touches
And that was pretty much it! I stepped back to admire my handiwork. It wasn’t perfect, but it was mine. I threw some firewood in, lit it up, and toasted some marshmallows with the kids. Success!
It is a really good project in this summer, build a brick fire pit and enjoy the cozy time. I hope my experience can bring some help for you!