Hey everyone, it’s your boy back again with another project that I’ve been working on. This time, I tackled something a bit different, something that I’ve wanted to do for a long time – building a brick bread oven. Yeah, you heard that right, a full-on, old-school brick oven for baking bread. I’m not a pro or anything, but I like to get my hands dirty and create stuff, so here’s how it all went down.
Getting Started
First off, I spent some time thinking about what I really wanted to use this oven for. Mostly bread, but maybe some pizzas and roasts too, you know? Once I had that figured out, I started sketching some ideas. Nothing fancy, just some rough drawings to give me an idea of size and shape. I also had to pick a good spot in my backyard – somewhere that was convenient but also safe and level.

Laying the Foundation
This was the not-so-fun part. I dug a big hole for the foundation, about a foot deep. Then, I poured in a whole bunch of concrete. I made sure it was nice and level – this is super important because the whole oven will be sitting on this thing. I let that concrete sit for a few days to get rock solid.
Building the Base
Once the foundation was good to go, I started on the base. I used cinder blocks for this. I stacked them up, layer by layer, using mortar to stick them together. It wasn’t pretty, but it was sturdy. I kept checking that everything was level and square as I went along. This base was going to hold the actual oven, so it had to be strong.
Constructing the Oven Chamber
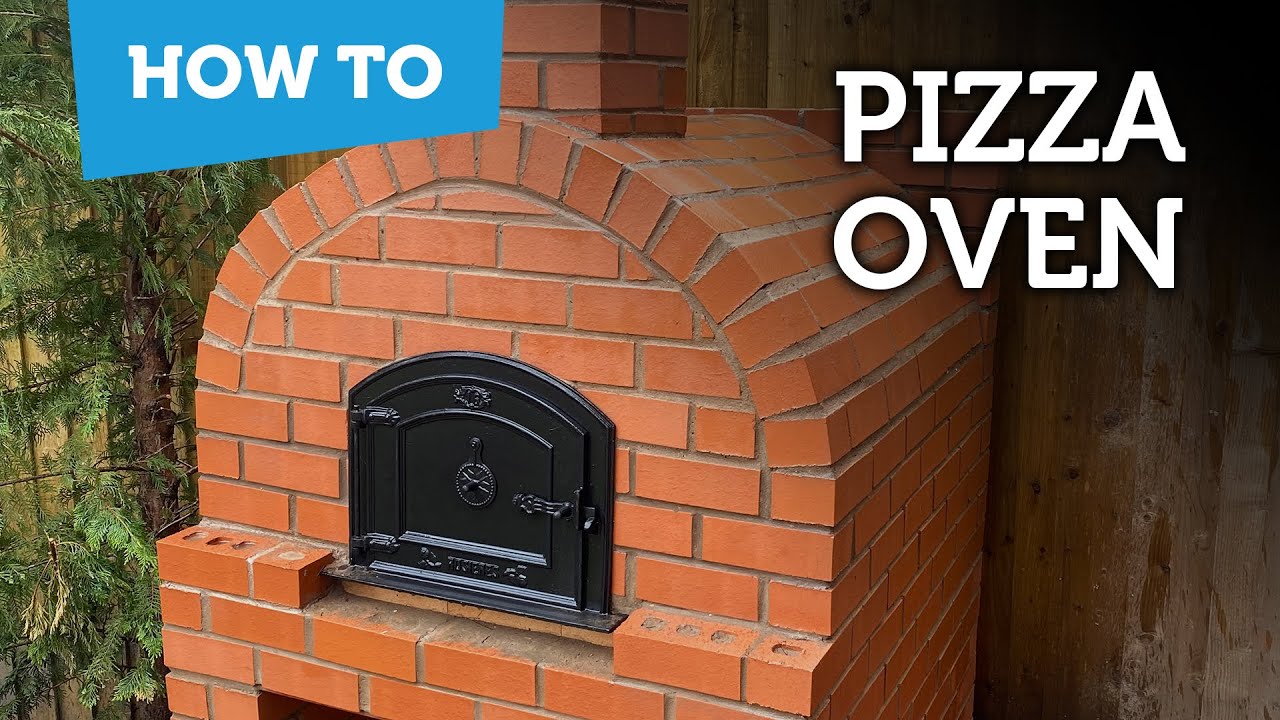
Now for the fun part – the actual oven! I used firebricks for this since they can handle the heat. I started laying them out in a dome shape, which was kind of tricky. I had to cut some of the bricks at angles to make them fit right. I used a special kind of mortar that’s made for high temperatures. It was slow going, but seeing that dome take shape was awesome.
Adding Insulation
After the dome was done, I covered it with a layer of insulation. I used ceramic fiber blanket, which looks like a big roll of thick fabric. This stuff is important because it keeps the heat inside the oven, making it way more efficient. I wrapped the dome up like a big present, securing the insulation with wire.
Finishing Touches
With the insulation in place, I added a layer of regular bricks over the top, mostly for looks. I also built a little chimney out of bricks to let the smoke out. The final step was making a door for the oven. I used some scrap metal and wood for this. It’s not perfect, but it does the job.
Firing It Up
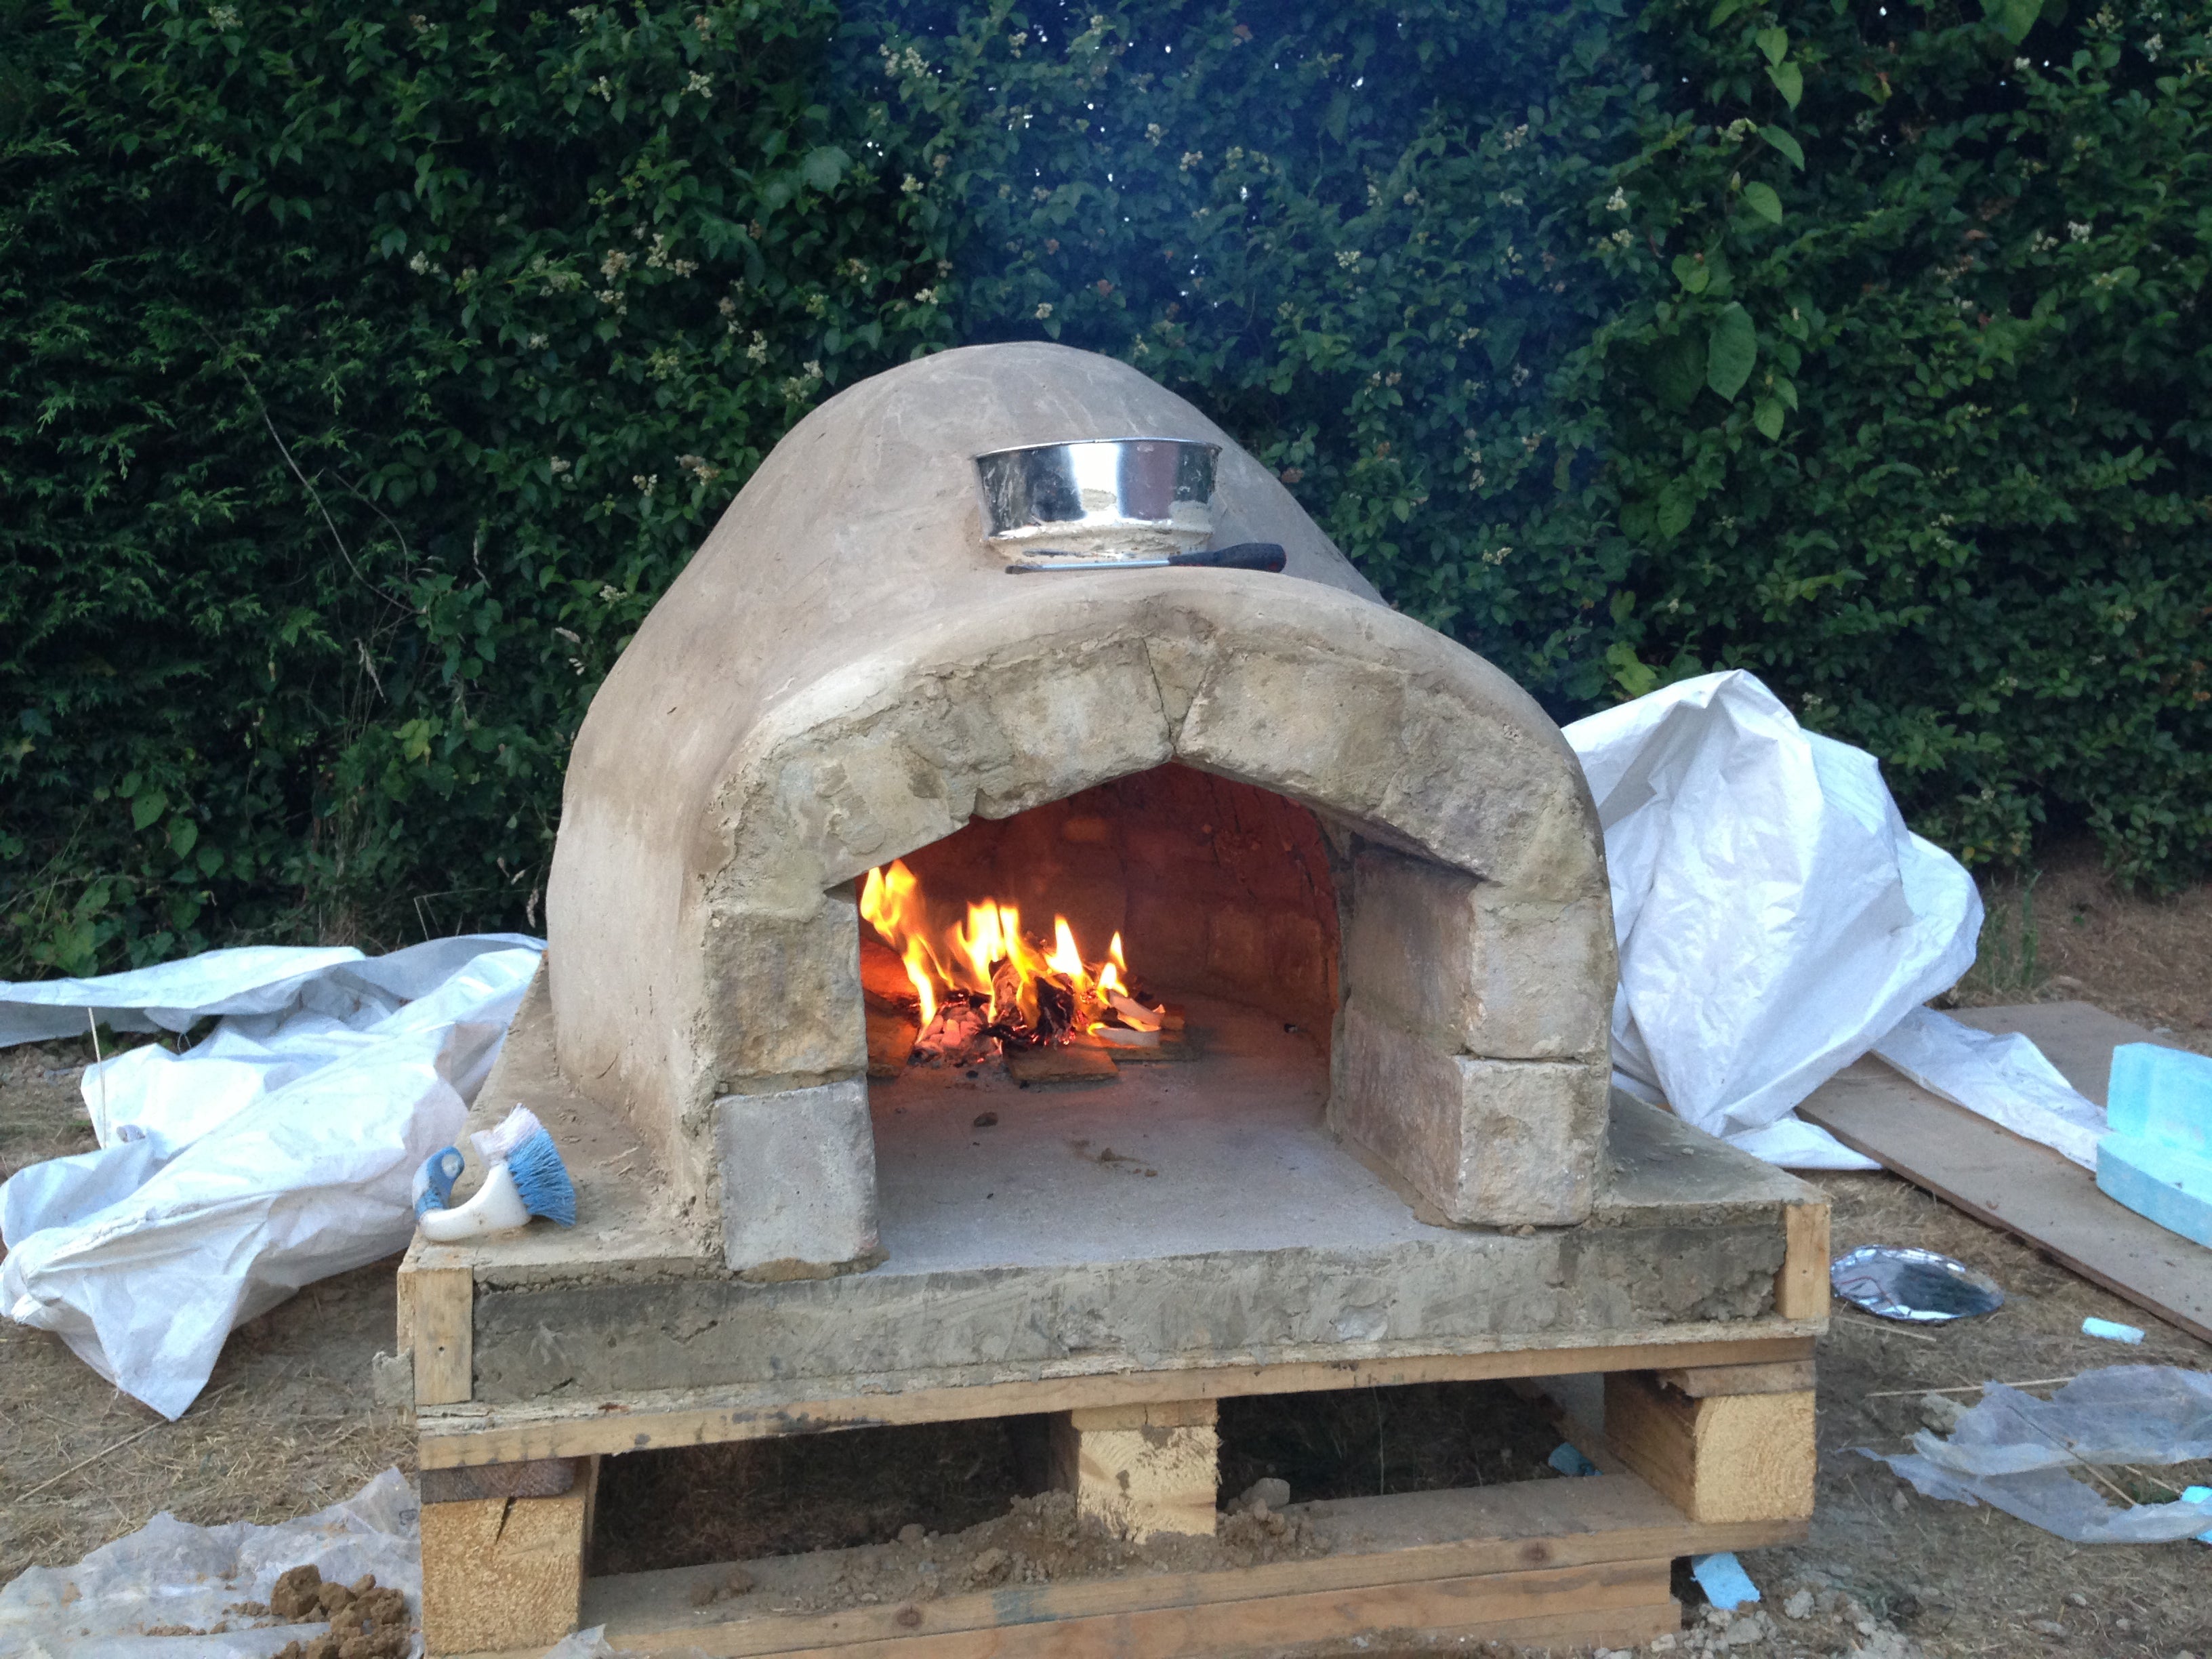
Finally, after all that work, it was time to test it out. I built a small fire inside and let it burn slowly to cure the mortar and dry everything out. This took a few days, with me gradually increasing the size of the fire. Then, the moment of truth – baking my first loaf of bread! It was amazing, seeing that golden-brown crust and smelling the fresh bread coming out of my own oven.

So, that’s my brick bread oven story. It was a lot of work, but totally worth it. If you’re thinking about doing something like this, go for it! Just be prepared to get your hands dirty and take your time. The result is something you can be really proud of, and the bread? Man, it’s the best you’ll ever taste.


