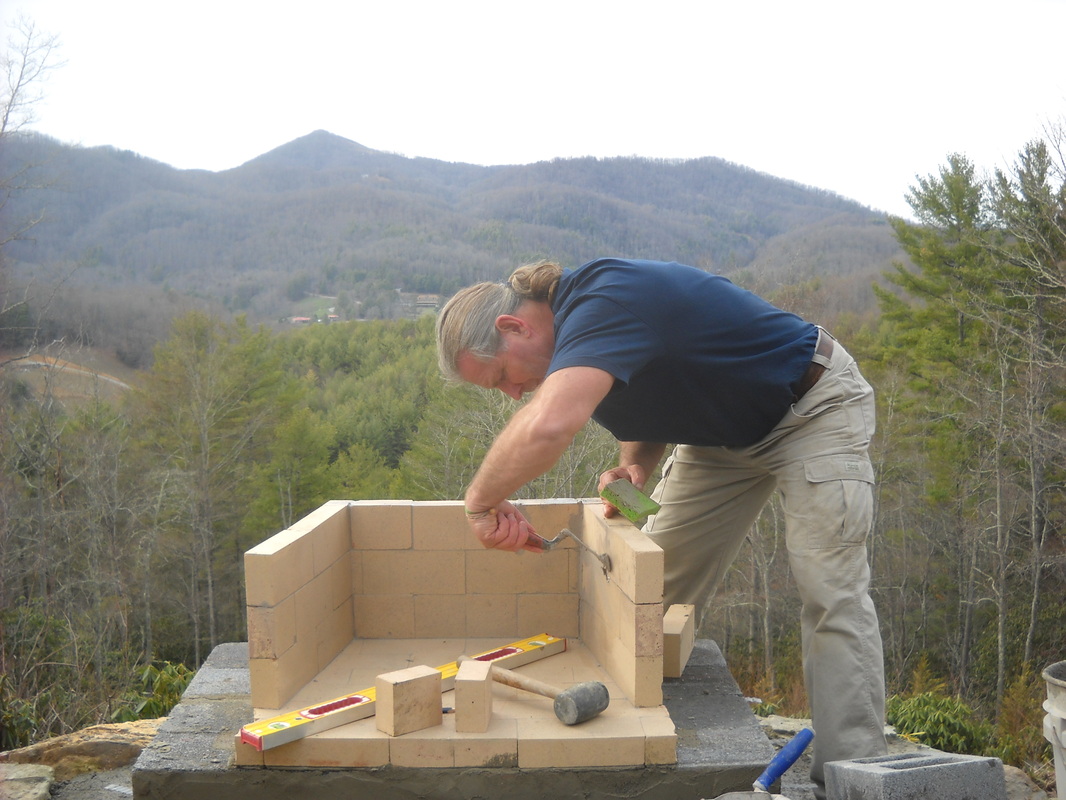
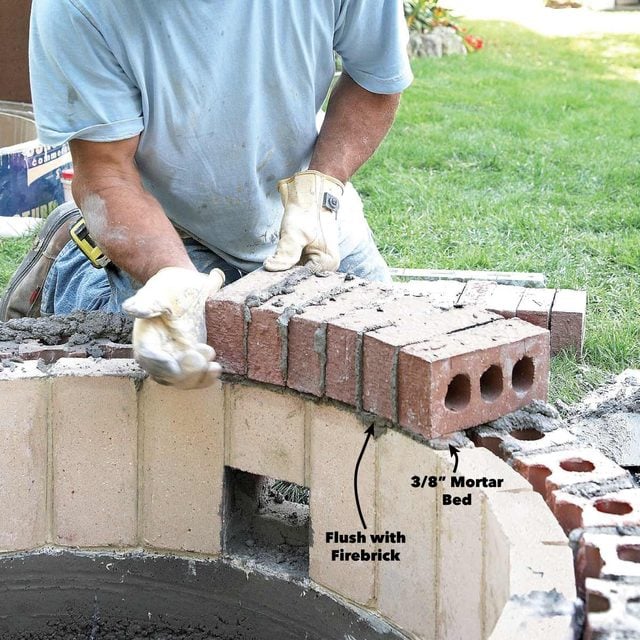
Making fire bricks, now that’s a handy thing to know, especially if you’re looking to build something like a stove or a fireplace, or even need ’em for some kinda furnace. See, fire bricks ain’t like the regular ones you see in walls or pavements. These ones are special; they can take the heat without crumblin’ down. So, if you’re lookin’ to make ’em yourself, here’s how ya can do it step by step. Now, don’t go thinkin’ it’s too hard—just follow along.
What You Need:


First off, you gotta gather the right stuff. You can’t just use any old dirt for fire bricks. Nah, ya need special ingredients, like fire clay. It’s not easy to find, but if you look under coal seams or somewhere that’s been dug up real deep, ya might get lucky. Fire clay has two main things in it that make it so good—silica and alumina. These things can handle high heat without crackin’. If ya can’t find fire clay, well, you can try makin’ your own mix from other things like sand, dirt, and some other stuff like sawdust, or even ashes. But fire clay’s the best bet if you can get your hands on it.
- Fire Clay (for the best results)
- Sand (for mixin’ with the clay)
- Sawdust or Ashes (for lightin’ up the bricks)
- Water (to make the mix stick together)
Making the Bricks:
Now, once ya got the ingredients, it’s time to get to work. First, mix up your fire clay with sand. Ya want a good balance, maybe about 85% clay and 15% sand. If you want your bricks to burn slower and longer, you can throw in some sawdust or ashes—about half and half with the clay mix. Don’t forget the water; that helps everything stick together nice and neat.
Shaping the Bricks:
Next, you’re gonna want to shape ’em. Just grab a mold, something the size you want your bricks to be. You can make ’em big or small, whatever fits your needs. If you don’t have a mold, don’t worry; you can just form ’em with your hands, but make sure they’re packed tight and smooth, so there’s no air pockets inside. That could mess ’em up later when they’re drying or heating up.
Drying the Bricks:


Now, after ya shaped ’em, you gotta let ‘em dry. Don’t rush this part—leave ‘em out in the sun for a few days, at least until they feel firm and solid. If you’re in a hurry, you can put ‘em by the stove or somewhere warm, but make sure they don’t dry too fast or they might crack.
Firing the Bricks:
Once they’re dry, the next step is firing ‘em up. This part’s important! Ya can’t just put ’em in your regular oven, no sir. You need a kiln, or some kind of oven that can reach a real high temperature, at least 2,000 degrees Fahrenheit (that’s around 1,100 degrees Celsius). When you fire ’em, they’re gonna harden up real good and get that strong heat resistance.
Now, this firing process can take a while, anywhere from 12 to 24 hours depending on how big your kiln is and how hot it gets. But once they come out, they should be all tough and ready to handle whatever heat ya throw at ’em.
Using Your Fire Bricks:
When your bricks are done, you can start using ’em in your stove, fireplace, or even a furnace. They’ll burn hot and long, making sure your fire stays nice and steady. These bricks are perfect for holding heat, so even if your fire burns down, the bricks will keep that warmth going for a while.


Other Tips for Making Fire Bricks:
Some folks even like to add things like pumice or vermiculite to the mix. These materials can make the bricks lighter, which is handy if you’re building something big. Just remember, it’s all about the right balance—too much of one thing and your bricks might not hold up. But if you get it just right, you’ll have some of the best fire bricks you ever used.
- If ya want ’em lighter, try mixing in some pumice or vermiculite.
- Always test a brick before using it to make sure it can handle the heat.
- If you’re feelin’ fancy, you can glaze the bricks for extra durability.
So, that’s how ya make fire bricks. Ain’t too bad, is it? Just a little know-how, the right mix, and a good kiln to fire ’em. If ya do it right, you’ll have yourself some bricks that can stand up to heat and last a long time. Hope this helps you get started!


