
Okay, here’s my blog post about building a brick outdoor oven, written in a casual, personal style:
So, I’ve always wanted one of those awesome brick ovens in my backyard. You know, the kind you see in fancy Italian restaurants where they make amazing pizzas? Yeah, well, I finally decided to just go for it and build one myself. It was… an experience, to say the least.
Getting Started
First, I spent hours online, just looking at pictures and plans. There are a million different ways to do this, so I had to figure out what kind of oven I actually wanted. Did I want a full-on, permanent structure? Or something a little more… manageable? I ended up deciding on a smaller, simpler design.
Next up: materials. This was a trip to the home improvement store. I loaded up on firebricks (regular bricks won’t do – they’ll crack under the heat), mortar, sand, and some concrete blocks for the base. Honestly, the sheer amount of stuff I needed was a little intimidating.
Building the Base
The base was probably the easiest part. I laid out the concrete blocks in a square, making sure everything was level. This is super important, because if your base is wonky, your whole oven will be wonky. I used a leveler, like, a hundred times. Better safe than sorry, right?
The Oven Floor
Then came the oven floor, also used firebrick. I placed a layer of sand and on top of that I began laying the firebricks, fitting them together as tightly as I could. This is where the pizzas will actually cook, so it needs to be pretty solid.
Building the Dome
Okay, this is where things got tricky. Building the dome was like putting together a 3D puzzle made of heavy bricks. I made a form out of sand and wet newspaper, to help shape the dome. Then, very, very carefully, I started layering the bricks, using mortar to hold them together. Each brick had to be angled just right, so the whole thing wouldn’t collapse. I’m not gonna lie, there were a few moments where I thought the whole thing was going to come crashing down.
Slowly, row by row, the dome going taller and taller, I have to keep the shape.

The Doorway Arch
I used a piece of cardboard that I cut as a formwork, and patiently built up the bricks on both sides of the arch until I finished it, and then waited for the mortar to cure a bit before remove it.
Finishing Touches
After lots of sweat ,the dome was done, I let the mortar dry for a few days. And then,removed the sand formwork.
I decided added some extra mortar around the outside, just to make it look a little nicer, I built a simple chimney with some leftover bricks.
The First Fire!
Finally, it was time for the moment of truth: the first fire! I built a small fire inside the oven, slowly adding more wood to get it up to temperature. It took a while, but eventually, it got roaring hot. And you know what? It actually worked!
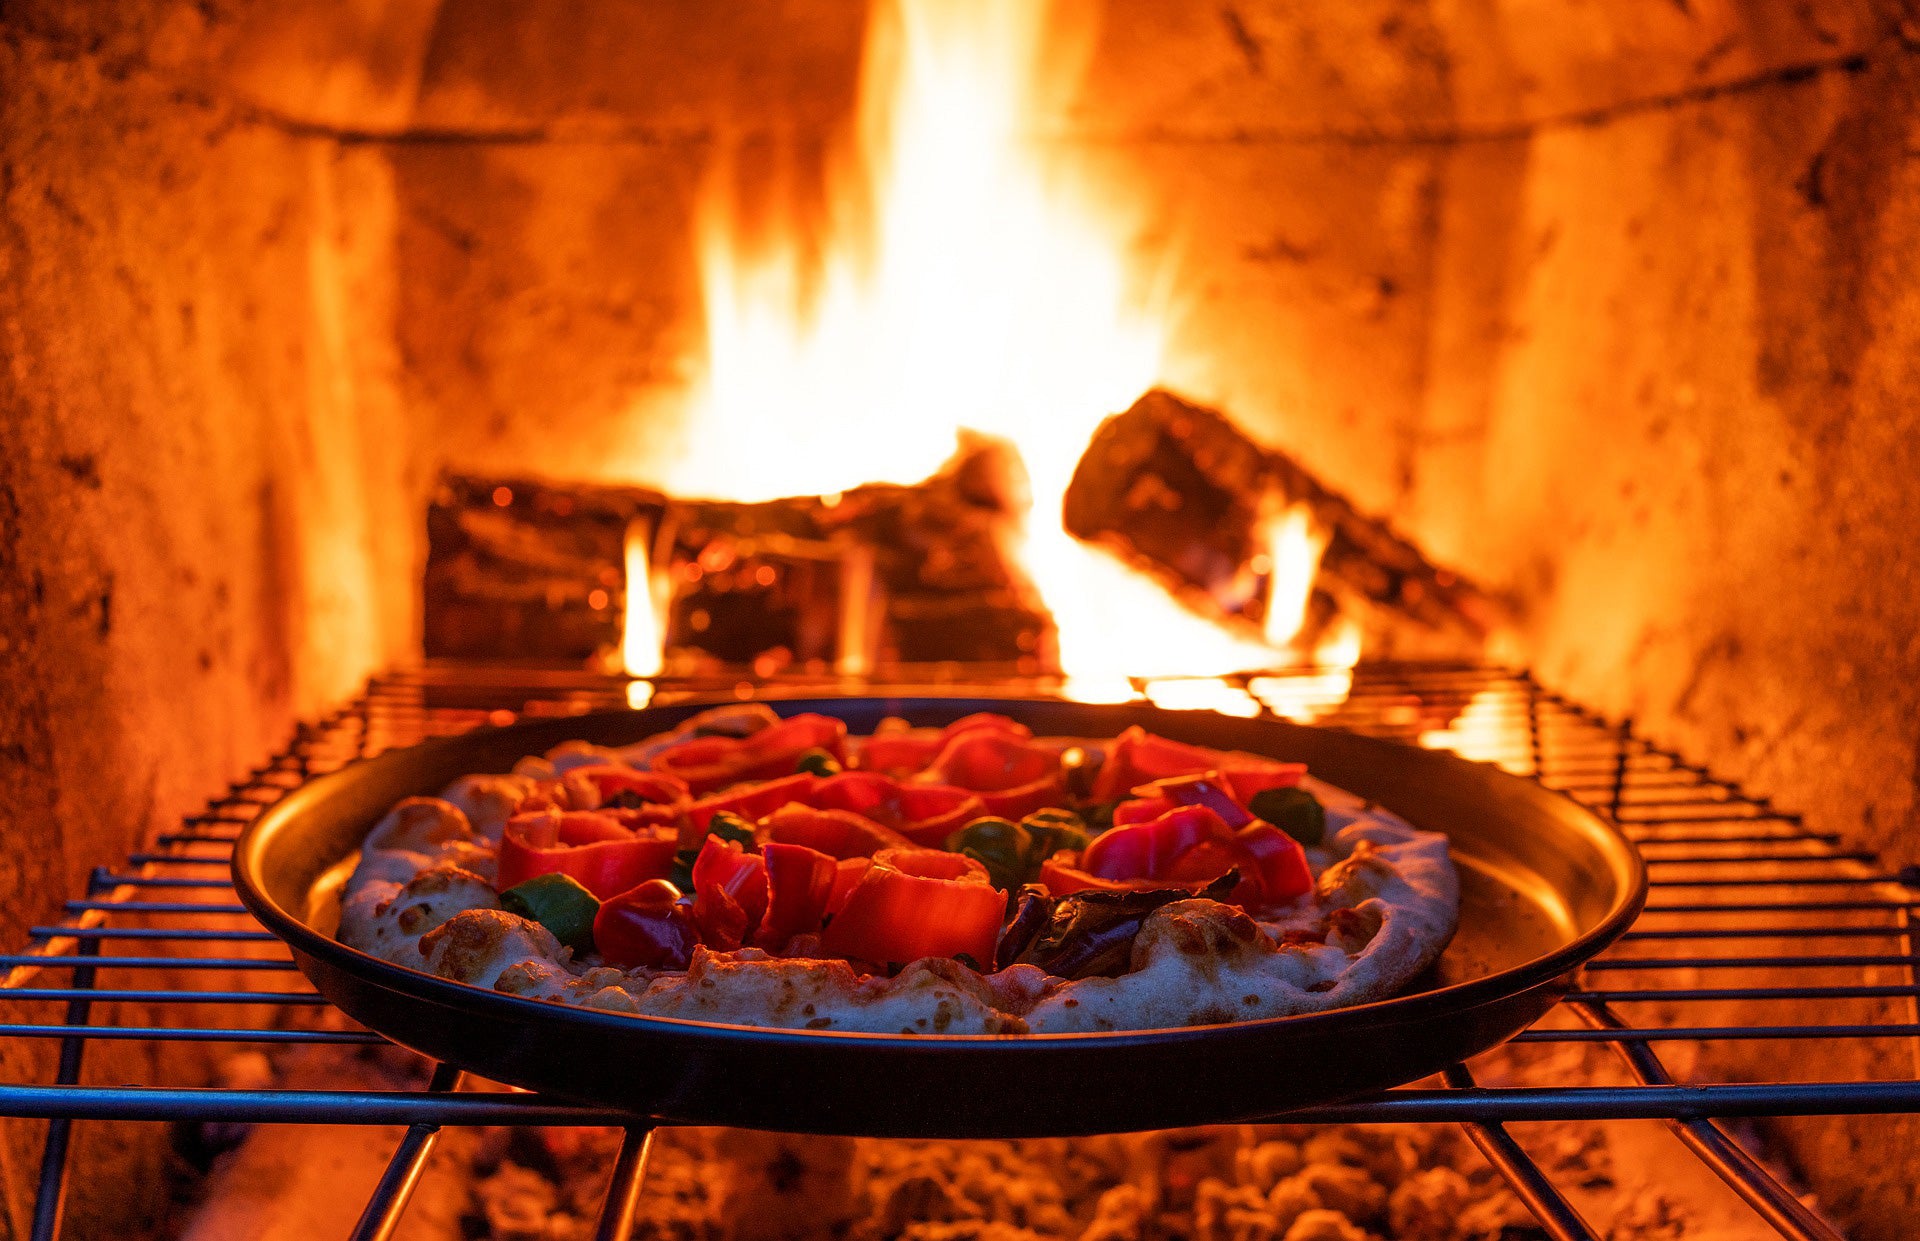
The sense of achievement is truly amazing!
My first pizza was… well, it was a little burnt. But hey, it was homemade, in my own brick oven! There’s definitely a learning curve to cooking in one of these things, but I’m excited to experiment and get better at it. It’s been a challenging project, but totally worth it. Now I just need to invite some friends over for a pizza party!
