
Okay, so the other day I had this annoying problem with some loose bricks on my patio. I decided to tackle it myself, and let me tell you, it was a bit of a learning experience.
Getting Started
First, I gathered my tools. I’m no expert, so I just grabbed what I thought I’d need:

- A trowel (you know, that pointy shovel thing)
- A hammer
- A chisel (for chipping away old stuff)
- Some ready-mix mortar (because I’m lazy)
- A bucket of water
- A sponge
- Gloves(Safety first!)
The Messy Part
I started by cleaning out the area around the loose bricks. This was the worst part. I used the chisel and hammer to chip away at the old, crumbling mortar. It was dusty and took a while, but I finally got it all out.I made sure to clear out the debris thoroughly.
Then,I wetted the area with a little bit of water.
Mixing and Applying
Next up,I prepared some of the mortar mixture. It’s pretty straightforward – just following the instructions on the bag,you know,add some water and mix it until it’s like thick peanut butter. I used the ready-mix to fill the gaps where the old mortar was. I used my trowel to scoop the mortar and spread it into the gaps, pressing it in firmly.I tried to make it as level as possible with the surrounding bricks, but it wasn’t perfect.
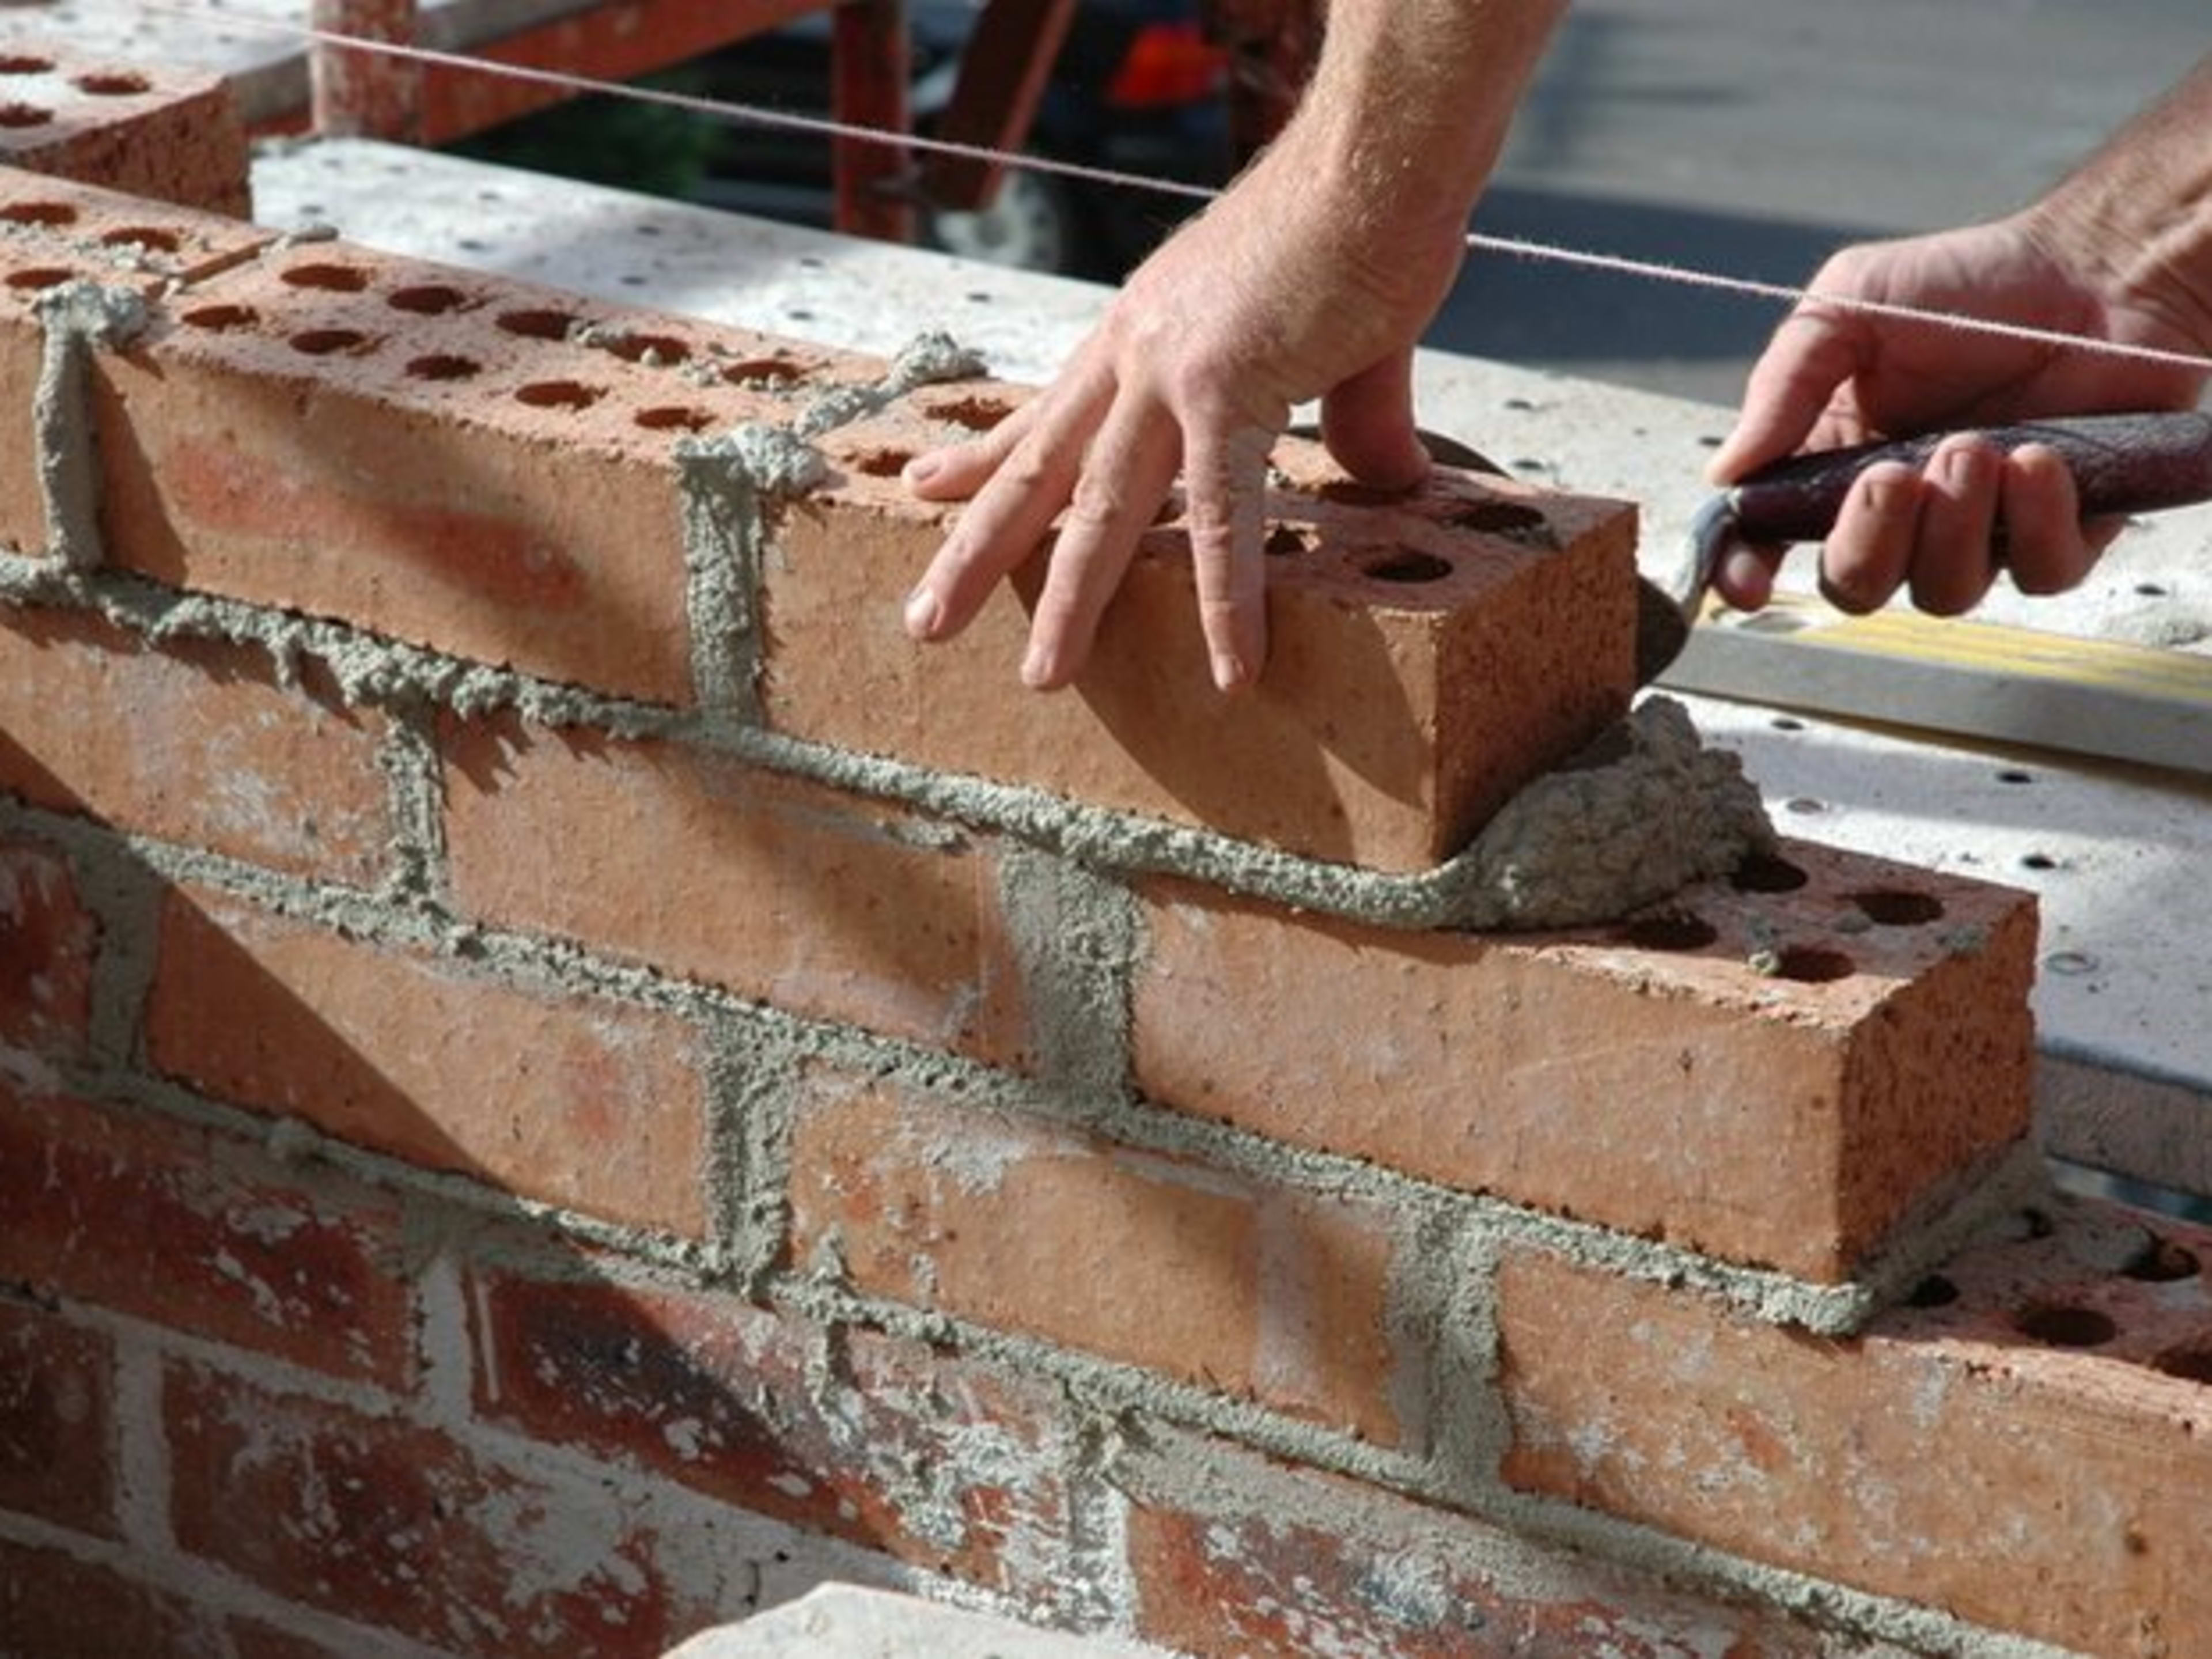
I carefully placed the bricks back into their positions, pressing down firmly to ensure they were level and secure. Then I applied the mortar mix into the gaps between the bricks, using a trowel to smooth it out.
Cleaning Up
After that, I used the wet sponge to wipe away any excess mortar from the bricks. This part was important because I didn’t want it to dry and look messy.
The Wait
Finally, I just had to wait. The mortar instructions said it would take about 24 hours to fully dry, so I left it alone. I kept the kids and the dog away from it, just in case.
The Result
The next day, I checked on it, and it looked pretty good! The bricks were solid, no more wobbling. It’s not the prettiest job, but it’s functional, and I did it myself. Saved a few bucks, too!
So, that’s my little brick-sealing adventure. Not exactly rocket science, but a good little DIY project for a weekend.
