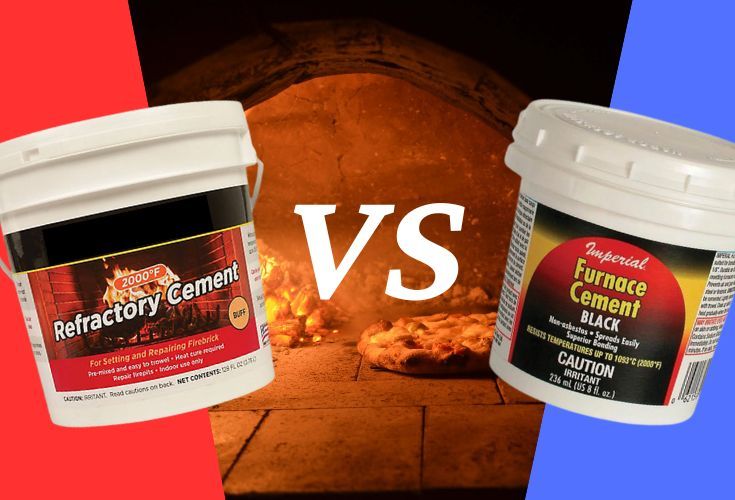
Alright folks, today we’re gonna talk ‘bout somethin’ real special—makin’ refractory cement. Now, this here cement ain’t your regular cement, oh no, this stuff’s made to handle them real hot temperatures, like what ya get in furnaces and kilns. So if you’re plannin’ on cookin’ up somethin’ that gets mighty hot, well, let’s roll up our sleeves and get down to it!
What’s So Special About This Cement?


Refractory cement, ya see, is the kind that can take the heat. Ordinary cement just won’t do here—it’ll crack under all that pressure. So, we got ourselves some special ingredients to make this happen, like alumina, a bit of ceramic clay, and somethin’ called calcium oxide. This makes the cement real strong and heat-resistant, so it holds up even when things get roarin’ hot.
What Ya Need to Make Refractory Cement
- 1 part Portland cement – this is just yer regular ol’ cement ya can find at most stores.
- 1 part fire clay – now this stuff’s what helps it resist heat; look for it at places that sell materials for kilns or pottery.
- 2 parts sharp sand – ya want it coarse, so it gives the cement some texture and helps it hold up.
- Perlite (optional) – this stuff’s a type of volcanic rock, and it adds some air pockets to keep things from gettin’ too hot in one spot.
- Lime (optional) – helps keep everything nice and strong.
Step-By-Step Guide to Mixing Refractory Cement
Alright, here’s how we do it. You don’t need no fancy equipment, just some basic tools like a bucket or a trough and a good ol’ stirrin’ stick.
- Start by Mix’n the Dry Ingredients: Grab yer Portland cement, fire clay, and sharp sand. Toss ‘em all in a bucket and give ‘em a good stir so everything’s spread out nice and even. This dry mix is the backbone, so ya want it mixed real well.
- Add Perlite or Lime (if ya got it): Now, if ya got perlite or lime handy, this is when ya throw ‘em in. Perlite helps make the cement lighter and adds air pockets, and lime makes it even stronger.
- Time for Water: Slowly add water to the dry mix. Don’t dump it all in at once! Just add a bit, stir, then add some more. Keep goin’ till ya got a thick, paste-like consistency. Not too wet, not too dry – just like mud after a good rain.
Tips for Getting It Just Right
Now, lemme tell ya, makin’ refractory cement ain’t rocket science, but ya gotta pay attention to a few things:


- Don’t Overwater: Too much water, and this cement won’t set right. Keep it nice and thick.
- Mix It Up Good: Get all them clumps out! Ya want a smooth, even mixture so it sticks together good.
- Let It Sit: After yer done mixin’, let it sit for about 10 minutes. It helps all them ingredients settle together.
Where to Use This Refractory Cement
Once ya got this cement ready, it’s time to use it. Now, refractory cement is real handy for anythin’ that’s gotta handle heat. Furnaces, pizza ovens, woodstoves, you name it. Apply it thick, and give it time to dry out fully – could be a few days before it’s good to go.
Final Thoughts on Makin’ Refractory Cement
Well, there ya have it. Makin’ refractory cement ain’t too hard if ya follow these steps, and it’s a mighty useful thing to know. This way, ya can cook up all sorts of hot things without worryin’ ‘bout the cement crackin’ or fallin’ apart. So gather up them ingredients and get to mixin’ – pretty soon, you’ll have yourself a batch of the toughest cement around.
Happy mixin’, folks! And remember, this cement’s only for the high-heat jobs – save the regular cement for yer garden path or somethin’ else!
Tags:[refractory cement, how to make refractory cement, homemade refractory concrete, heat-resistant cement]


