
Okay, here’s my blog post about building an outdoor fireplace with bricks, written from my personal experience:
So, I’ve always wanted a cozy spot in my backyard where I could chill with friends and family, roast some marshmallows, you know, the whole nine yards. I figured an outdoor fireplace would be perfect. I did some digging online, watched a bunch of videos, and thought, “Hey, I can do this!”

Getting Started
First things first, I picked a spot. I made sure it was far enough away from the house, trees, and anything that could catch fire. Safety first, people!
Then, I marked out the area. I used some string and stakes to get a rough idea of the size and shape I wanted. I went with a simple rectangular design, nothing too fancy.
Laying the Foundation
Next I prepare the base for my brick, I dig it deep, make sure there are enough space for my brick.
I dig a hole, maybe about 6 inches deep, and filled it with gravel. I tamped it down real good to make sure it was level and compact. This is super important because it’s the base for the whole thing.
Building the Firebox
This is where the real fun began. I started laying the bricks for the firebox, the part where the fire actually goes. I used firebricks, of course, because they can handle the heat. Regular bricks will crack, and nobody wants that.
- I mixed up some mortar, following the instructions on the bag. It’s kinda like making a cake, but way less tasty.
- I spread the mortar on the base and started placing the firebricks, one by one.
- I used a level to make sure everything was straight and even. This part took some patience, but it’s worth it to get it right.
- I kept building up the walls of the firebox, layer by layer, making sure to stagger the joints for extra strength.
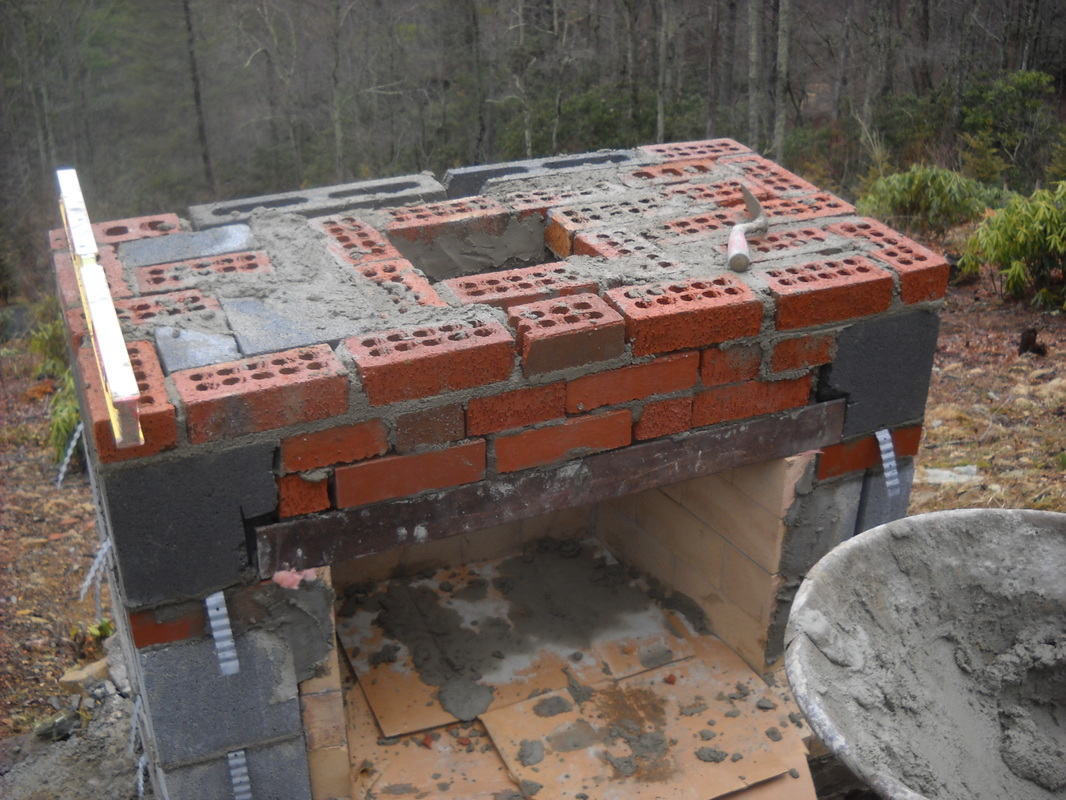
Creating the Chimney
After a few layer, time to create the chimney for all of that smoke, am I right?
I continued laying bricks, gradually narrowing the opening to form the chimney. It’s like building a pyramid, but upside down.I think I did a good job, it looks good to me!
Finishing Touches
We’re nearly done!
- I cleaned up any excess mortar with a trowel and a wet sponge.
- I added one final cap on top of the fireplace.
- I let the whole thing cure for a few days. This is crucial, so don’t rush it!
The First Fire!
Finally, the moment of truth! I built a small fire in the firebox, just to test it out. It worked like a charm! The smoke went up the chimney, and the heat radiated outwards. Success!

Now, I have a awesome outdoor fireplace that I built with my own two hands. It’s not perfect, but it’s mine, and I’m pretty darn proud of it. If I can do it, you can too! Just take your time, follow the steps, and don’t be afraid to get your hands dirty.
