Alright, let’s talk about building a brick smoker. It’s a cool project, but honestly, if you’re not into a little bit of DIY and don’t mind getting your hands dirty, you might want to think twice. But if you’re up for the challenge, then let’s get this party started!
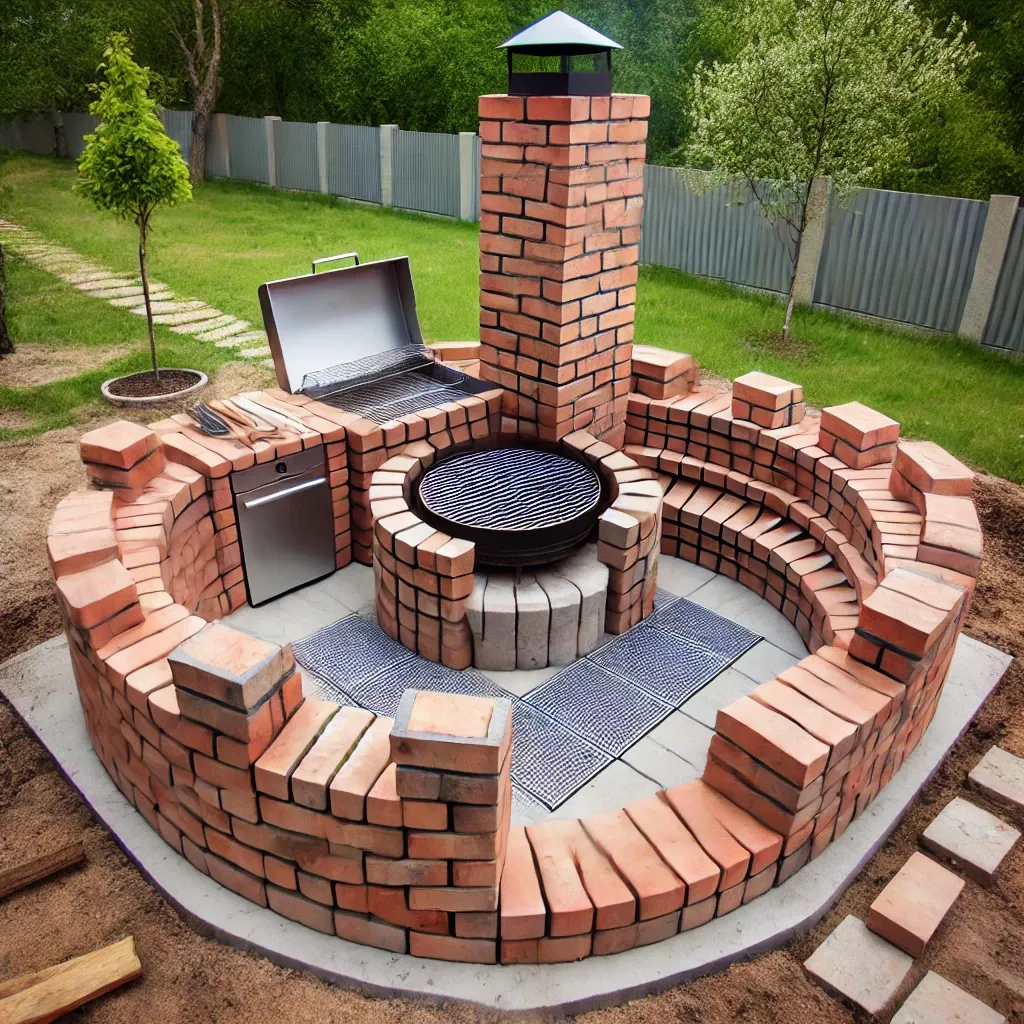
So, you’re thinking about building a brick smoker. That’s awesome! You’re going to have some serious bragging rights when you’re cranking out smoked meats in your own backyard masterpiece. It’s a little more involved than just slapping some bricks together, though. You’re going to need to think about design, materials, and maybe even some welding.


The good news is, you don’t have to be a construction expert to build a brick smoker. There are tons of resources online and even some really cool plans you can buy. But here’s the deal: You’re going to need some basic tools and skills. You’ll need a trowel, a level, and a good understanding of how to lay bricks. And let’s not forget about the firebricks. You’re going to want to use firebricks for the area where the fire will be, otherwise, things could get a little…toasty!
You’ll also need to decide on the size and design of your smoker. Do you want a simple, small smoker or something more elaborate with a side table? There are tons of options out there. If you’re unsure, you can always start with a basic design and upgrade it later. You know what they say, “Rome wasn’t built in a day.”
Building a Brick Smoker: Let’s Break It Down
Now, let’s get into the nitty-gritty. You’re going to need some tools and materials to build your brick smoker. Here’s a basic list to get you started:
| Tool/Material | Description |
|---|---|
| Bricks | You’ll need a good number of bricks, probably around 100 for a basic smoker. |
| Fire Bricks | These are essential for the firebox. |
| Mortar | You’ll need mortar to bind the bricks together. |
| Trowel | Use this to spread the mortar. |
| Level | Make sure your smoker is level. |
| Measuring Tape | For accurate measurements. |
| Concrete Mix | For the base. |
| Metal grate | To hold the food. |
| Metal door | To control the fire and airflow. |
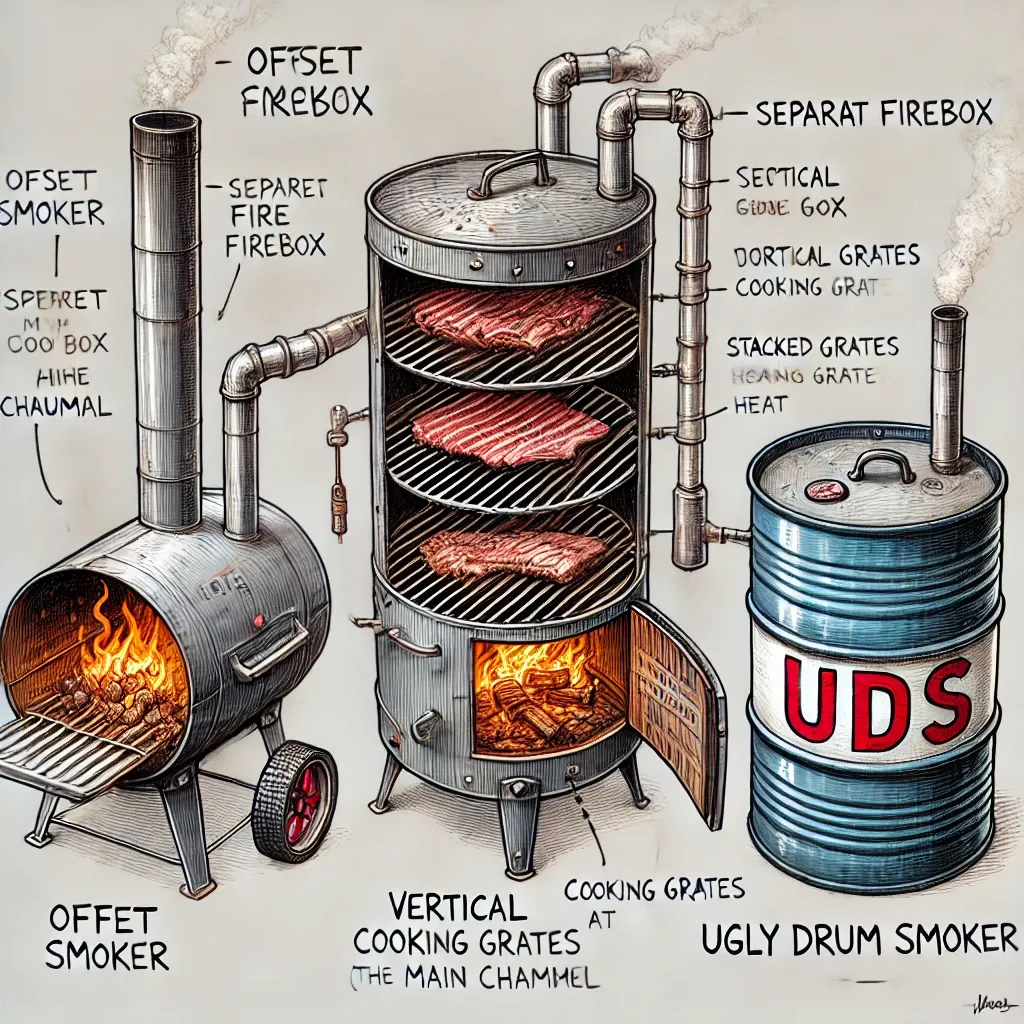
| Food-grade steel barrel | This is optional, but can be used to create a separate cooking chamber. |
| Welding equipment | Optional but recommended if you’re using a steel barrel. |
| Safety Glasses | Protect your eyes while building. |
| Gloves | Protect your hands from cuts and scrapes. |
Once you’ve got all of your materials and tools, it’s time to start building. The first step is to choose a good spot for your smoker. You’ll want a level surface that’s far enough away from your house and any flammable materials.
Next, you’ll need to lay a concrete base. This will provide a solid foundation for your smoker. The base should be at least 12 inches wide and 12 inches deep.


Now, it’s time to start laying the bricks. You’ll want to use mortar to bind the bricks together. Make sure the bricks are laid evenly and that the mortar is spread evenly between them.
The next step is to build the firebox. This is the area where the fire will be. You’ll want to use firebricks for this area. The firebox should be at least 12 inches wide and 12 inches deep.
You’ll also need to build a chimney. The chimney will help draw smoke away from your smoker. The chimney should be at least 12 inches high.
Once the firebox and chimney are built, you can add the cooking chamber. This is where you will place your food. The cooking chamber should be large enough to hold the food you plan to smoke.
Finally, you need to add a door. This will allow you to control the fire and airflow. The door should be large enough to easily access the firebox.
Making It Your Own


Now, here’s where the fun part comes in. Once you have the basic smoker structure, you can start adding your own personal touches. Do you want a side table? A warming rack? Maybe a smoker box? The possibilities are endless! This is where you can really make your brick smoker unique and reflect your own style.
Firing It Up
Now, before you crank up the heat and start smoking some ribs, you need to cure the smoker. This means you need to “burn in” the mortar and bricks. You’ll want to build a small fire in the firebox and let it burn for several hours. This will help to seal the mortar and bricks and prevent them from cracking.
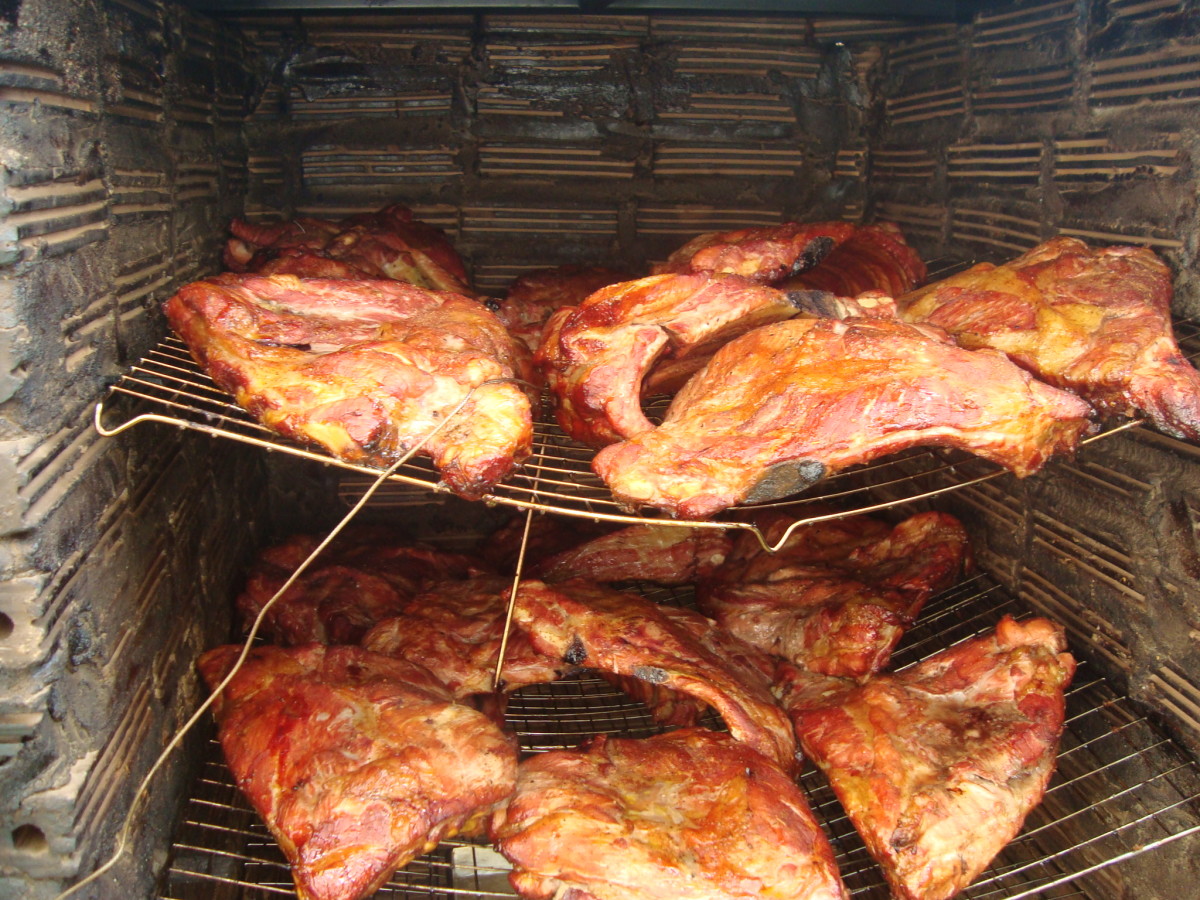
Once the smoker is cured, you’re ready to smoke! Experiment with different woods and temperatures to find what works best for you. And remember, smoking takes time. Be patient and enjoy the process!
There you have it! A basic guide to building a brick smoker. Remember, it’s a fun project that can be as simple or as elaborate as you want. So, gather your materials, put on your safety glasses, and get building!
Let me know if you’ve got any questions. I’m always here to help!


