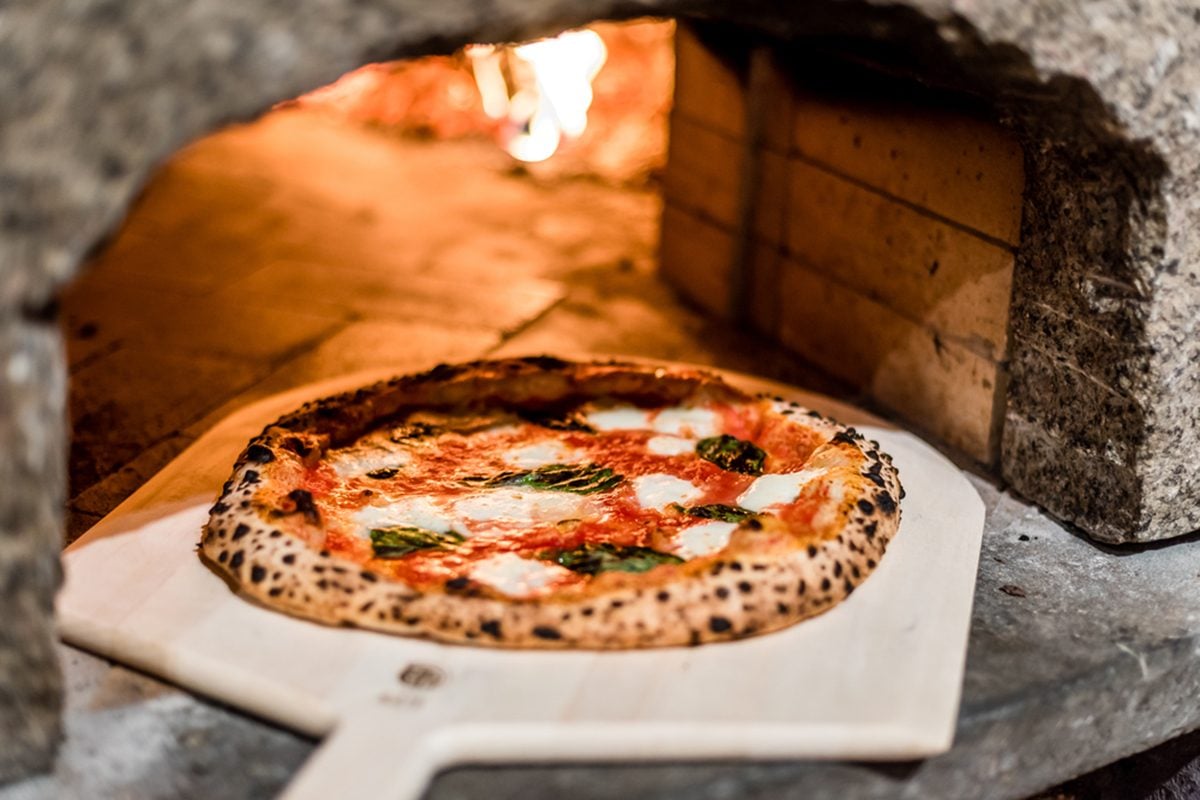
Alright, folks, gather ’round! I’ve got a story for ya – a tale of fire, bricks, and the best darn pizza you ever did see. I’m talking about my adventure building a brick oven for some seriously delicious homemade pizza. Now, I ain’t no professional bricklayer, but I’ve always been a handy kinda guy, and the thought of having my own pizza oven? Irresistible!
The Dream Takes Shape
It all started with a craving, a deep, undeniable hunger for that authentic, wood-fired pizza taste. Sure, I could crank up my regular oven as hot as it would go, but it just wasn’t the same. I did some digging, watched a bunch of videos, and realized – I gotta build one of these ovens myself!

Gathering the Goods
First things first, I needed a plan. After scouring the internet for designs, I finally settled on a simple, barrel-vault style oven. Next up, materials. Let me tell you, bricks ain’t cheap! But I managed to find a good deal on some firebricks, the kind that can handle some serious heat. I also picked up some regular bricks for the base, along with mortar, sand, and a few other bits and bobs.
The Build Begins
I cleared a spot in my backyard, leveled the ground, and started laying the foundation. This was the boring part, but hey, gotta have a solid base, right? Then came the fun stuff – building the actual oven. I made a wooden form to support the arch and started stacking those firebricks. Let me tell you, it was a real test of patience, getting those bricks to fit just right and making sure the mortar was doing its job.
- Laying the Foundation: This was probably the least exciting part, but crucial nonetheless. I spent a good chunk of time making sure the base was level and sturdy.
- Building the Arch: This was the trickiest bit. I built a wooden form to shape the arch of the oven, then carefully laid the firebricks around it, using mortar to hold ’em in place.
- Constructing the Dome: Once the arch was set, I started building up the dome, brick by brick. It was slow going, but seeing it take shape was super satisfying.
Trial by Fire
After what felt like an eternity (but was probably just a few weekends), the oven was built. I let it cure for a while, then came the moment of truth – the first firing. I built a small fire inside, slowly increasing the temperature to season the oven. It was a bit nerve-wracking, not knowing if my handiwork would hold up, but it did! And let me tell you, the smell of that wood burning? Heavenly.
Pizza Time!
Now for the best part – making pizza! I whipped up a batch of dough, prepped my toppings, and got that oven roaring hot. They say these ovens can reach temperatures over 800 degrees, and I believe it! I slid the first pizza in, and within minutes, it was done. Crispy crust, bubbly cheese, that perfect char – it was a thing of beauty. And the taste? Forget about it! This was the best pizza I’d ever had, hands down.
- The First Firing: I lit a small fire in the oven and gradually increased the temperature over a few hours. This helped to cure the mortar and get the oven ready for some serious cooking.
- Making the Pizza: I whipped up a simple dough, prepped my favorite toppings, and got that oven nice and hot.
- Cooking the Pizza: The pizza cooked in just a couple of minutes, thanks to the intense heat of the oven. The crust was perfectly crispy, the cheese was bubbly, and the toppings were cooked to perfection.
The Verdict
Building a brick oven was a challenge, no doubt about it. But was it worth it? Absolutely. There’s just something special about cooking pizza in a wood-fired oven, something you can’t replicate in a regular kitchen. And the satisfaction of building it yourself? That’s just the cherry on top. If you’re a pizza lover and you’ve got the DIY spirit, I highly recommend giving it a shot. You might just surprise yourself!
So, there you have it, my brick oven pizza adventure. It was a labor of love, and now it was my new way to make pizzas. If you have any questions, fire away in the comments!


